Showing posts with label junque. Show all posts

Wednesday, May 22, 2013

Travel Junk Book


I just had to make another great junk book with a ton of great stuff from Alpha Stamps.  The response to my last one included many requests as to how to put on of these together, so here is a tutorial and video tour. The new worn cover by Tim Holtz, allowed for a super simple version of this book, which I created on one Sunday morning.  Yes, indeed, you heard that right, I made this in a morning craft session...from start to finish.


This time I chose to got with a travel theme for my book.  I chose a few charms and talisman to give my book a bit of movement and soul.  I love the capsule where there is a postal stamp tucked inside.  I also love the compass rose and the Eiffel Tower, great nods to the theme. 


In this version of my junk book I used three different colors of seam binding instead of dying my own silk ribbon.  This took off a lot of time and mess off the project and still provided a great result with varying color.  


Inside I used all kids of fun stuff.  I would go through my packages of stuff in my stash, choose a pile of ephemera, and then flip through and apply everything I chose from that selection.  


Here is just a tiny sample of what lies inside.  Lots of pockets, bits of tape, things tucked inside and tons of postal goodness.  I just adore the postal theme.  I seriously can't get enough.


Stay tuned.  Later this week I will be posting a video tour of this book along with a photo tutorial on how to assemble.

Cheers, 

Rhea

Wednesday, April 17, 2013

Graphic 45 Audition, Take II: Junque Book


I have already learned so much from the audition experience for Graphic 45's 2013 Design Team and I am so blessed to be able to participate.  For part two we have been asked to make a video. I chose to highlight three different projects that represent me as a designer.  At this point, I think that I have done what I can to put my best efforts out there into the universe and not matter the outcome, I have benefited from this journey so very much. 

In order to show my ability to produce, I decided to make a new piece. I wanted to put my energy into the project that showcased their product, but also captured my intention and hopefulness about taking my art to the next level.   


I chose all kinds of fun bits of junk to the binding.  Each of these has special meaning to me personally.  I talk about their significance in my video audition. 


I forgot to mention in my tour my brilliant use of gilders paste.  I used it to literally gild the edges of my pages and I just love the effect. 


This book turned out way thicker than I imagined!  There are 36 pages of Graphic 45 goodness.


And here is the video tour below.  I talk a lot more about my book and you get to see inside.  Please consider subscribing, who knows, I just may be posting tutorials for one of the very best paper companies soon!


Thank you so much for all the wonderful supportive energy.  It makes my heart swell to know that I have many people rooting for me!

Cheers,

Rhea

Sunday, April 14, 2013

Steampunk Junk Box


I have been really excited to show this piece off on my blog.  I was lucky enough to be able to make two of these for Alpha Stamps.  As soon as I got them, I knew I had to fill one up with my junk. To see lots of good stuff used from Alpha Stamps, you can go here.


The edges of the piece were rubbed with gilders paste to give it a nice sheen.  I used tissue tape to cover the tricky inside edges.  I also was able to cover some crooked cutting with the tissue tape too!


Inside each little cubby are lots of fun little bits of junk some real, and some reproduction.  You can hardly tell the difference in my opinion.


The clock faces are by Prima, and I adore them.  I floated them on top of the assemblage since they were too large to tuck inside.  This strategy also allowed me to be able to add the light bulbs.  At first, I thought they were going to be off scale and I did not think I could use them.  


Here you can see some of my tiny details.  I strive to add things on each surface of the cubbies, so when viewed from any angle, there is interest.  I also altered the light bulbs by adding paper behind them and scratching the words off of some of them.


I was able to clean out a few bowls of treasures I had lying around as I fished for little bits to add.  You would probably be surprised at how small, yet heavy this really is.  Each of the squares are only a cubic inch.


This is probably one of my favorites in my collection of creations so far.  I hope you saw a tidbit that inspired you along the way!

Cheers, 

Rhea

Thursday, April 12, 2012

Mail Art Junque Journal

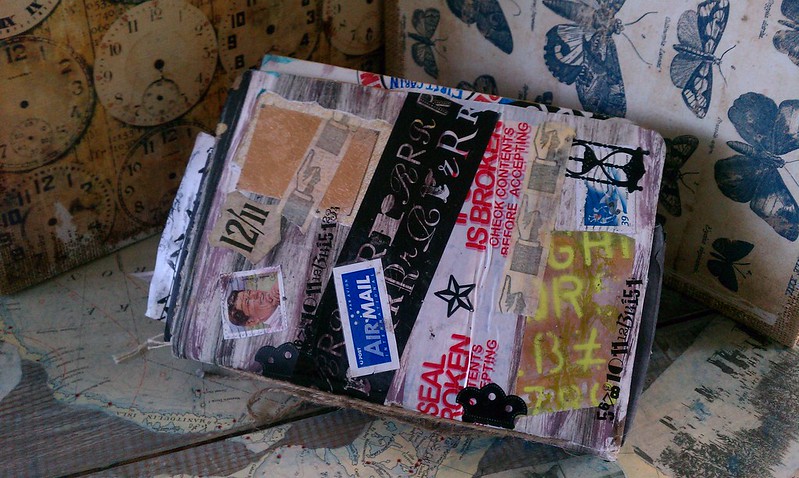
I am delighted to be able to finally show off this treasure.  At one point I thought this lovely little book was lost forever, but it resurfaced and I am so grateful.  This journal started out as a Mail Art journal,  round robin style swap through Swap-bot.  When it was returned to me there were still several pages unfinished, so I just added more of my own mail art and lots of other paper junque.  It is so fun and packed with goodies. 

I am showing off a few pictures to entice you, but I am also posting a You Tube video, as I think this will better capture all of the yummy mail art goodness inside. 


Lots of people contributed to the cover and I love this aspect of the journal.  It is hard to imagine what it looked like before I sent it out into the world.  I wish I had a "before" shot to share with you.  I picked up a few of these handmade books at an art student's garage sale.  In hindsight, I should have grabbed more than the three I did. 


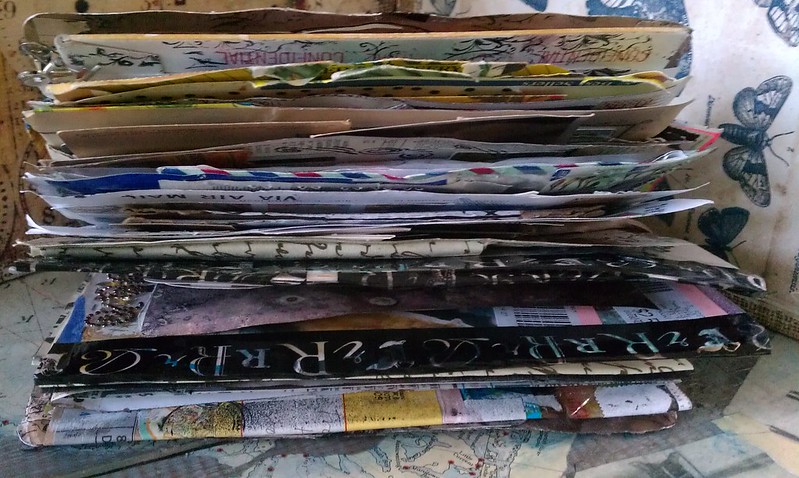
Here you can see how thick this book really is.  There are a ton of flaps and fold outs I made simply by creatively attaching envelopes with  decorative tape.  You would not believe how much decorative tape there is in this book. It makes for really good collage fodder.


These are two pieces of mail art that I had received and added to the book before sending it out.  I just adore the mermaid envelope!


Here is another great spread that is true to the original theme.  These pages were completed by Mandy, aka Farstarr.  She has a lovely etsy shop worth checking out!


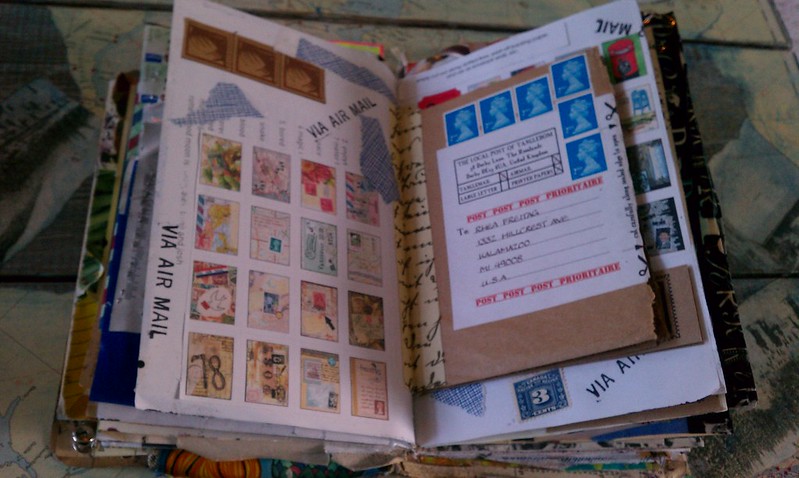
Here is another one of my favorite spreads.  I made this one from wonderful mail art items I recieved from Su, aka, TangleCrafts.  She also has a wonderful etsy, filled with zines and all sorts of mail art fun.  The brown insert is actually a self mailing zine that is all mail art themed and just filled with lots of useful information and inspiration.  I thought this was a clever way to add this to my book.  I made a simple hinge with gaffer tape from 7 gypsies.

Hopefully I have teased you enough to want to take a gander at the full tour of my fun journal!  Enjoy!


Saturday, December 17, 2011

My Christmas Configurations

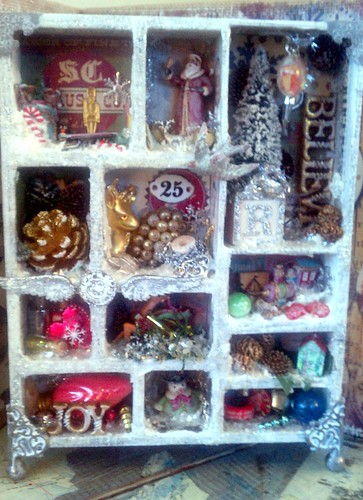
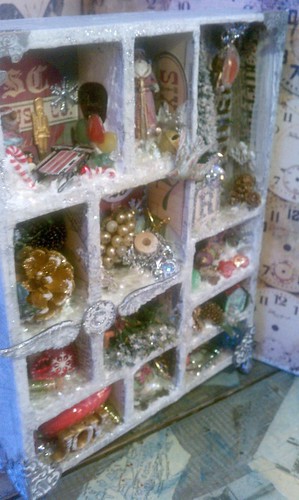
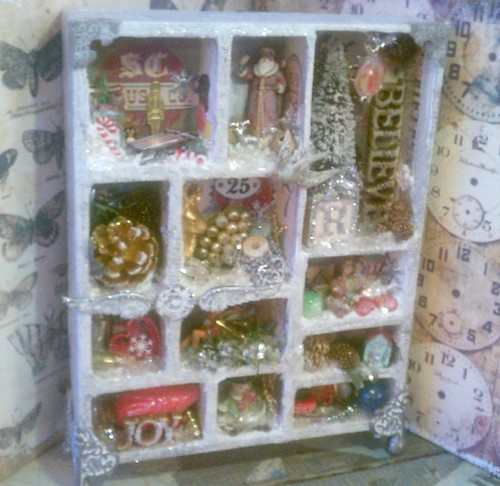
As my loyal readers may have expected, I have had a Christmas assemblage in the works.  I still can't quite figure out why I love to put these together, but I really, really do.  This piece has been getting put together in my mind for quite some time.  I started out by just gathering small items I knew would fit inside the boxes and putting them in little bowls on my craft table.  I also joined a Christmas ornament charm swap, with the intentions of using them to embellish my project.  This makes it extra special, as I have little pieces of others art tucked inside. 


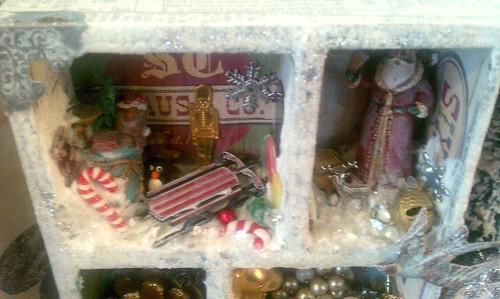
I am so grateful for Simon Says Stamp and Show, as it was their challenge this week of show some depth, that pushed me to actualize this piece.  I used several strategies to ensure that there is a lot of dimension and depth to this piece.  To that end, lots of texture was created with several different applications.  I used distress stain, acrylic paint, molding paste, fiber paste, rock candy crackle paint, vintage mica snow and stickels.  I was also sure to add several elements in each area and stage them at different dimensions.  Decorations were added to the sides and the tops of some boxes too, these details provide a lot of depth and interest.  My last secret to showing the depth here was in how I photographed the piece.


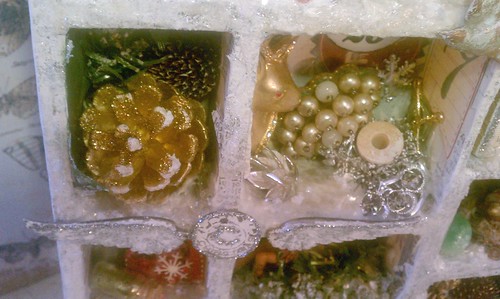
I love this little charm I made with the wings and the holiday muse token.  It reminds me of the spirit of Christmas because of the symbolism of the wings. I colored these metal pieces with picket fence distress stain and then sealed with matte medium.  Stickels were added for more depth and glimmer.


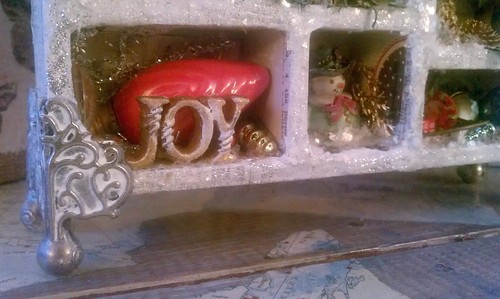
I used the white stain and acrylic paint on many of my items inside this assemblage.  This helped to create a wintry feel and keep the palette muted.  I love the shabby look of the feet from this distress technique.


I really love how I used the various art pastes to create little snow drifts.  I wish you could see the crackle a bit better, the texture on the edges is really delicious. 


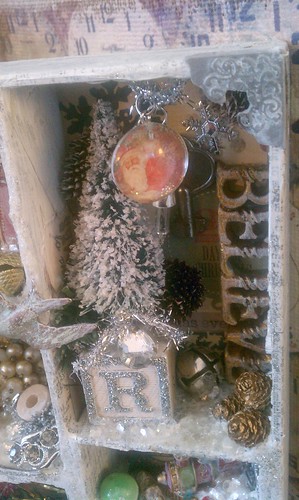
I altered the bottle brush tree quite a bit.  I used gesso, acrylic paint and stickels to make it look snow covered.  In this little area a dangling charm was added. I always like to have an element of movement in my pieces, if I can make it work.


The vintage block above was also altered.  I washed it with acrylic paint and then simply added stickels.  I think these would make charming Christmas ornaments.   This project took some patience overall, as there were many stages due to the drying times.  This picture above does show a bit of the glimmer from the vintage mica snow.  I imagine I will be finding flecks of this in my work area for some time.


In this photo you can see that the base of the collage on the boxes is tissue tape. I love how the stain adds a whitewash look.  This toy compartment has lots of charms from my art charm group.  Thanks so much ladies, hope you like what I have done!!!


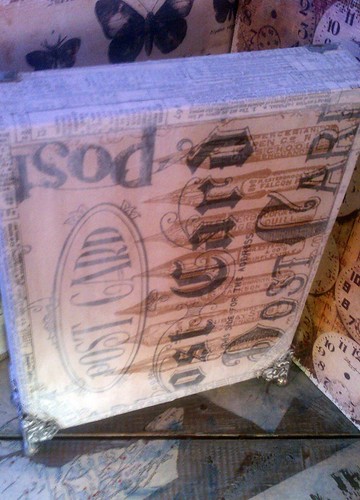
I always like to finish the backs of these boxes.  I chose my favorite piece of kraft paper from Tim's seasonal kraft stack and whitewashed it for consistency.


I hope you enjoyed peeking inside my little holiday assemblage.  I sure had fun creating it and sharing it with you.

Update:  Just after posting this project I found out that I won this giveaway from Red Lead.  Can you believe it!  How lucky am I!  Both thier store and their blog are full of inspiration, so stop on over and check out all the vintage and crafty goodness.  Thank you so much Red Lead, as you can see from above I will put the items to good use!

Merry Christmas to all,

Rhea

Sunday, December 4, 2011

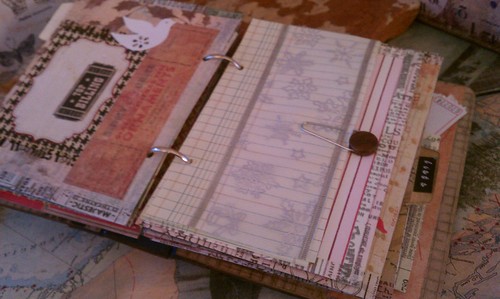
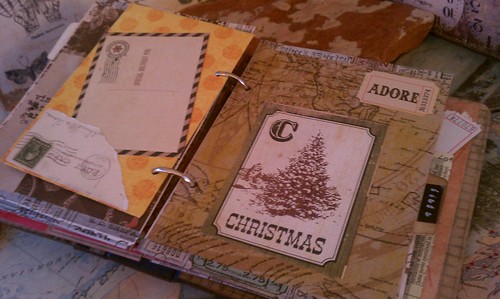
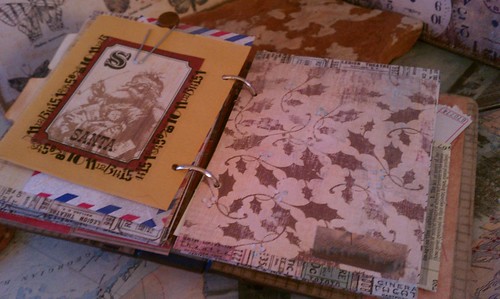
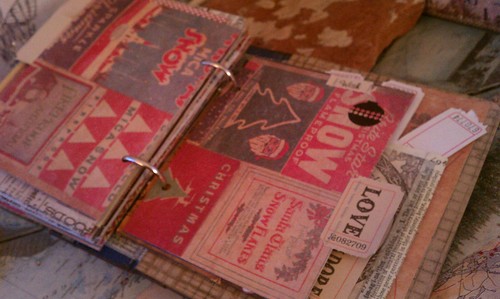
My Christmas Junque Journal

Not too long ago I posted a Holiday Junque Journal that I made for a gift.  Well, I loved it so much I had to have one for myself.  Please note, this post is picture heavy.  I really wanted to try and capture the feeling of the book.  I created a tutorial on how to assemble this book here.  I have also now made a video tour of my completed book if you want to take a peek. 


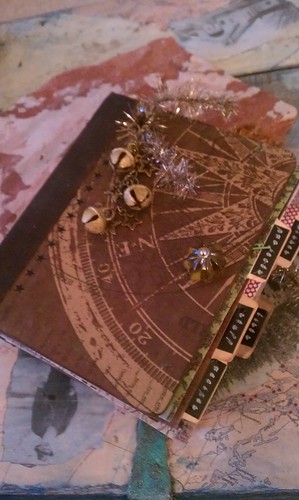
I actually started this book last week, with the intention to enter it into Simon Says Stamp and Show some tickets challenge.  I did not get enough done to feel comfortable posting.  I lucked out though as this week the challenge was to show some stars.  The compass rose on the paper is in starry form.  I love the symbolism of the compass; direction.  I added some star rub ons and a really great piece of journal jewelry that was star themed to drive the theme home.  I do love stars as you may have guessed. :)  The book has a wonderful sound to it because of the little bells too.  Just the perfect amount of movement and jingle. 


I actually colored the entire book blue to go with the star theme too.  I did not like how the stain looked on the binding, so I simply went over everything with a brown tones.  Now there are under currents of blue, which I love.  A happy mistake. 


There are tons of pockets inside to tuck in lists, receipts and holiday ephemera I find along the way.


The pockets were made by simply folding a rectangle of paper in half and taping around the edges with tissue tape.  My loyal followers know...I am totally addicted to tissue tape.
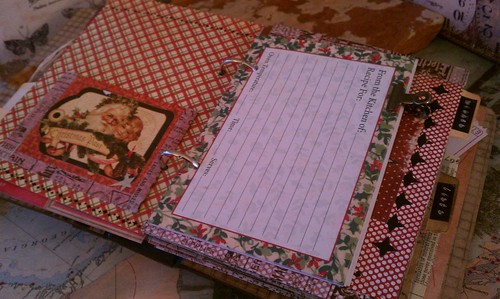


I scored a few packs of recipe cards at a big box store for a buck a pack. They make for great pages in my little book.


I used holiday rub ons throughout this project too.  I am like a child like fascination with them.


Perhaps it will help me to have a countdown calendar this year....


Like my last book, I also added a bit of old ledger book paper for lists.  On the first page here, I glued on a bit of snowflake ribbon.
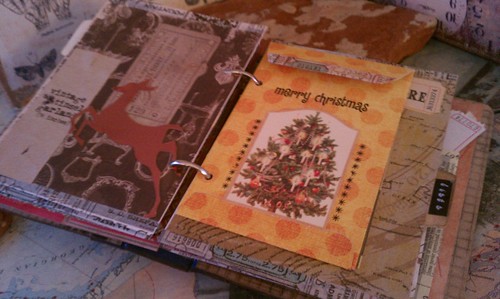


I really love the addition of envelopes throughout the book.  The polka dot one above was handmade by someone else, I embellished it. 


I adore the postal theme too, perhaps this is where my love of envies started. 
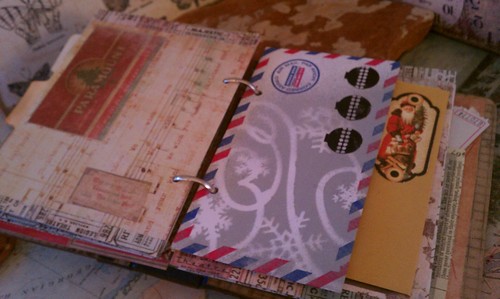


I used an opaque spray ink on this air mail envelope called tin type, love the flat color.


I use the envelops to tuck in bits of paper and ephemera for later work as well.  I really love some of the reproduction vintage stuff you can get these days.
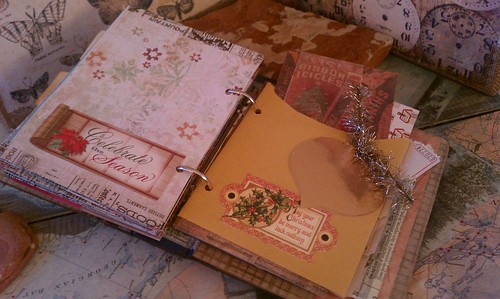


In the last four sections I used Tim's adage tickets as the label, I thought this was a cute idea.  It was inspired by lasts week's ticket challenge as I had mentioned earlier.
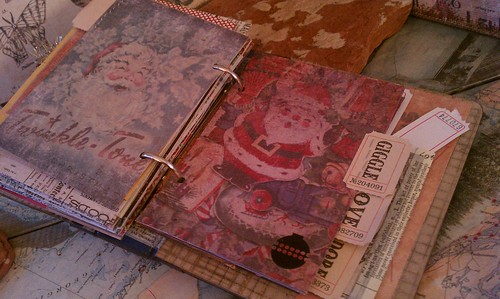


Tim's seasonal paper stash came in quite handy too.


I used the tiny attacher to simply staple on the ticket.  Looks good and it is a sturdy way of connecting this feature as it will take some wear and tear.


The brown envie here was sent to me.  I folded it and cut it up to make a double pocket.  Recycling plus art!


This last pocket is hinged with tissue tape.  This is a very easy way to add a pocket into your projects!


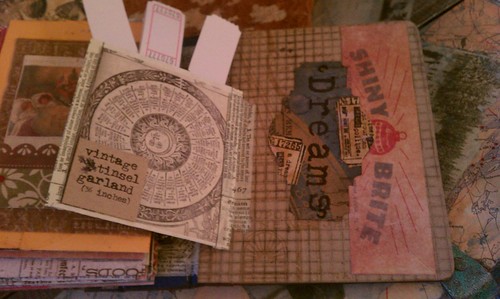
The dream label was a mistake from my dream jar.  I added the tickets to the label, but did not like them for my jar.  Another up cycle for me. 

I look forward to continuing to work on this book.  This is really just a template for lots more play and fun.  I did manage to take a few pictures of me assembling the book.  Many of you commented and emailed requests to show you how to put this together when I posted last time.  The pics are not great due to the crumby lighting in the basement, but I do plan to post a tutorial soon.  My little gift to you for the holiday! 

That is all for now.  I think I am going off to a holiday bazaar to get some more Christmas spirit.

Cheers,

Rhea


Saturday, December 3, 2011

Ornamental

I just love to make Christmas Ornaments every year around the holidays.  This year has been no different.  I still have a few more in the works, but I thought I could at least post this installment. 


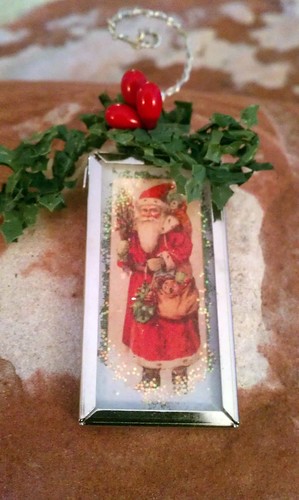
Like last time, I used white alcohol ink and a bit of stickels to embellish the glass.  The berries were torn from a holiday pick and the awesome green trim was purchased from Tim's etsy.


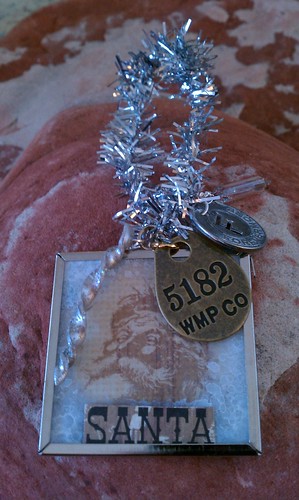
This one is a favorite of mine. I love the image of Santa.  I also adore the hand blown glass charm that was made by a fellow art charmer, Kia Dallons.  I added a rusty star and a holiday token from Tim.  This week they are asking us to show some stars over at Simon Says Stamp and Show.  I did not stop with one ornament, I added a starry touch to the one below too. 
   

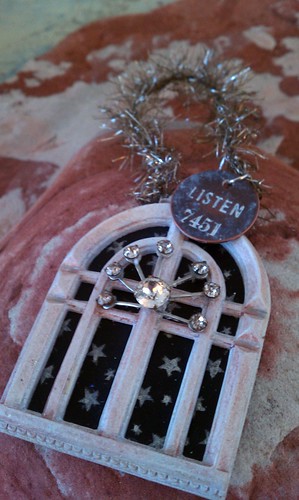
I used a star paper in the background, and made my own star burst by altering a bit of broken jewelry.  I used some vintage tinsel from Tim as well as one of his metal embellishments.  The window is from Prima and it was also inked up with a bit of Smooch. 


 Another ornament, using memory frames.  These make for the quickest projects!  The icicle is made from polymer clay, and was received in a swap for holiday art charms and it was made by Laurel Steven.  It has been great having a selection of holiday embellishments at my fingertips to use.


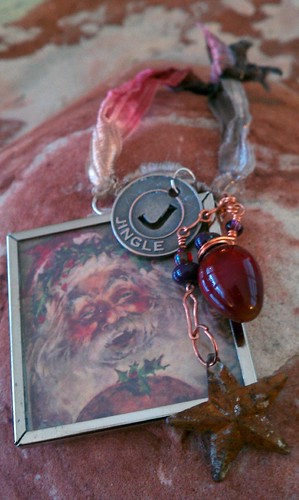
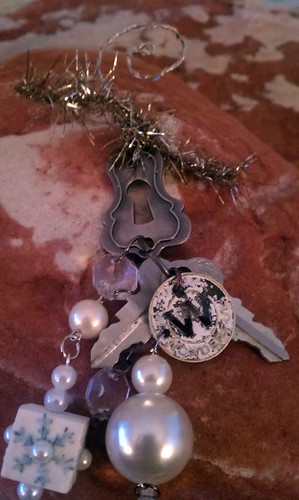
Here is another junque ornament, like my previous entry.  I decided to use one of Tim's keyholes in this one along with some other junque, an art charm, an altered token, some beads etc.  I hope the recipients of these little treasures enjoy and perhaps you find some Christmas ornament inspiration.

Cheers,

Rhea