Showing posts with label ribbon binding. Show all posts

Friday, October 25, 2013

Steampunk Spells Handmade Book Tutorial


This little Steampunk Spells book I made for Graphic 45 was so easy to alter and I am going to show you just how I did it, so be sure to check out the tutorial in my post. 


Supplies:
Old Book
Steampunk Spells 12x12 paper
Steampunk Spells 8x8 paper
Steampunk Spells Chipboard 1
Steampunk Spells Cardstock Stickers
Steampunk Spells Alphabet Stickers
Steampunk SpellsTags and Envelopes
Steampunk Spells Banners
Distress ink and Stain: Black Soot
Scor-Pal
Xyron Mega Runner
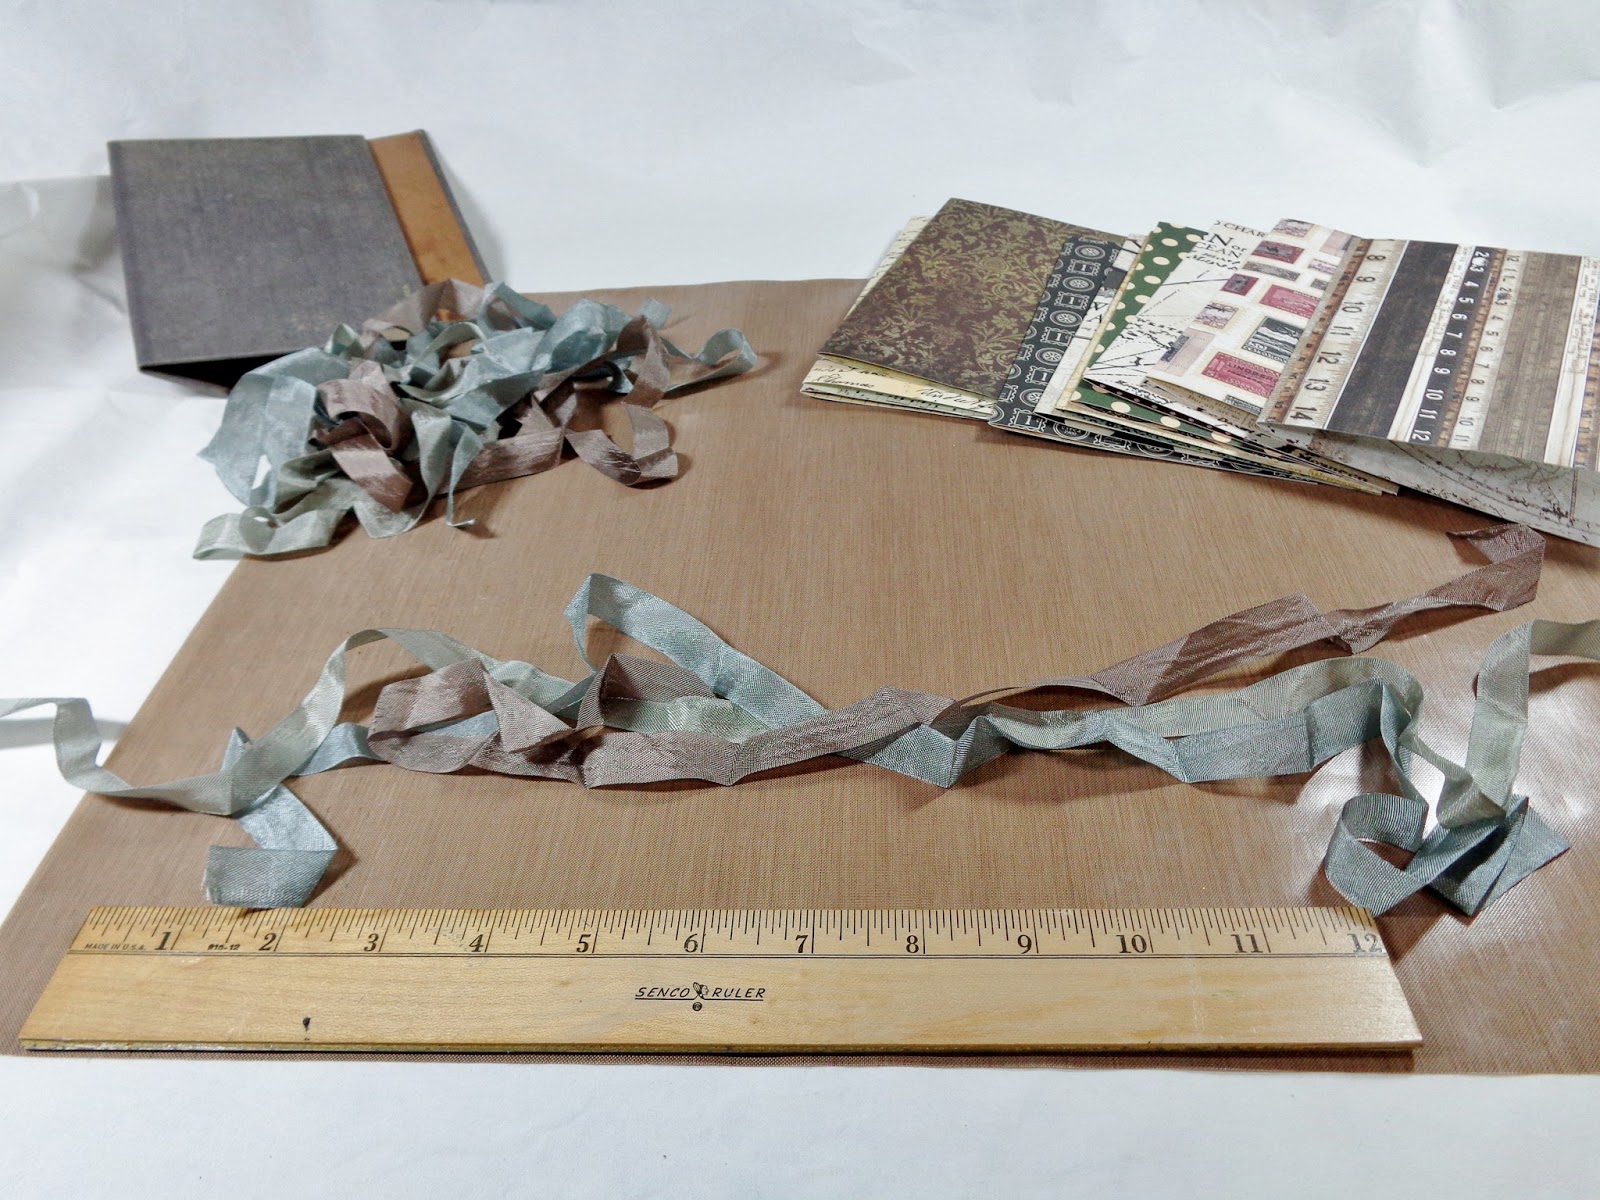
Seam Binding in Black and Spice
Craft Knife


For this project I was inspired to use the ribbon binding technique in yet another way.  This time I decided to upcycle an old book I had on hand.


To start out, I used a craft knife to remove the inside of the book.  Be very careful not to cut too deep.  Don’t forget to save the inside pages for other projects.  This text is in French, I think I forgot I even had this book in my stash. 


Next I chose a 12x12 piece of scrapbook paper for my cover. 


I cut the paper large enough for about an extra inch of paper surrounding the cover.  I have always been one to work around measuring. 


I used the Scor-pal to guide my creases for my folds to wrap the cover. 


A quick adhesive was used as I folded down all my edges.  I really love my recent discovery of “dry” adhesives!


Next I folded my spine to break it in a bit and I cut and scored my signatures. The paper will need to be just less than double the width of your desired page size.    The size will be dependent on your book.   You simply score down the middle of your paper so you can tie in your pages. 


For the last step, simply tie in each of your paper signatures.  I chose to use seam binding from Alpha Stamps.   This time I chose to go with classic bows instead of tying uniformly at the bottom.  I like the volume and texture the seam binding provides.   Now you have a fun altered book or photo album to document your spooky Halloween season.  


Happy Halloween folks, I hope you enjoyed and found a bit of inspiration. 

Cheers, 

Rhea

Saturday, May 25, 2013

Junk Book: Ribbon Binding Tutorial


After many requests, here is a photo tutorial for how to assemble this simple junk book with a ribbon binding. With the right stuff on hand, I was able to put this together in  just a few hours.  Here is a link for all items used over at Alpha Stamps.  I have also included a video tour at the end, if you are inclined to listen to me blather on about this fun little book.


I started with a few supplies from Alpha Stamps:

Tim Holtz Worn Cover
Seam Binding
Charms
Sturdy Card stock Scrapbook Paper
pockets, tags, 
Dazzles, Tim Holtz Rub ons.
Tim Holtz mini cling stamps. (fell in love!)


To start off, I cut 10 pieces of quality scrapbook paper to measure 8 3/4 inches long by 6 1/2 inches tall.


I creased each of them in half with a bone folder to make my initial ten signatures.


I cut each piece of seam binding randomly to achieve a staggered look.  The strands of ribbon will need to be twice the height of your book plus extra for tying and hanging.  I would say each of my pieces are at least twenty inches.  I tend to work around measuring when I can.  You will need one strand for each signature, for this book, I had ten.


In order to mimic gilded pages, I added silver gilders paste to the edges  It works very nice on paper as well as metal and wood.  


Each signature is tied into the book with a bit of seam binding or ribbon.  I tie a double not and be sure that the ribbon is lying where I want it.


Charms are then added to some of the ribbon strands.  It is also a good idea to trim up the ends to make it appear balanced and finished.


And then you begin to embellish.  I just love the new fairy vials, I simply added a postal stamp inside this one to make a clever charm.  If you would like to take a closer look inside, and to find a few tips and tricks, I have included a video tour.


Cheers, 

Rhea


Wednesday, May 22, 2013

Travel Junk Book


I just had to make another great junk book with a ton of great stuff from Alpha Stamps.  The response to my last one included many requests as to how to put on of these together, so here is a tutorial and video tour. The new worn cover by Tim Holtz, allowed for a super simple version of this book, which I created on one Sunday morning.  Yes, indeed, you heard that right, I made this in a morning craft session...from start to finish.


This time I chose to got with a travel theme for my book.  I chose a few charms and talisman to give my book a bit of movement and soul.  I love the capsule where there is a postal stamp tucked inside.  I also love the compass rose and the Eiffel Tower, great nods to the theme. 


In this version of my junk book I used three different colors of seam binding instead of dying my own silk ribbon.  This took off a lot of time and mess off the project and still provided a great result with varying color.  


Inside I used all kids of fun stuff.  I would go through my packages of stuff in my stash, choose a pile of ephemera, and then flip through and apply everything I chose from that selection.  


Here is just a tiny sample of what lies inside.  Lots of pockets, bits of tape, things tucked inside and tons of postal goodness.  I just adore the postal theme.  I seriously can't get enough.


Stay tuned.  Later this week I will be posting a video tour of this book along with a photo tutorial on how to assemble.

Cheers, 

Rhea