Showing posts with label configurations. Show all posts

Wednesday, January 11, 2012

Day of the Dead Shrine

This project has actually been in the works for quite some time.  Loyal followers may recall that a few months ago I did a charm swap with a Day of the Dead theme.  In doing this swap I found a love and respect for this genre of art.  I had received so many awesome charms from my fellow charm lovers and had no idea what I was going to do with them.  This is what I finally came up with and I am pretty happy with the results.

The theme over at Simon Says Stamp and Show this week is a "red letter day." I think Day of the Dead is a very clever take on a red letter day indeed. I love the imagery and art associated with this day of remembrance.
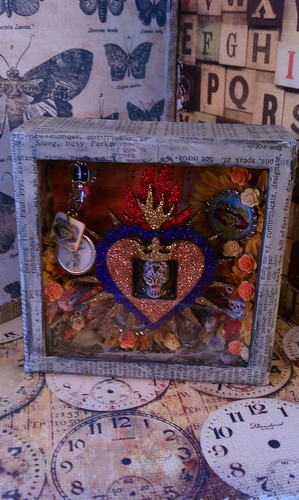

I actually made the inner shrine some time ago as well.  It is made from Masonite and it comes from a wonderful company called Coffee Break Design.  You can also purchase their line of goods from Alpha Stamps.  I simply used stickels to color the shrine and then I added in an extra altered skull I had from making my charms for our swap.  As you may be able to see, I did not get the best results "filling" in my niche with Glossy Accents.  Even though I let it dry and added more material several times, I still ended up with a very inconsistent "resin" type background.  Oh well! 

It was difficult to get good pictures of this piece as I decided to use the acetate that came with this small configurations box from Tim Holtz to "seal" in my shrine.  Because of my artistic choice, I could not get a good picture without a glare.  In the picture above I was trying to get a little closer so that you can see some of the the clever work from a few of my fellow Art Charmers. 


I did do a few things to create depth in this piece.  I added some charms from the top of the box for movement, I mounted my "inner shrine" on a wood block so that it would not sit flush with the back of the box and I also did that with some of the other charms. 


The outside of the box is covered in Tim's new tissue paper from his District Market line.  I LOVE this stuff!  I was daunted by the price tag at first, but I will say, this is a worthy crafty investment.  It was aged with Tim's distress stains in black soot and antique linen...the stains are amazing too.  I resisted investing in them for a while, but it is pointless...the product is amazing.  

I hope you enjoyed seeing this artistic collaboration with my charming friends.  Thanks for stopping by as always!

Cheers, 

Rhea 

Saturday, December 17, 2011

My Christmas Configurations

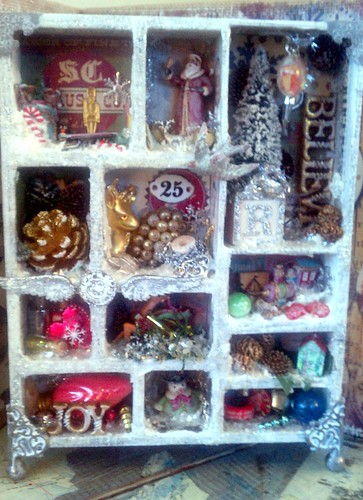
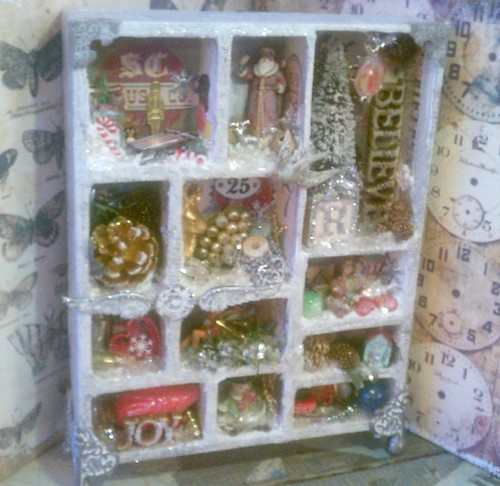
As my loyal readers may have expected, I have had a Christmas assemblage in the works.  I still can't quite figure out why I love to put these together, but I really, really do.  This piece has been getting put together in my mind for quite some time.  I started out by just gathering small items I knew would fit inside the boxes and putting them in little bowls on my craft table.  I also joined a Christmas ornament charm swap, with the intentions of using them to embellish my project.  This makes it extra special, as I have little pieces of others art tucked inside. 


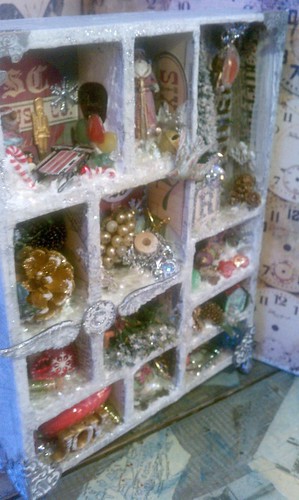
I am so grateful for Simon Says Stamp and Show, as it was their challenge this week of show some depth, that pushed me to actualize this piece.  I used several strategies to ensure that there is a lot of dimension and depth to this piece.  To that end, lots of texture was created with several different applications.  I used distress stain, acrylic paint, molding paste, fiber paste, rock candy crackle paint, vintage mica snow and stickels.  I was also sure to add several elements in each area and stage them at different dimensions.  Decorations were added to the sides and the tops of some boxes too, these details provide a lot of depth and interest.  My last secret to showing the depth here was in how I photographed the piece.


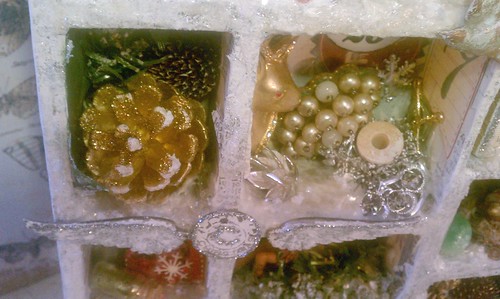
I love this little charm I made with the wings and the holiday muse token.  It reminds me of the spirit of Christmas because of the symbolism of the wings. I colored these metal pieces with picket fence distress stain and then sealed with matte medium.  Stickels were added for more depth and glimmer.


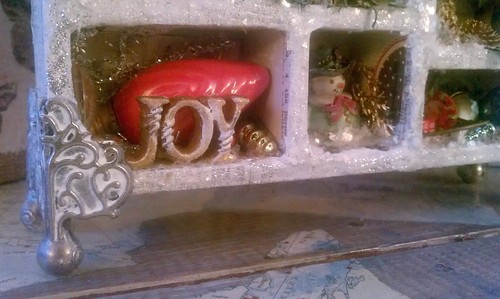
I used the white stain and acrylic paint on many of my items inside this assemblage.  This helped to create a wintry feel and keep the palette muted.  I love the shabby look of the feet from this distress technique.


I really love how I used the various art pastes to create little snow drifts.  I wish you could see the crackle a bit better, the texture on the edges is really delicious. 


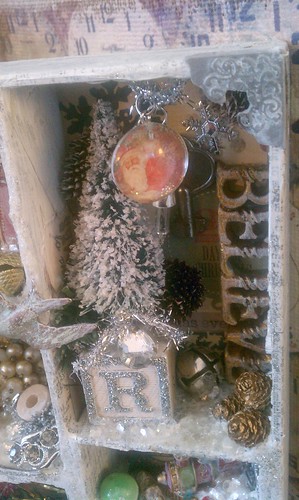
I altered the bottle brush tree quite a bit.  I used gesso, acrylic paint and stickels to make it look snow covered.  In this little area a dangling charm was added. I always like to have an element of movement in my pieces, if I can make it work.


The vintage block above was also altered.  I washed it with acrylic paint and then simply added stickels.  I think these would make charming Christmas ornaments.   This project took some patience overall, as there were many stages due to the drying times.  This picture above does show a bit of the glimmer from the vintage mica snow.  I imagine I will be finding flecks of this in my work area for some time.


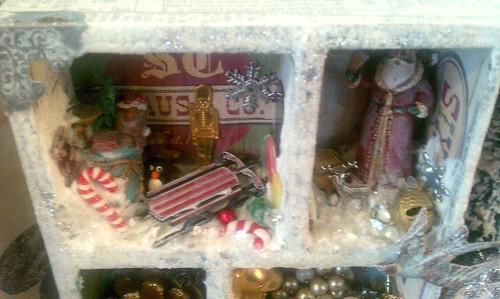
In this photo you can see that the base of the collage on the boxes is tissue tape. I love how the stain adds a whitewash look.  This toy compartment has lots of charms from my art charm group.  Thanks so much ladies, hope you like what I have done!!!


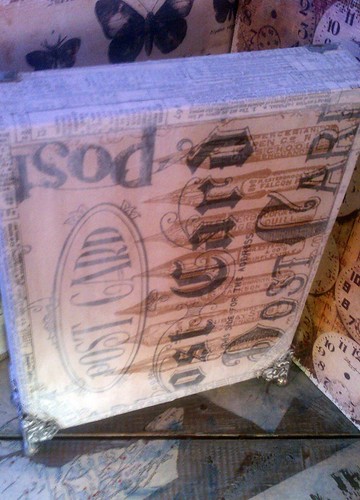
I always like to finish the backs of these boxes.  I chose my favorite piece of kraft paper from Tim's seasonal kraft stack and whitewashed it for consistency.


I hope you enjoyed peeking inside my little holiday assemblage.  I sure had fun creating it and sharing it with you.

Update:  Just after posting this project I found out that I won this giveaway from Red Lead.  Can you believe it!  How lucky am I!  Both thier store and their blog are full of inspiration, so stop on over and check out all the vintage and crafty goodness.  Thank you so much Red Lead, as you can see from above I will put the items to good use!

Merry Christmas to all,

Rhea