Wednesday, May 29, 2013

Round Robin: Feminine Vintage


Here is another installment for a round robin journal swap through Kindred Souls.  This has been such a fun event, with lots of eye candy along the way.  I really can't wait until my book returns.


The theme for Deb's book was "feminine vintage."  I hope she likes what I have created for her.  It is not my usual style, but it was fun to stretch myself with bits of old lace and flowers.


Deb plans on binding the book once it returns to her.  I can tell you from the pages in her packet that she is going to have one amazing collection of art.  It is amazing to see how different artists interpret the same theme.  I am definitely glad I participated in this exchange.

Cheers, 

Rhea


Saturday, May 25, 2013

Junk Book: Ribbon Binding Tutorial


After many requests, here is a photo tutorial for how to assemble this simple junk book with a ribbon binding. With the right stuff on hand, I was able to put this together in  just a few hours.  Here is a link for all items used over at Alpha Stamps.  I have also included a video tour at the end, if you are inclined to listen to me blather on about this fun little book.


I started with a few supplies from Alpha Stamps:

Tim Holtz Worn Cover
Seam Binding
Charms
Sturdy Card stock Scrapbook Paper
pockets, tags, 
Dazzles, Tim Holtz Rub ons.
Tim Holtz mini cling stamps. (fell in love!)


To start off, I cut 10 pieces of quality scrapbook paper to measure 8 3/4 inches long by 6 1/2 inches tall.


I creased each of them in half with a bone folder to make my initial ten signatures.


I cut each piece of seam binding randomly to achieve a staggered look.  The strands of ribbon will need to be twice the height of your book plus extra for tying and hanging.  I would say each of my pieces are at least twenty inches.  I tend to work around measuring when I can.  You will need one strand for each signature, for this book, I had ten.


In order to mimic gilded pages, I added silver gilders paste to the edges  It works very nice on paper as well as metal and wood.  


Each signature is tied into the book with a bit of seam binding or ribbon.  I tie a double not and be sure that the ribbon is lying where I want it.


Charms are then added to some of the ribbon strands.  It is also a good idea to trim up the ends to make it appear balanced and finished.


And then you begin to embellish.  I just love the new fairy vials, I simply added a postal stamp inside this one to make a clever charm.  If you would like to take a closer look inside, and to find a few tips and tricks, I have included a video tour.


Cheers, 

Rhea


Wednesday, May 22, 2013

Travel Junk Book


I just had to make another great junk book with a ton of great stuff from Alpha Stamps.  The response to my last one included many requests as to how to put on of these together, so here is a tutorial and video tour. The new worn cover by Tim Holtz, allowed for a super simple version of this book, which I created on one Sunday morning.  Yes, indeed, you heard that right, I made this in a morning craft session...from start to finish.


This time I chose to got with a travel theme for my book.  I chose a few charms and talisman to give my book a bit of movement and soul.  I love the capsule where there is a postal stamp tucked inside.  I also love the compass rose and the Eiffel Tower, great nods to the theme. 


In this version of my junk book I used three different colors of seam binding instead of dying my own silk ribbon.  This took off a lot of time and mess off the project and still provided a great result with varying color.  


Inside I used all kids of fun stuff.  I would go through my packages of stuff in my stash, choose a pile of ephemera, and then flip through and apply everything I chose from that selection.  


Here is just a tiny sample of what lies inside.  Lots of pockets, bits of tape, things tucked inside and tons of postal goodness.  I just adore the postal theme.  I seriously can't get enough.


Stay tuned.  Later this week I will be posting a video tour of this book along with a photo tutorial on how to assemble.

Cheers, 

Rhea

Wednesday, May 15, 2013

Springtime Pocket Book


This is a simple accordion fold pocket book I made recently for Alpha Stamps.  Here is a link to lots of good stuff from this project.  We were challenged to make something that would hold Artist Trading Cards (ATCs) and this tiny book ended up fitting the bill quite nicely.


I am not sure where my love affair with pockets came from, but I am certainly obsessed.


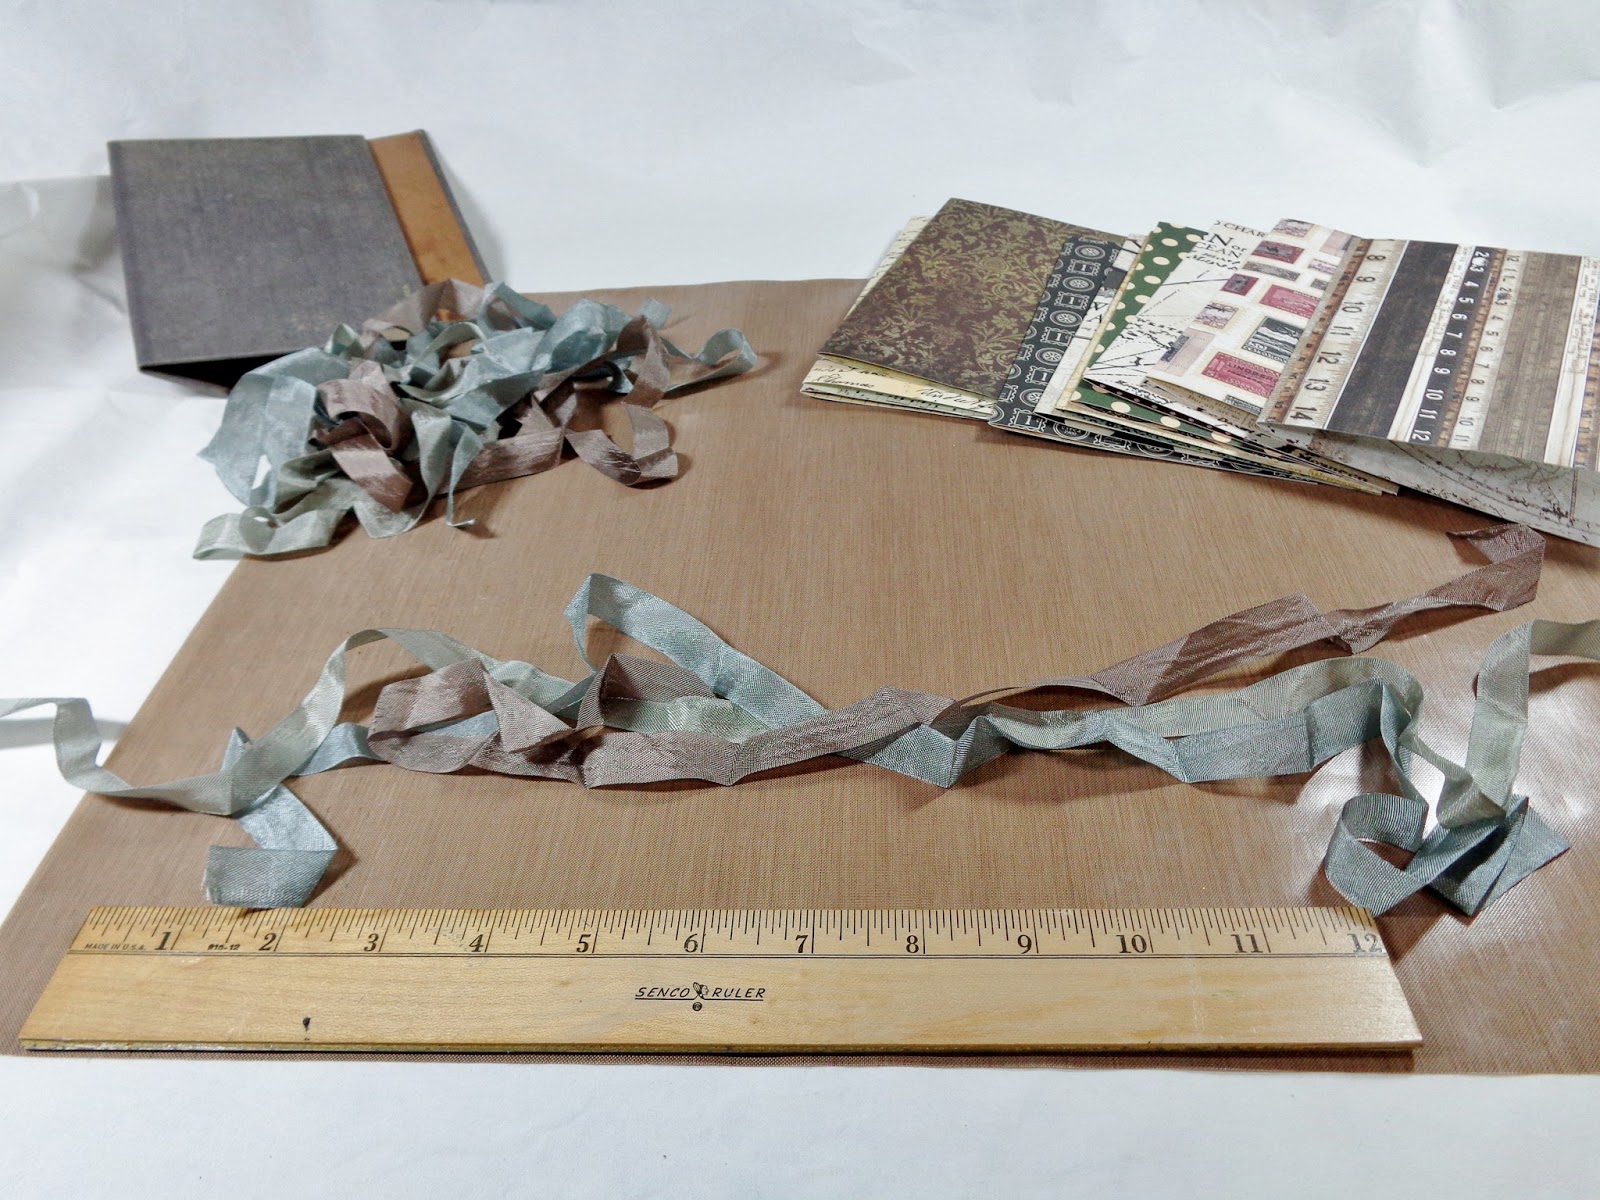
I was inspired by this Once Upon a Springtime paper I had on hand.  Coupled with new images and fun floral bits from the May 2013 Language of Flowers Kit, a sweet book was made in no time.  This was may last little whimsy flower, these were super handy to have around.  Amazing that this one was not touched with gilders paste, I almost always add a coat of that stuff somewhere on a project.  


Inside each page I crafted a tiny flap, just thick enough to hold in an ATC.   I made them by simply cutting small strips of paper and  both gluing (along the outside edge) and stapling (under the lace) them in.


A bit of old school distressing with tearing and ink give little bit of age and interest to this super simple book.


The flowers came in the kit and I layered them with a few sequins as well.


I had some scraps of lace that already had adhesive on them.  This was huge bonus as I have adhesive issues.  I used the left over lacy bits to cover up the staples on the front side of the pages.


One of my favorite things about Graphic 45 papers are the postal elements.  They always have a postmark and the one above is just top notch as I love butterflies. 


A trick I used on the lace for the cover was to metier the edges.  They are not perfect, but it is way better than overlap.  Another way I have dealt with bad transitions such as that in the past is to simply cover them up.  

I hope you found a bit of springtime inspiration!

Cheers, 

Rhea

Sunday, May 5, 2013

Vintage Gentleman: Round Robin


I took some time this weekend to catch up on a round robin I have been participating in through my Kindred Souls group.  I have been super busy with work, so unfortunately I have not been able to upload all of my entries, but my big project is done so I can celebrate with a posting today!


I love the theme of this book.  I could not wait to get into my old Sears and Roebuck Catalog to find the perfect image. I think this guy fits the bill!  I started the page with a piece of paper from the Engraver line for
Prima.  Lots of inking, gilding and distressing techniques were used to yield a background with a bit of interest.  I then added my focal image and another scrap from the page I tore up.  Then I got busy stamping.  I have to say, I am so not a rubber stamper, but this was fun.  I always worry I am going to screw up the page, this time I guess I lucked out.  A few metal embellishments and I called it complete.


I kept the back pretty simple with another great piece of paper with the same line.  I did add a few more rubber stamp images since I was on a roll.  In order to grunge this piece up a bit, I tried adding some Pan Pastels for a smoky haze over the page.  

I hope that Stephen likes my contribution to his wonderful journal.

Cheers,

Rhea