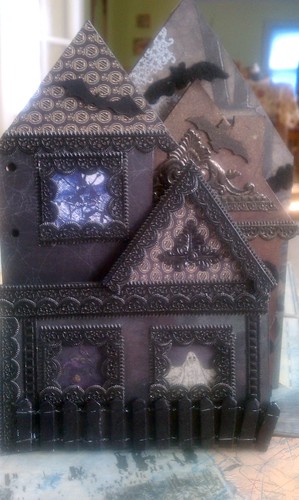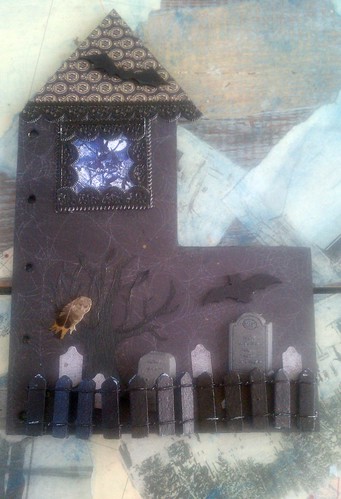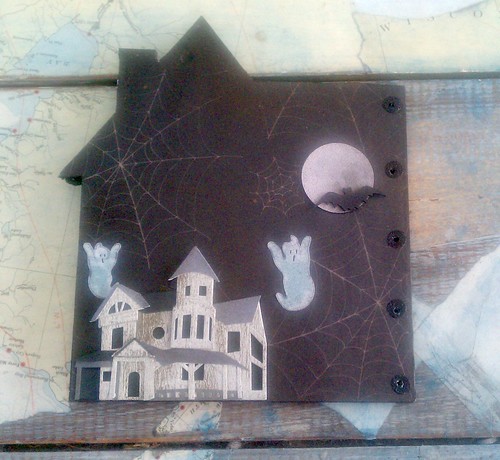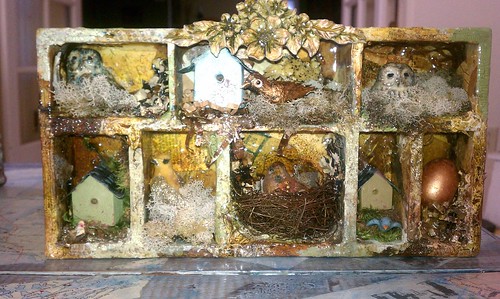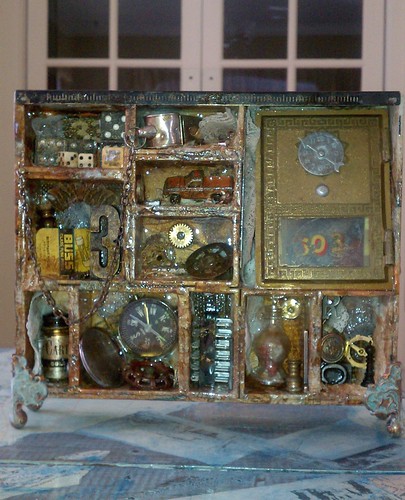
I started with one of Tim Holtz's configurations boxes. These are a staple for the assemblage addict, like me. I layered all kinds of scrap paper,decorative tape and ephemera before spraying the piece with lots of inks and spray webbing. While you can't see much of what is underneath, I do think it is important to layer your background in order to create interest and texture.
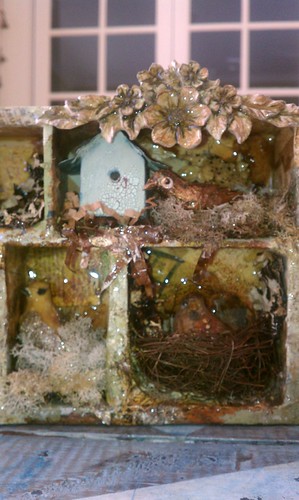
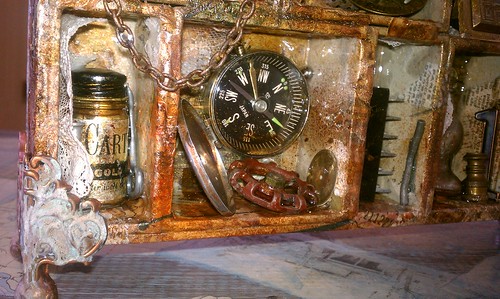
I used all kinds of goodies scored at the local big box store to add to my piece. There is so much Halloween stuff out there to gain inspiration from. Lots of different techniques and inks were used to grunge up my stuff and make it look old. One solution I used was given to me by someone at work and it is amazing! I have no idea what it is as it is an old homemade Mexican antiquing solution, but I absolutely love it. Thanks Monica!
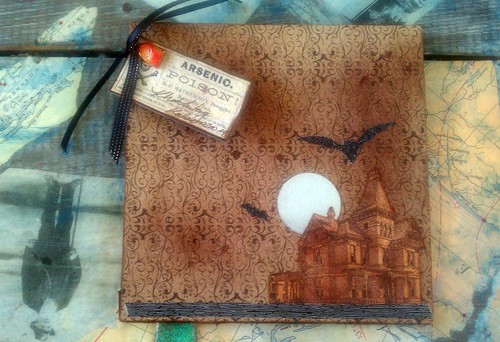
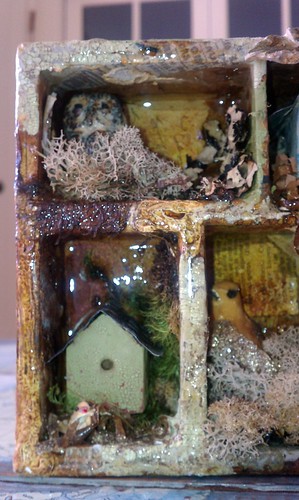
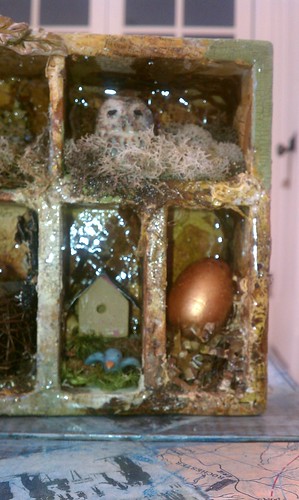
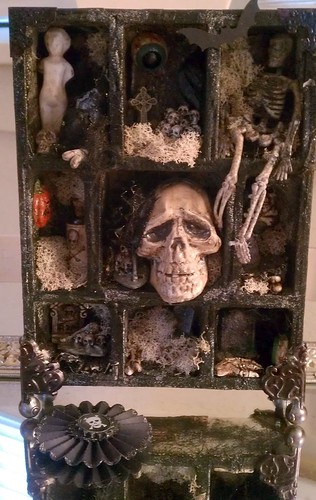
Another element I added, and really love, is all the moss. I have a large bag I purchased and it has really come in handy. The texture it adds is divine, and I think it also has a tiny bit of a spooky look about it. I had planned on putting resin over this piece as I did in the ones I blogged about recently, however, a new product called Goosebumps stopped me. This simple spray does not achieve the same look as resin, however, it does provide a nicw glossy sheen and another great layer of texture.
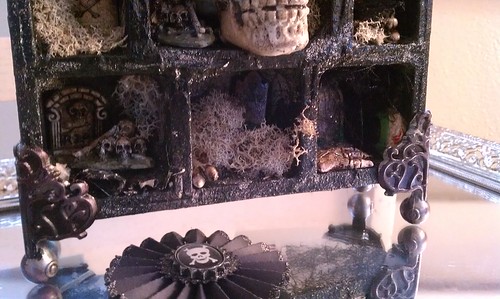
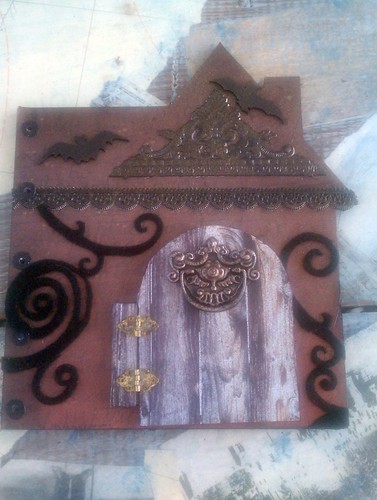
The feet and decorative corners are also from Tim Holtz. The color was off and they looked too new, so I used alcohol ink in pitch black to age them a bit. It is so fun to alter things to suit your needs.
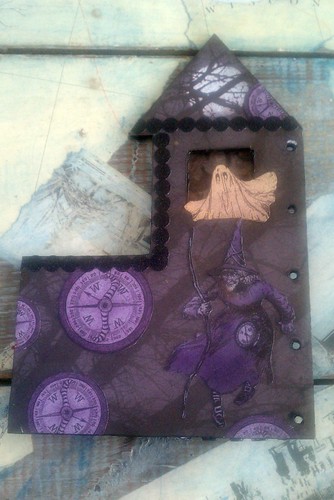
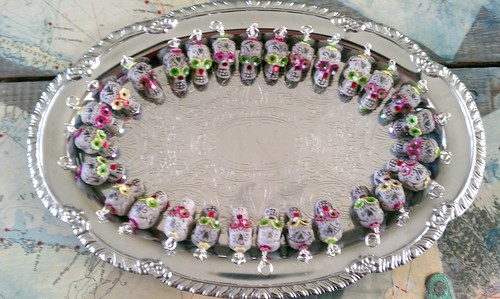
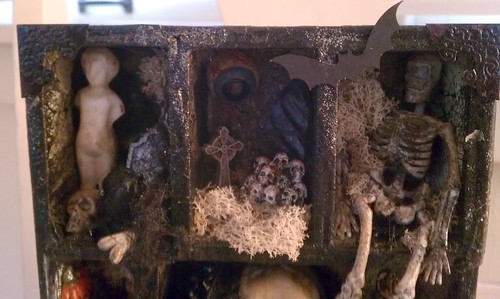
You can see a variety of things stuffed into each compartment, sometimes in unique spots. I am always careful to look at my work in progress from several angles in order to be sure that my composition is sound.
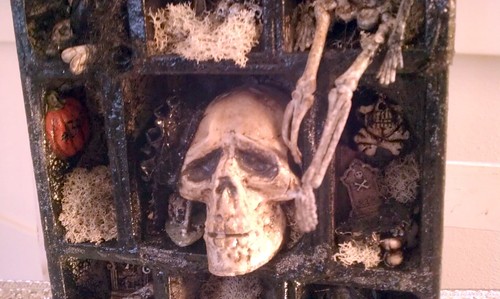 '
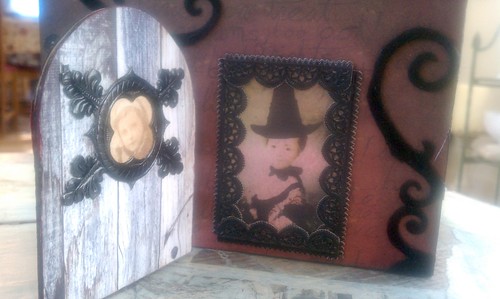
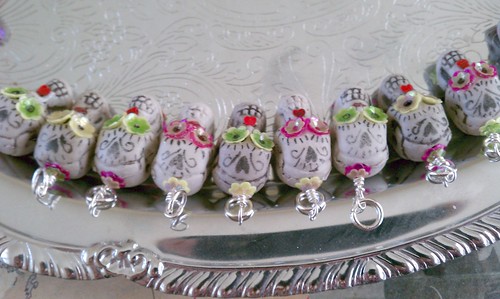
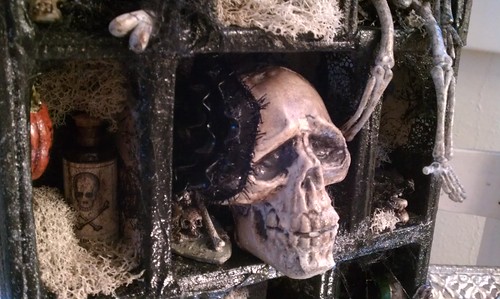
'I just love the focal skull. I added a head piece to jazz it up a bit, and add a feminine touch. I am really into the Day of the Dead art right now. Stay tuned for another project I am working on in this theme, I can't wait to reveal that one!
I hope you enjoyed another chapter of creepy art, I know I sure did. I am posting this on Artists in Blogland, this is a great community of inspiration. Check it out if you are curious!
Cheers,
Rhea