Sunday, November 27, 2011

Dream a little Dream

This idea has been rolling around in my head ever since I read a recent post by Lori Anderson on dreams.  She is currently having a really neat virtual craft fair that is worth checking out.  You can find great discounts on handmade goods and take a crack at winning something.  Thank you so much for all the inspiration you provide Lori!


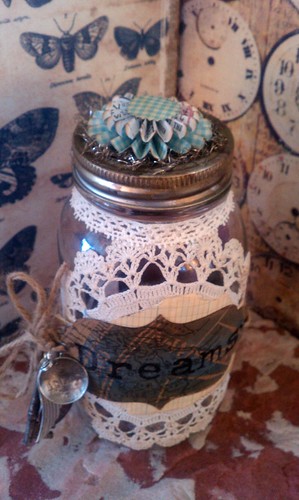
As soon as I read about Simon Says Stamp and Show's challenge this week to use tickets I knew I wanted to combine the two ideas.  I started off with a large mason jar.  The label was the jumping point of my altering.  I used kraft resist paper by Tim and stained it with distress stains.  Extra ink and water were used add to the distressed look.  I stamped the title of this journal jar and set eyelets to reinforce holes to tie it on.  I used twine to give it a rustic look.  Something was missing as far as a background, so I dug out a doily which I attached with spray adhesive.  This worked perfect for this application. 


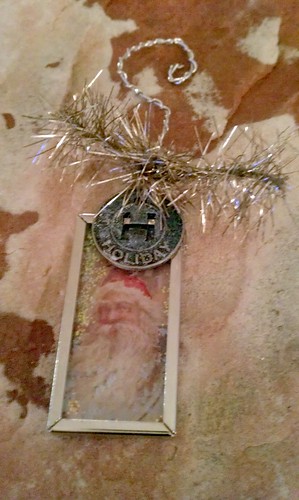
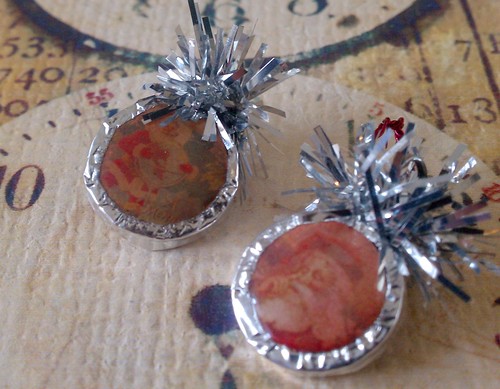
The top detail is filled with more Tim. I used my new small rosette die and punched out both of them in this gingham pattern.  This paper is a nod to the ultimate dreamer, Dorthy from The Wizard of Oz.  I  used Tim's trick of adding tissue tape, yep, with a ticket pattern.  The vintage tinsel on the bottom of this embellishment was an ultimate score from Lord Tim's very own Etsy store.  More ink adds an aged look to the rosette. 


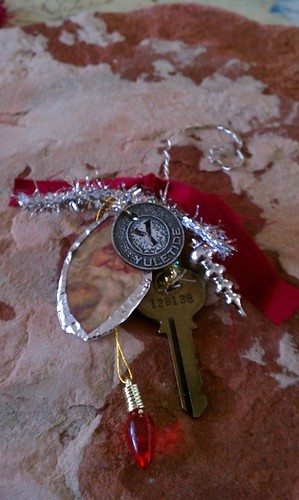
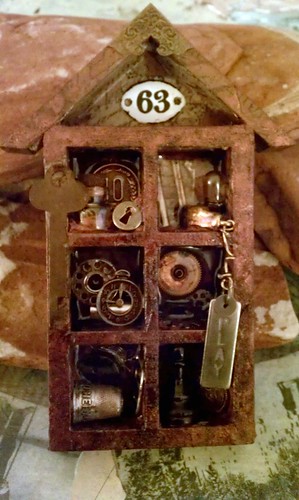
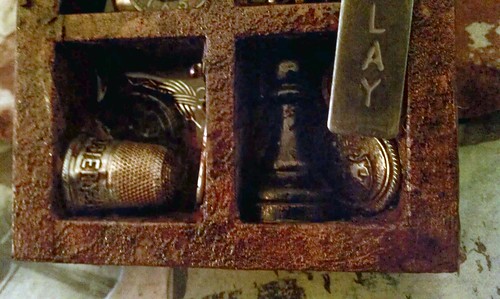
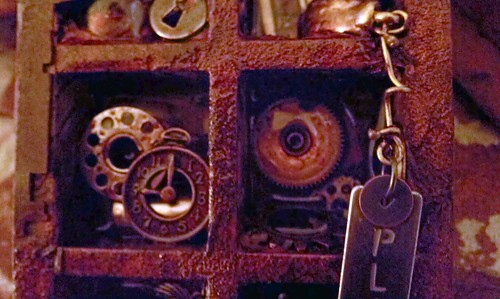
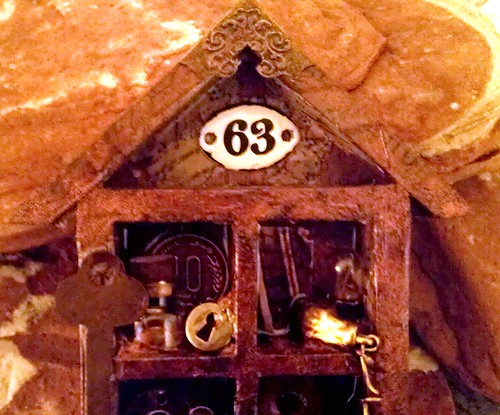
I had to add some bits of junque and metal.  An angel wing, a key, a pen nib and a few sentiments were tied into the twine wrapping.


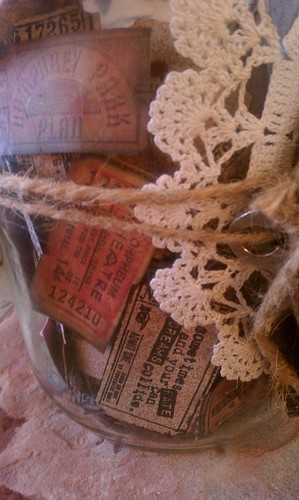
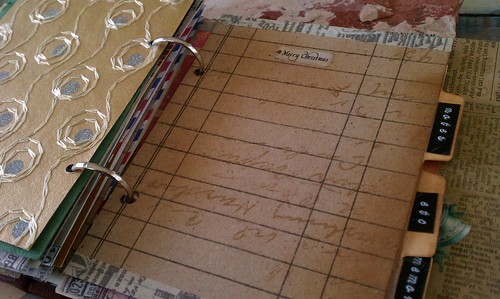
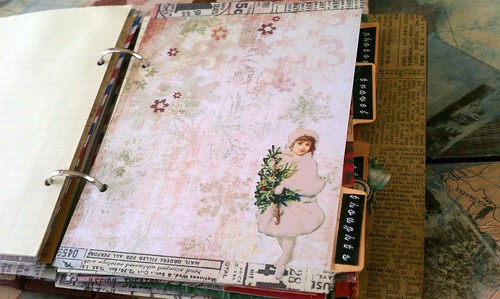
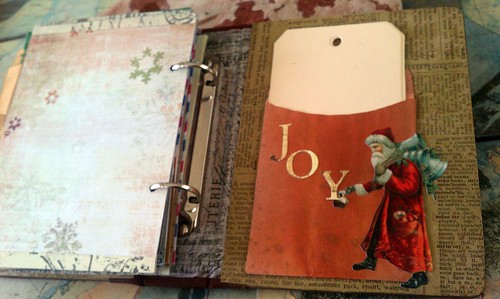
Inside the jar is a multitude of tickets cut out from Tim's die.  I loved the symbolism of jotting my dreams upon the tickets, as tickets usually take you places.  I also included some of Tim's sentiments stamped on some of the scraps because they were perfect for this project : "Sometimes fate and your dreams can collide" and "A dream is a wish your heart makes."  Finally, I tossed in a few tickets I cut out from one of his older paper stacks.


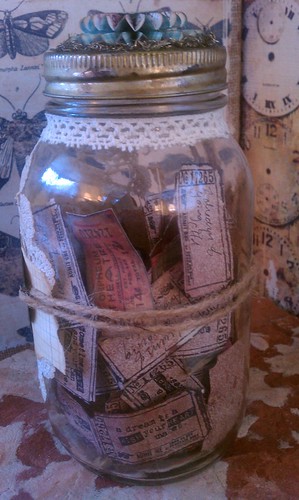
It was fun to sit down and fill up my jar with dreams.  I thought big thoughts and dreamed big dreams and freely wrote them down without judgement.


I think making a journal jar with blank scraps inside would be a fun gift for a thoughtful pal. 

Thanks for stopping by!

Cheers,

Rhea

Saturday, November 26, 2011

Altered Holiday Bits

I have manged to get a few things done today and thought I would celebrate with a post.  I have a looming deadline for some swaps, which always helps to push me along.  One of the projects I completed was a mystery element ornament swap.  Our lovely hostess, Deb, provided us with a material which we had to utilize in some way to create a Christmas ornament.


She gave us a round, plastic disc which ended up being my base in these holiday junque ornaments.  I die cut an oval and glued on a Santa image.  The edges were covered in memory tape and a hole was punched up top.  Then I started to embellish with lots of found objects and fibers.  I used small scale ornaments, lights and real replacement bulbs. A recent score of keys allowed me the freedom to add another element to these along with some holiday muse tokens by Tim Holtz.  I used white picket fence distress strain on the tokens to add another wintry element to some of the metal. 


I used Tim's texture hammer to pound the edges of the memory foil for texture.  Each part was placed at a different level to add interest.  The hangers were simply hand formed from heavy gauge wire once it was twisted together.  I love how they add a unique whimsical element to the ornaments.  I attached old replacement Christmas lights some of them as well. 


This is an altered 250 count matchbox.  I made this for a holiday swap, so the inside is filled with goodies for my partner.  Lots of fun supplies were used: tissue tape, kraft paper, broken jewelry, German scrap, shrink plastic, a Tim Holtz adage ticket, stickels and tinsel.  One of the items inside of the box is a smaller Christmas Ornament, pictured below.  I am going to enter this into Simon Says Stamp and Show's weekly challenge.  This week they are looking for tickets. 


Here I used snow cap alcohol ink and stickels on the glass before adding Santa with glossy accents.  The top is adorned with a bit of vintage tinsel from Tim's etsy shop this season.  Another muse token and unique wire hanger finishes off this tiny gift. 

I hope you found some inspiration in my recent holiday happenings.  Be sure to come back soon as there are many projects in the works!

Cheers,

Rhea

Sunday, November 20, 2011

Holiday Junque Journal

About halfway through this project I conceded that it would be a holiday gift, so please forgive the paper bit hiding someones last name!  I have to give total project inspiration to none other than Mr. Tim Holtz.  He recently sold a bunch of really cool holiday journal kits on Etsy.  I wanted one very bad, but decided to work from my stash instead.  This is my very first handmade book and I found it to be really super easy, thanks to Art Parts, sticky back canvas and Tim's binder rings.  I love how you can move the pages around and add stuff!

Link to tutorial here.

Link to a video tour of my own Junque Journal for Christmas 2011 here.


There are several section dividers with interesting bits inside.  I included a few pockets, envelopes, recipe cards, vintage ledger paper, an old book cover, a bingo card etc.


I used a bit of reproduction ephemera and cardstock stickers to give the book a holiday feel.  I think this project would lend itself well to recycling Christmas Cards from the previous year.  It would also be cool to punch the ones from this season and stash inside. 


I stenciled some air mail envies.  I thought these would be good spots to stash receipts, coupons or small lists.


In the "photos" section, I just included some simple cardstock.  Hopefully the recipient adds some holiday pictures to the mix.  This is just a small sample of all the goodies that can be found inside. 


I love how this turned out.  I think I make make at least one more so I can have one!


I may just add a few more bits of paper to this before all is said and done.  I adore the ephemera type pages.


I thought some blank tags would be good to jot down notes or lists.  I may add a few inside with holes punched in the side now that I think about it. 


I am so pleased I forced myself to work from my stash.  While I did not have each and every item, I certainly made do.  I also love the added elements of found objects and junque that I personalized this with.  I can only hope the recipient will enjoy! 

Cheers,

Rhea

Saturday, November 12, 2011

Holiday Charm

I have still been in a bit of a creative lull.  I managed to finish up a swap I started a little while ago for a charm group I am in.  The challenge was to create a tiny altered ornament, one and a half inch or smaller.  I am going to enter one set into Simon Says Stamp and Show's challenge of upcycling. 

The first set I created were made from vintage ration chips.  These are small tokens made of vulcanized rubber.  They were perfect for altering. 


I started with two chips.  They were glued together and a piece of wire was added inbetween to create a hanger for the jump ring.  I topped them off with tiny images from Tim Holtz's seasonal paper stash.  The edges were covered with metal foil tape and then I sealed the top with a layer of Glossy accents.  I added a touch of tinsel at the top for texture.  The chips themselves are smaller than a dime, so these are pretty tiny. 


I signed up for two sets of ornaments for my swap.  This is a sample of my second mini ornament set.  These were also quite simple to create.  The glass domes make for easy altering.  A bit of holiday paper was glued with a touch of Glossy Accents and a dab of stickels. I also cut a bit of aluminum flashing with a round punch to cover the paper on the back.  I considered another bit of tinsel, but decided against it.  As I look at them online I wish I added it, they are missing a texural element. 


I also indulged in a round of monthly color swapping with the Art Charm group.  This month, silver findings with white and clear beads were our source of inspiration.  I made a bunch of extras, so that I can create a charm bracelet when I receive all of them back.  This way there will be at least a few common beads throughout the piece, tying it together.  My little dangles are made from a small selection beads, but, they are not all the same. 


I also finished up a project I am using to barter.  My collegue recently requested a bracelet created with green and white.  She is a big fan of the Michigan State Spartans and she wanted an elegant way to show her support on game days.  We are swapping jewerly for antiques.  How fun is that!  She has an old typewriter for me to start. I think this is going to prove to be a very fun arrangement. 

Until next time...

Rhea 

Sunday, November 6, 2011

Embracing the change

For me the transition from fall to winter is typically a sad one because I simply adore the autumn season.  This year I am doing my best to embrace it.  I helped my transition this year by hosting a small ornament workshop yesterday for the Michigan Altered Books and Art Group (MIABA) on Yahoo.  I posted samples of the ornaments we made here.  We met up at a local treasure called The Stamp Shoppe and had a fun creative day of show and tell, chit chat, resource sharing, great food, shopping and we even managed to make a few ornaments too. 

I brought a project to do that I did not even get the chance to touch.  The thought came to me earlier in the week to alter a project I had already completed, you can read more about that here.  The trigger was this week's challenge over at Simon Says Stamp and Show, which was to show something with a house.  I already completed one project earlier this week, but I really love this theme. 


I had an idea to I alter the back side of this piece with yet another lovely paper by Graphic 45, Christmas Emporium.  I picked up this 8x8 paper stack at a gem of a store in Jackson, Michigan.  It is called Altered Art Addicts and it is filled with lots of unique things you typically can only get online.  You can Like them on Facebook to get insider sales and up to the minute news on what has arrived.  They had all of Tim Holtz's new District Market stuff, yum!  We hope to have our next MIABA meeting here too.


I did not do quite as much fussy cutting with this one.  I really wish I had some tiny vintage tinsel, I may have to seek out some trim just yet.  You can never have too much sparkle. 


One of my favorite things about Graphic 45, is that they always incorporate a postal theme in their papers.


I kept the embellishments simple, sticking to some rusty primitive elements and just a touch of stickels.  Can't you just see some tinsel along the roof line?  I think it could suit the fairy side as well.  Now if I can just find the perfect trim.


I almost feel like I am cheating when I use these papers.  They seriously make creating something lovely quite simple and quick to do. 


As I embrace the season change, I am reminded of gratitude.  It is with much gratitude, that I share a chance to win a couple of really cool crafty books through Laura Anderson's blog, Pretty Things.  Stop on by and check it out if you choose.  Her blog is refreshing and inspirational for sure!

I wish you the best of luck in embracing the change.

Cheers,

Rhea


Wednesday, November 2, 2011

A house of junque

I am very happy that Simon Says Stamp and Show managed to help me get my mojo back.  This week their challenge was to create something with a house, and I took the bait.  I was surprised to find that I had several house items I could alter.  I started all three, but two proved to be problematic.  At least I finished up this little guy. 


I found this small house at a garage sale or flea market somewhere along the way, I think I paid a dollar for it. The first layer was two types of  tissue tape and some torn scraps of paper.  I then followed up with spray inks in several colors. 


The found objects, which I lovingly call junque, were added with coarse modeling paste in some places and glue in others.  More ink was added to color the paste and then wiped off of a few of the objects. 


Then for the fun part.  I flooded each little area with resin.  I have to say I just love how this adds another glossy layer to the piece and keeps your junque sealed in.  The pictures I have are not that great so it may be difficult to see.  Winter blogging is going to be tricky, it gets dark so early and I really don't like how a flash shows online.  My editing skills in picnik have some room to grow, I know these last two shots need some help.


I just love doing assemblage work.  I am always on the hunt for little things to alter, you will be surprised what you can find once you start looking.  I am hopeful I can resurrect or fix the two other house projects I managed to destroy while finding my mojo.  Stay tuned to find out!

Cheers,

Rhea