Showing posts with label postal. Show all posts

Saturday, March 7, 2015

Air Mail Collection Folio


This project was completely inspired by Linda Ledbetter and her amazing Curiosity Crew.  They put together such an amazing array of projects, I could not help but to play along.  


This post is super long, so I warn you in advance!  Check out the great latch I added to close this fun folio.  I have included an image here of the back so you can see what the base of the project looked like.


Here you can see the great translucency that Ice Resin gives Tim's tissue wrap.  Some of my grungy stenciling and background can be seen peeking through.


I imagine I could keep on working in this book for a long time yet! It needs some doodling and journaling.


I used lots of the new vellum ephemera from Tim Holtz.  I ran most of my stuff in this book through my Xyron sticker maker and it worked great.  You can also see above where I used eyelets to attach my book to the folio along with a bit of E6000.  The combination of a cold connection and heavy duty glue made for a perfect combo.


Note that I added some stenciling after the project was complete.  This way I added a final layer of ink on top of everything.


This week's contest for the Compendium of Curiosities is sponsored this week by Inspiration Emporium.  I have not placed an order there before, but their site looks yummy!


The vellum has such an awesome translucency, I just love it.


Home made envelopes, paper bags, tags, tissue tape and tickets are sprinkled throughout my book.


 There are things tucked inside of each little pocket and envelope too!


Some of the ephemera is simply clipped on.  I like to have the element of movement to my work.


I used lots of scraps from my resin tissue wrap in this project as well.  The round postmark from the British Post office is one example below.


I hope you enjoyed today's post! I sure had fun creating this project! Thanks to the whole crew for an amazing week of inspiration.

Cheers,

Rhea


Tuesday, January 28, 2014

Steampunk Mail: Published!


To all my faithful followers, I am so excited to share that I have reached my art goal of being published!  I am feeling quite happy and accomplished.  The magazine is Just Steampunk by Scott Publications.  


I purchased this little paper mache box for a dollar at a wonderful place called USArtquest, which was the inspiration for this project.  This is also where I met a certain man named Joe Rotella of Create N Craft, who pointed me in the direction to submit. Incidently, I also met Steampunk Eddie at the big sale at USArtquest, who is on the page opposite me in the magazine!


Below is a picture of my page from the publication.  I was tickled to later see my work on the title page of the home decor section too!


I have to give shout outs to both Graphic 45 and Alpha Stamps as they were both mentioned in the article as well.  I can't believe they put most of my text too!!!  It was edited for tense, but other than that, these are my words...and there are lots of them.  There are not too many long written pieces in this publication.  


I love the texture that the silver gilders paste created on the wings and on the Dresden Scrap that borders the box.


Lots of metal embellishments add to the industrial look of the project.


See some of the cool mail below.  I just started creating freely using up scraps on hand.  I thought it was quite clever to use gears, keys and junk as tabs and dividers.


The large postcard is captured in a mica frame.  I also used a lot of embossing.  This is an easy technique that gives you a lot of bang for your buck.


I love the addition of vintage postage stamps to the mix as well.


As always thank you for your support!  Each and every one of you who stops by is appreciated, and your comments really do mean the world to me.  

Cheers, 

Rhea


Saturday, May 25, 2013

Junk Book: Ribbon Binding Tutorial


After many requests, here is a photo tutorial for how to assemble this simple junk book with a ribbon binding. With the right stuff on hand, I was able to put this together in  just a few hours.  Here is a link for all items used over at Alpha Stamps.  I have also included a video tour at the end, if you are inclined to listen to me blather on about this fun little book.


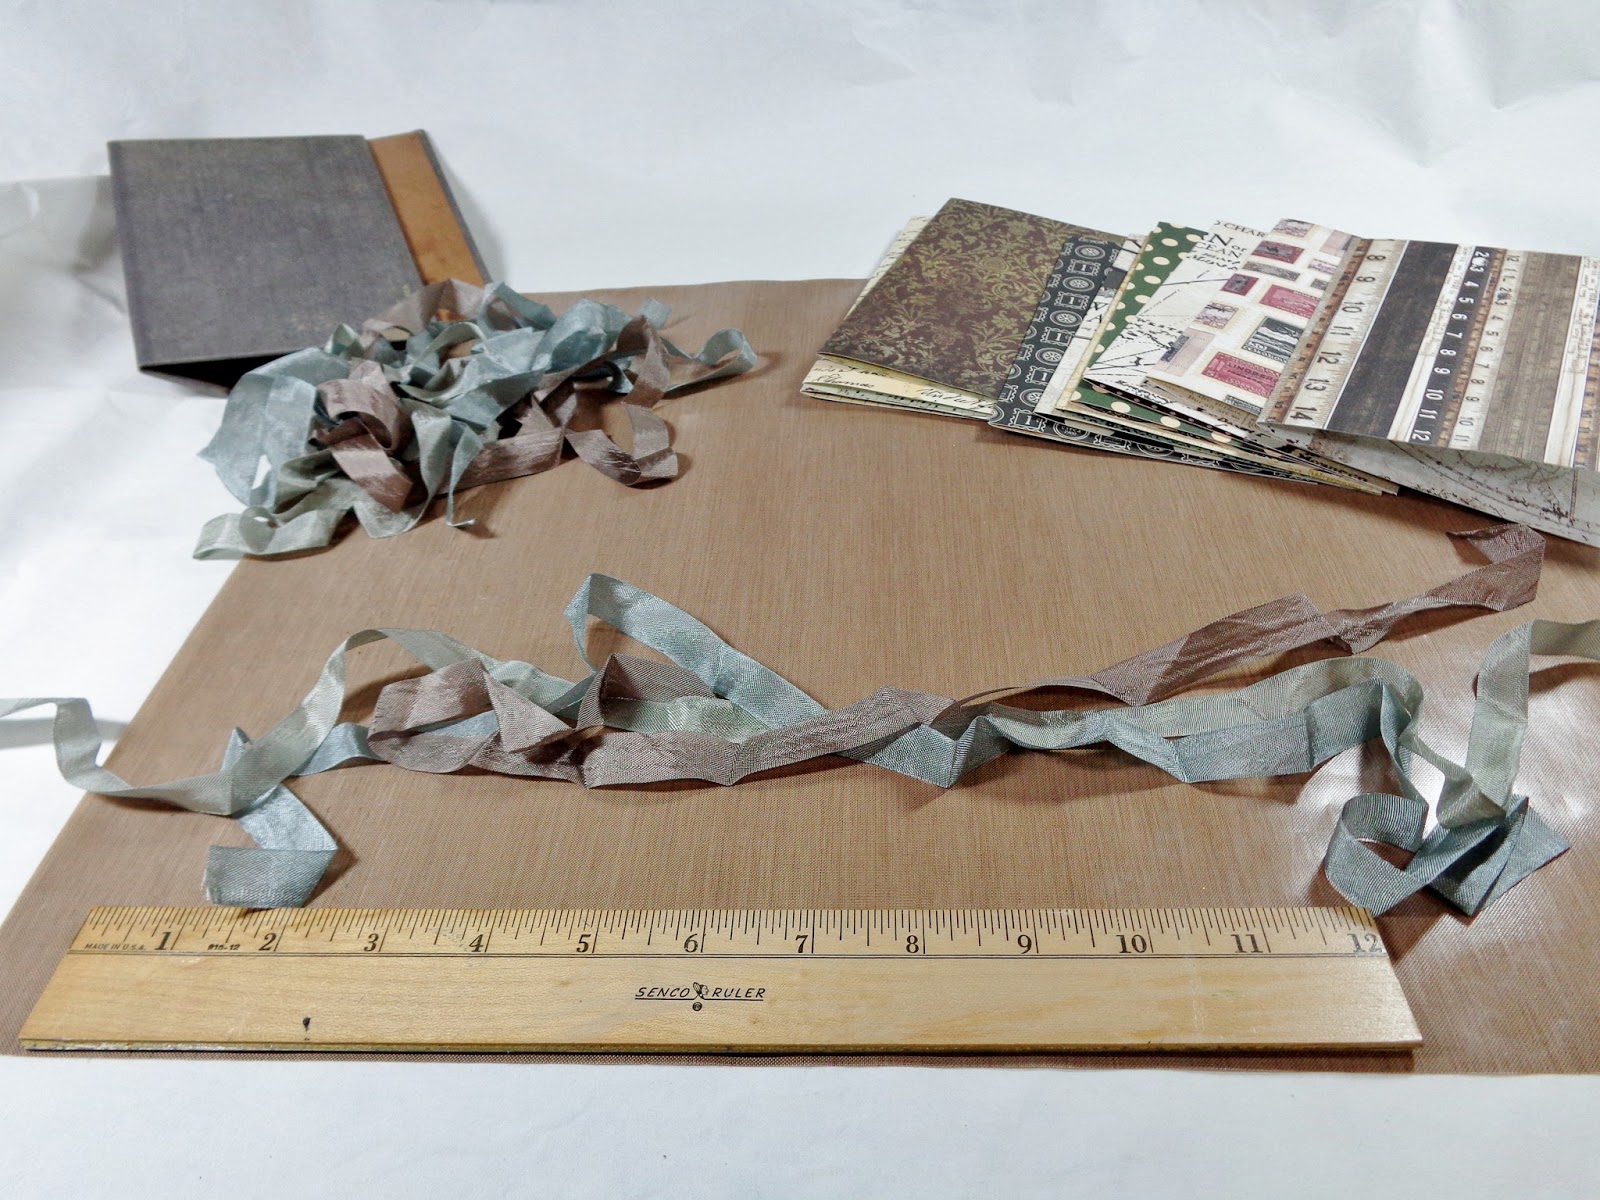
I started with a few supplies from Alpha Stamps:

Tim Holtz Worn Cover
Seam Binding
Charms
Sturdy Card stock Scrapbook Paper
pockets, tags, 
Dazzles, Tim Holtz Rub ons.
Tim Holtz mini cling stamps. (fell in love!)


To start off, I cut 10 pieces of quality scrapbook paper to measure 8 3/4 inches long by 6 1/2 inches tall.


I creased each of them in half with a bone folder to make my initial ten signatures.


I cut each piece of seam binding randomly to achieve a staggered look.  The strands of ribbon will need to be twice the height of your book plus extra for tying and hanging.  I would say each of my pieces are at least twenty inches.  I tend to work around measuring when I can.  You will need one strand for each signature, for this book, I had ten.


In order to mimic gilded pages, I added silver gilders paste to the edges  It works very nice on paper as well as metal and wood.  


Each signature is tied into the book with a bit of seam binding or ribbon.  I tie a double not and be sure that the ribbon is lying where I want it.


Charms are then added to some of the ribbon strands.  It is also a good idea to trim up the ends to make it appear balanced and finished.


And then you begin to embellish.  I just love the new fairy vials, I simply added a postal stamp inside this one to make a clever charm.  If you would like to take a closer look inside, and to find a few tips and tricks, I have included a video tour.


Cheers, 

Rhea


Saturday, May 26, 2012

Postal Charm

I simply adore all things postal.  I love to imagine the journey that a piece of living ephemera has taken to get where it is.  I love the stamp, the date, the age, the wear, the way the envelope was opened, the handwriting, the surprise of another bit of accidental ephemera....I could go on and on...

Well I am sure my charming friends will not be surprised that I signed up to make two sets of ten charms for one of the latest swap offerings.  I experimented with my first set by gluing two stamps together and dipping them in UTEE.  They were really cute until I attempted to add a hole and cracked them...a wonderful failed experiment.


The first set here were really simple.  I simply added an old stamp image with some glossy accents and put packing tape on the back to seal it a bit.  These domes are made of glass and they magnify the image.  I tired to find stamps with interesting postmarks.


I like the fun nature theme on this set.  I adore the one with the tree.  


This lot is filled with women.  I love the one at the top with Virgin Mary. 


No particular theme with these ones.  Just super simple, super cute little charms.  I am so addicted to making them!


In this set I played with new materials, which was so much fun.  The back of this set is scrap leather.  I picked up a few bits at an industrial outlet type store on the super cheap.  I glued on a stamp and then added a layer of mica, another new fun thing to play with.  A vintage eyelet from a recent estate sale, along with a bit of guilders paste and these were done.  


I like the color the paste adds, I think it helps add to the story of my little charm. 


Just think of all the stories, messages and words of love all these little stamps carried.  And how fun to create another little memory of my creation to the mix.  

Thanks for stopping by and sharing some inspiration with me!

Cheers, 

Rhea


Thursday, January 19, 2012

Farstarr's Mail Art Journal

Quite some time ago I started a round robin journal with a small private group on Swapbot.  It did not go as planned, but at least I finally got my book back.  For that I am grateful.  I have not sent it back out to have the other seven people work in it, because I am afraid it will not return.  I am, however, keeping up on my end of the deal and working in others books.  Since my journal is mail art themed, I have offered participants to send me a bit of mail art for me to add to my book tip in style. 

This book comes from Mandy, aka, Farstarr.  She and I have been swapping mail art in some form for a while now.  She has a love for fish and science as well as all things postal and vintage.  I think the book she altered is actually a moleskine.  It is getting really fat and full of character already.  I hope she does not mind...I added a bunch as you will see!


The cover and inside few pages were created by the owner of the journal.  I love Mandy's use of vintage ephemera and stamps.  I could not resist adding this German scrap fish to the front.  I am hopeful she does not mind that I added this here. 


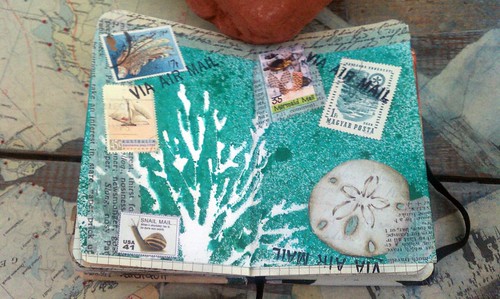
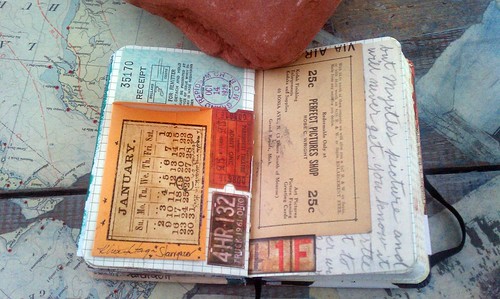
I got a little carried away on the inside cover too.  I had some stickers that I thought would go really well with her journal, so they found their way on the page too.  Each page I worked on has an imprint of a vintage Via Air Mail stamp.  I thought this was a clever way to "sign" the page, without being obnoxious. 


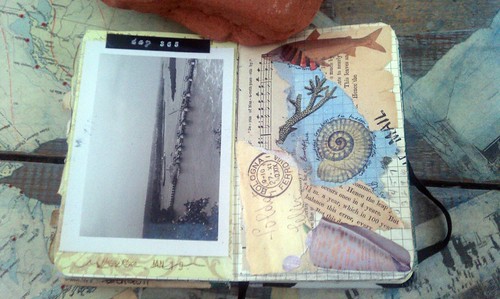
This is the first spread I did.  It was quick and easy to do since Mandy sent along an envie of dreamy ephemera with her book.  I did find though that the pages I did with her stuff look very similar to the other entries, so I later ventured into my own stash to switch it up.


I just had to use the vintage picture that was in the ephemera envelope.  I love the look of an old photo.  A simple label was added to the top of the page, I titled it "day 365."  Hopefully the owner appreciates this nod to her Mail Art 365 project. 


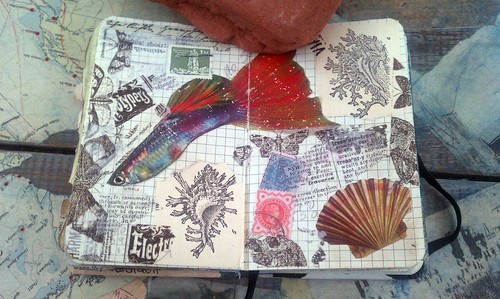
This page is filled with simple collage and scraps from my work table.  The guppy was in Mandy's stash, and I added a cute title after taking the picture.  It will just have to be a surprise for the owner.


This page also had a few additions post photos due to composition issues.  It was too dark to retake them when I realized this.  Bring on the longer days for better blogging!  Anyhow, I also decided to cover up the surfer, as the owner of this book really does not like people in her art.  Don't worry Mandy, the surfer is gone!


This background was left over from one of my first swaps on the bot.  I thought it was a nice addition to the book, something different.  I also added a few scraps, some used stamps as well as some artistamps I had in my stash. 


And here is my final spread.  This layout is much different than my usual style.  I embraced the straight lines for once.  Here I used an old letter, some vintage ephemera from my own stash as well as a few of Tim's salvage stickers to finish the page.  I love the small envelope glued on the page.  I enjoy having interaction in my work if I can add it.

Since this week's challenge over at Simon Says Stamp and Show is to show off "anything besides a card," I am going to link it up.

I hope you enjoyed seeing inside of this wonderful compilation of mail art!

Cheers, 

Rhea 

Monday, April 25, 2011

Once Upon a Springtime

I just love the "Once Upon a Springtime" paper series that Graphics 45 has.  I have been hording a few sheets of this paper for a while and decided to finally use some of it since spring seems to have really arrived here in Michigan.  I started with a cute little pressed board box "book" that was given to me from a new crafty pal Karen, who owns Dillon's Scrapbook Store in Portage MI.  How kind and sweet for her to think of me!


I covered the book in a flocked paper from the store as well, but I failed to photograph the back of the project where you can really see the paper.  If you look really close you may be able to pick out the light pink brocade pattern, which is so soft from the flocking.  I chose an image for the front of my book and framed it out with Tim Holtz's corners.  I also added a hitch post at that time, knowing I wanted something to either dangle or act as a closure for the box/book. 

Now typically I am not one to gravitate towards pink...or ribbons for that matter, but today I chose to embrace these new to me elements.  I backed a title portion of the paper with a nice ruffle trim and attached it to the top of the scene.  A few ceramic flowers were added as well as as a dimensional butterfly. To finish out the front, I attached a couple of Tim's super cute buttons, and buttons just happen to be this week's theme for the Simon Says Stamp and Show blog challenge this week.


The top portion of the inside started with one of the postcards from the paper.  Oh, how I love all things postal.  I added a strip of Tim's newest tissue tape along with a fragment I altered with paper and foil tape.  Another butterfly sticker and a bit of yarn holds a key, completing the inside upper area of the piece.  For once I tried to keep it simple!  I did have to make sure that my embellishments were not going to interfere with the closure of the box as I crafted.


To frame out the bottom I started by covering the edges of this skinny little book box with another one of Tim's new tissue tapes.  A light blue subtly printed scrapbook paper frames out the main image.  I used more ceramic flowers, this time spraying them with Glimmer Mist as their color did not work with my palate.  They are a bit dark in my opinion, but there was nothing I could do, the other flowers I had that were similar were too dimensional and would have broken due to the lid. I added a bit of texture with some trim up top and a length of textured yarn.  A couple of shells and more of Tim's buttons add a bit of interest, along with a tiny bottle, filled with flowers (spring) and watch parts (time).  I added a few altered corsage pins to add a bit of height and frame out the inside.  I did not make the pins, they were given to me in a swap.  


In the end, I found a little copper charm that fits the motif perfect.  It is hard to see in this picture, but I also added Stickels to the wings of all the fairies to add a bit of magic. 

Monday, April 18, 2011

All around the Globe

My steampunk journey continues.  I had a globe image that I had been holding on to for a while and with Earth day upon us, this was my inspiration source. I made an early decision to include many round things in my collage.  The background is an amazing sheet of paper from Hollanders.  It is a collage of aged sheet music, ads and books,  I also added my own custom ephemera.  I purchased two lovely vintage rulers with great graphics this weekend at a flea market.  On of them is from right here in Kalamazoo.  I had to make copies of postcards for a recent project and had extra space on my sheet.  I had the brilliant idea to just add my two rulers along the side of my postcards, instant custom deluxe paper!


I started to sift through my stash for images that were round.  I gravitated again towards my deluxe paper.  I cut out a few of the clocks along the edge of the sheet and played around with the layout.  A few stamps add to the layers of elements.  I added the timepiece from Tim Holtz along with a few spinners.  The clock was quite dark, so I used a secret from Tim himself, and added a tiny bit of acrylic paint and quickly wiped it off.  I think this adds a bit of age to the piece.  

For the charm embellishment I started with an old porcelin watch face and a few gears.  A creative spark hit me and I recalled a strand of angel wings I had recently purchased.  I tried to get it to float on the wire in a way that was pleasing, but it just was not working.  I resorted to gluing it and also added another watch piece on top of the face.  I just love how this turned out!  An eyelet was set in the corner of the page which provided a place to add my custom charm.    

Thanks to all the people at OWSE and Simon Says Stamp for always providing such wonderful creative inspiration and support. 

Saturday, April 9, 2011

Paris and Pendants

Well today I managed to try a few new crafty techniques.  I made two ATC's, which I have not created in quite some time.  This was for a technique swap.  I am really glad I tried it out, I was surprised at how well it worked. 


For these cards I started by stamping a Tim Holtz stamp with white acrylic paint.  After it dried, I buffed in a few hues of Distress Inks.  The key to this technique is wiping down the paint after you have inked.  Once I did this, the white resist really showed through.  I added a few old used postage stamps, air mail stickers, rub ons as well as another stamped image of pen nibs.  The edges were sanded and inked to frame out the cards.  I forgot how much fun ATC's can be.  They are so small and quick!


Another new item I tried was Lisa Pavelka's Magic Glos.  It was really easy and fun.  This resin like material cures in the sunlight or under a UV light.  I had issues with air bubbles, but I really don't mind how they look.  I used some small bits of wonderful paper I picked up at an amazing store in Ann Arbor called Hollanders for the background and layered in bits of watch parts.