Showing posts with label 7 gypsies solo letterbox tray. Show all posts

Thursday, June 4, 2015

Boots n Saddle Shadow Box


This project was made especially for Canvas Corp and the release of their Boots n Saddle paper line. 


I was thrilled with the challenge to find "junk" in a Western theme, a theme I would not typically gravitate towards.  The stuff I found surprised me.  I not only had quite a few fun bits in my stash, I readily found some charms at a big box store to suite this genre.


The steer is actually from a belt or a broken bit of jewelry.  Part of an odd lot from an estate sale I think.  There is one vintage Cracker Jack toy in there as well as a rope from a Clue game.  It is amazing what you can find when you start to think outside the box.


The rusty stars were from a recent exchange with my local Multi Media Mavens.  Jill gave these stars to me and they are the perfect addition to this project.  I added some color with a touch of German silver gilders paste (I got a new color!!!!) and mounted them in a way that leaves two of them free to move.


To create a title for the piece that goes with the paper line, I used my trusty Dymo label maker once again.  In order to alter the title, I used gilders paste, creating cohesiveness by using the paste consistenlty throughout the project.


Here is a nice shot of the texture I achieved by layering all kinds of products.  I used Tattered Angels high impact paints, Vintaj Patinas, Tim Holtz Rock Candy and also alcohol inks.  Lots of fun stuff to play with to get this super aged look.


Thank you so much for taking this trip out west with me!

Cheers,

Rhea


Saturday, May 30, 2015

World Traveler Shadowbox


This project was recently featured on the Canvas Corp blog and I am happy to be able to now personally show it off to my readers!


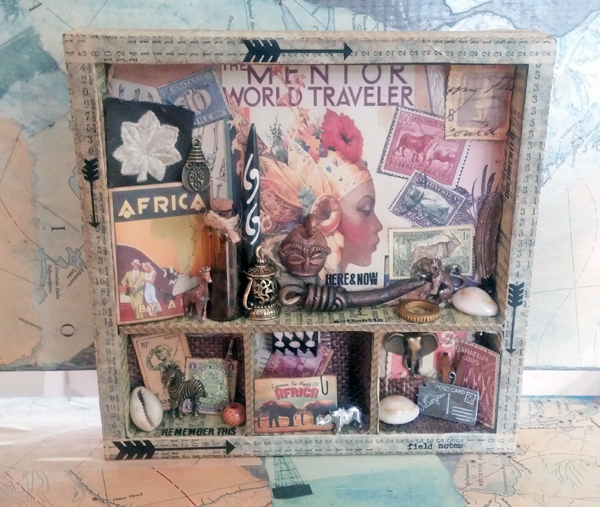
I used 7 gypsies Serengeti paper along with a Solo Shadowbox to make this traveling treasure.  I tried to stay with an African theme to create this worldly assemblage.


The outside of the box was covered in paper tape to give it texture and alter it a little bit.  I also used burlap to give a backdrop to the smaller insets. This adds a rustic element.


The treasures inside started with the 7 gypsies charms.  I added from my own stash and I also made a special trip to my local bead shop to find a few unique things to round out my theme.  Many of the objects have been altered with patina or gilders paste.


In this piece I added some text and imagery via rub ons.  I absolutely am loving the arrow trend that is happening right now and I have added a few here and there to help the eye travel.  You can also see that I used rub ons in some of the empty areas.


As always I absolutely loved creating this piece and I just adore being able to share with you!  Thank you for stopping by!

Cheers,

Rhea

Wednesday, April 8, 2015

Printery Shadow Box


Wow, was I inspired with this one!  In this project I challenged myself to use lots of goodies from Prima Marketing.  The Printery paper line was the source of inspiration for this shadowbox.  


The base is a 7 Gypsies shadowbox tray. I chose to have the small cubbies on the side, as you can really orientate the tray in any way you want for different looks.  


I have paired a fair number of Prima metal trinkets and junkyard findings along with a few special treasures to make a fun nostalgic collection.


To achieve texture in this piece I chose to blend my edges and corners with a treatment of black glass glitter from Finnabair.  I love how this adds some sparkle, but still looks grungy and industrial.


I found myself drawn to using symmetry more than once as I pieced this together.  I framed out the outside corners of the box as well as the large inset. 


One trick that I often use to alter things is to layer them.  By adding the tiny gear inside of the hexagon and framing it out with the watch fobs, it created a whole different embellishment.  You can also see my layering technique below with the faucet wheels. 


The special touch of a few trinkets that are vintage also give this piece a bit more of a story.  A vintage clip, a skeleton key, found safety pins from button cards, anything like this can give a piece personal meaning.  I also love these old jacks and how the color has been worn off of them through years of play!

Cheers,

Rhea


Friday, February 14, 2014

Sweet Sentiments Mini Shadowbox Tutorial


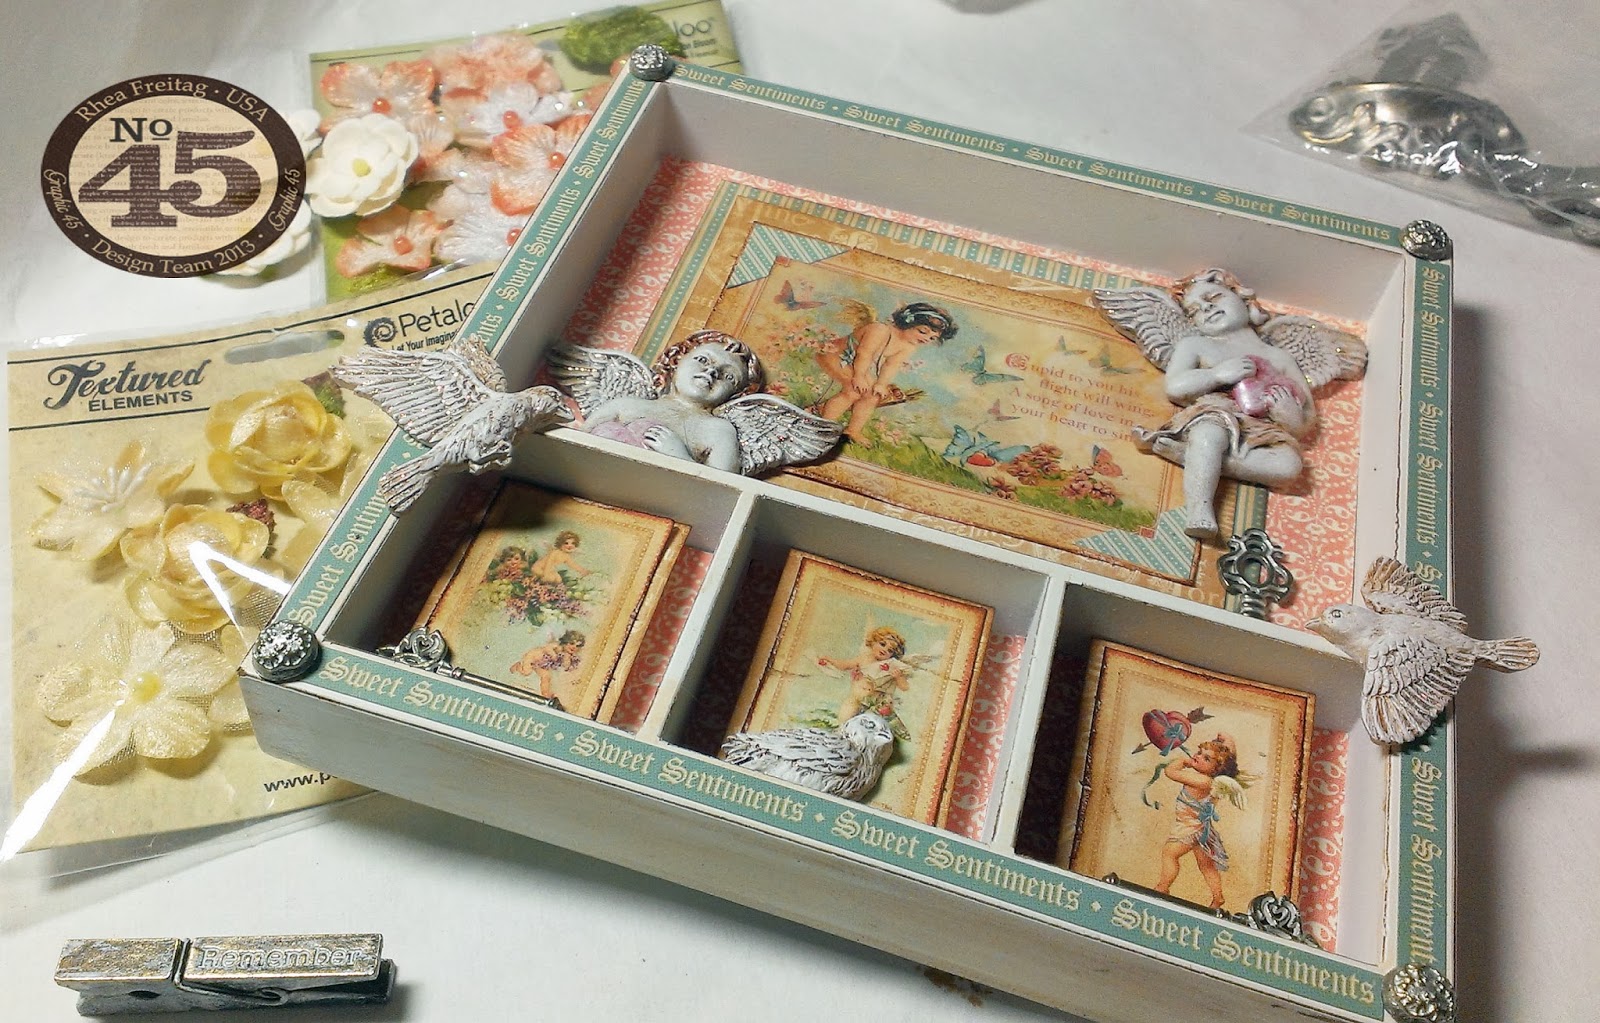
There is lots of eye candy to be had, so please enjoy.  Be sure to scroll down to the bottom to see how I made this step by step as my Valentine gift to you.  Cheers!


Sweet Sentiments Mini Shadowbox with tutorial
Sweet Sentiments 8x8 paper
Sweet Sentiments Cardstock Stickers
Shabby Chic Ornate Metal Brads
Shabby Chic Ornate Keys
Metal Clothespin
Petaloo Flowers
7 gypsies Solo Shadowbox Tray
Distress Ink in Tea Dye
E6000
Xyron Glue Stick
Resin Embellishments by Prima
Perfect Pearls
Burnt Umber paint

I was inspired to make this project from rooting through my little collection of “alterables.”  I have a stash of items I pick up on sale or at garage sales or estate sales.  When I don’t know what I want to make, I will simply start moving things around and inevitably something will call out to me. 


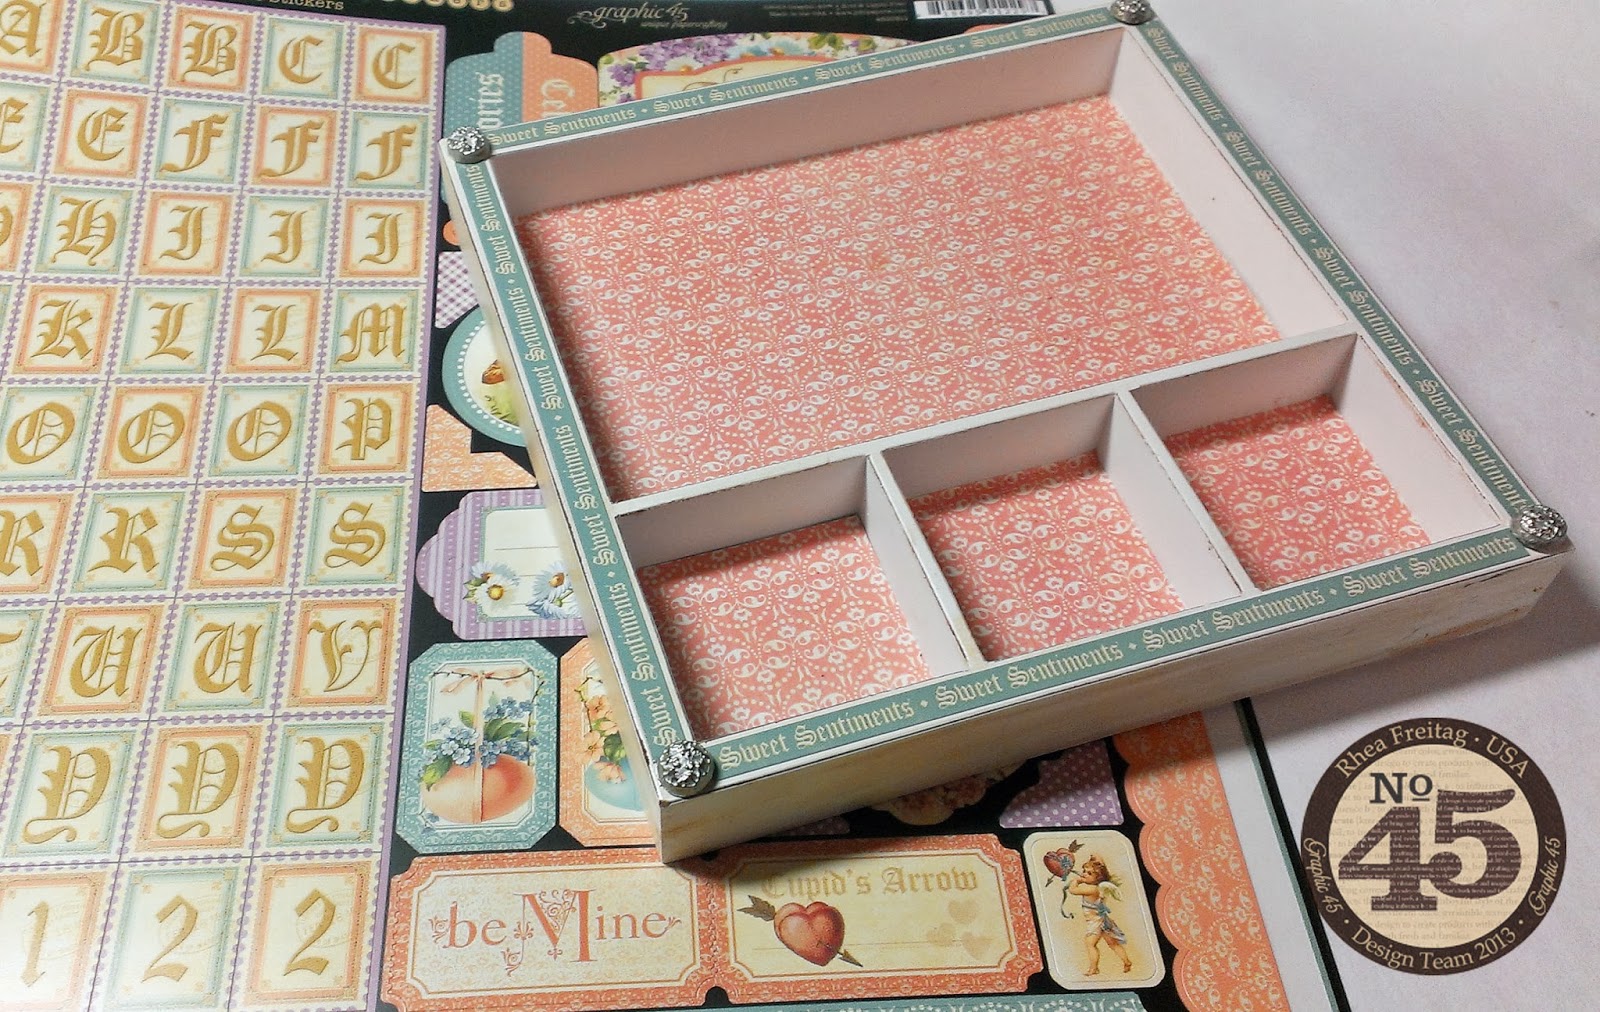
I started out by creating my background and using a glue stick to adhere my paper.


Next I got busy altering my elements.  I used basic distress techniques like roughing up and inking the edges.  I also embellished my resin birds with several layers of mixed media products.  I just kept layering until I was happy with the results.  These types of touches always make a project stand out.


Here you can see I was experimenting with my layout.  It did not end up exactly like this, which often happens, but I do like to plan out my major embellishments by auditioning.


To add interest to the frame of the shadowbox, I used the sticker border and studded the corners with brads. 


It may be hard to see, but on the bottom squares, I popped up my images by using some foam I had on hand.  This added a bit of dimension and depth.


I started to layer in my embellishments with a heavy duty glue.  I tend to use E6000 For this task. 


A few of the new Shabby Chic Ornate Keys were added.  These were so hard to use up, but they were just perfect for the project.


For the final touch, flower embellishments were added.  Again, I played around a bit before adhering to ensure the correct choice.  Once again, my flowers changed from my original shot.


Another great element I added at the end was a metal clothespin.  To make it look nice and shabby I pounced a bit of white acrylic paint on it, let it dry a bit, and then scratched some of the paint off. 


I hope you are now inspired to make your own little shadowbox! It is is super easy and fun.  

Cheers, 

Rhea