Showing posts with label Valentines Day Assemblage. Show all posts

Friday, February 14, 2014

Sweet Sentiments Mini Shadowbox Tutorial


There is lots of eye candy to be had, so please enjoy.  Be sure to scroll down to the bottom to see how I made this step by step as my Valentine gift to you.  Cheers!


Sweet Sentiments Mini Shadowbox with tutorial
Sweet Sentiments 8x8 paper
Sweet Sentiments Cardstock Stickers
Shabby Chic Ornate Metal Brads
Shabby Chic Ornate Keys
Metal Clothespin
Petaloo Flowers
7 gypsies Solo Shadowbox Tray
Distress Ink in Tea Dye
E6000
Xyron Glue Stick
Resin Embellishments by Prima
Perfect Pearls
Burnt Umber paint

I was inspired to make this project from rooting through my little collection of “alterables.”  I have a stash of items I pick up on sale or at garage sales or estate sales.  When I don’t know what I want to make, I will simply start moving things around and inevitably something will call out to me. 


I started out by creating my background and using a glue stick to adhere my paper.


Next I got busy altering my elements.  I used basic distress techniques like roughing up and inking the edges.  I also embellished my resin birds with several layers of mixed media products.  I just kept layering until I was happy with the results.  These types of touches always make a project stand out.


Here you can see I was experimenting with my layout.  It did not end up exactly like this, which often happens, but I do like to plan out my major embellishments by auditioning.
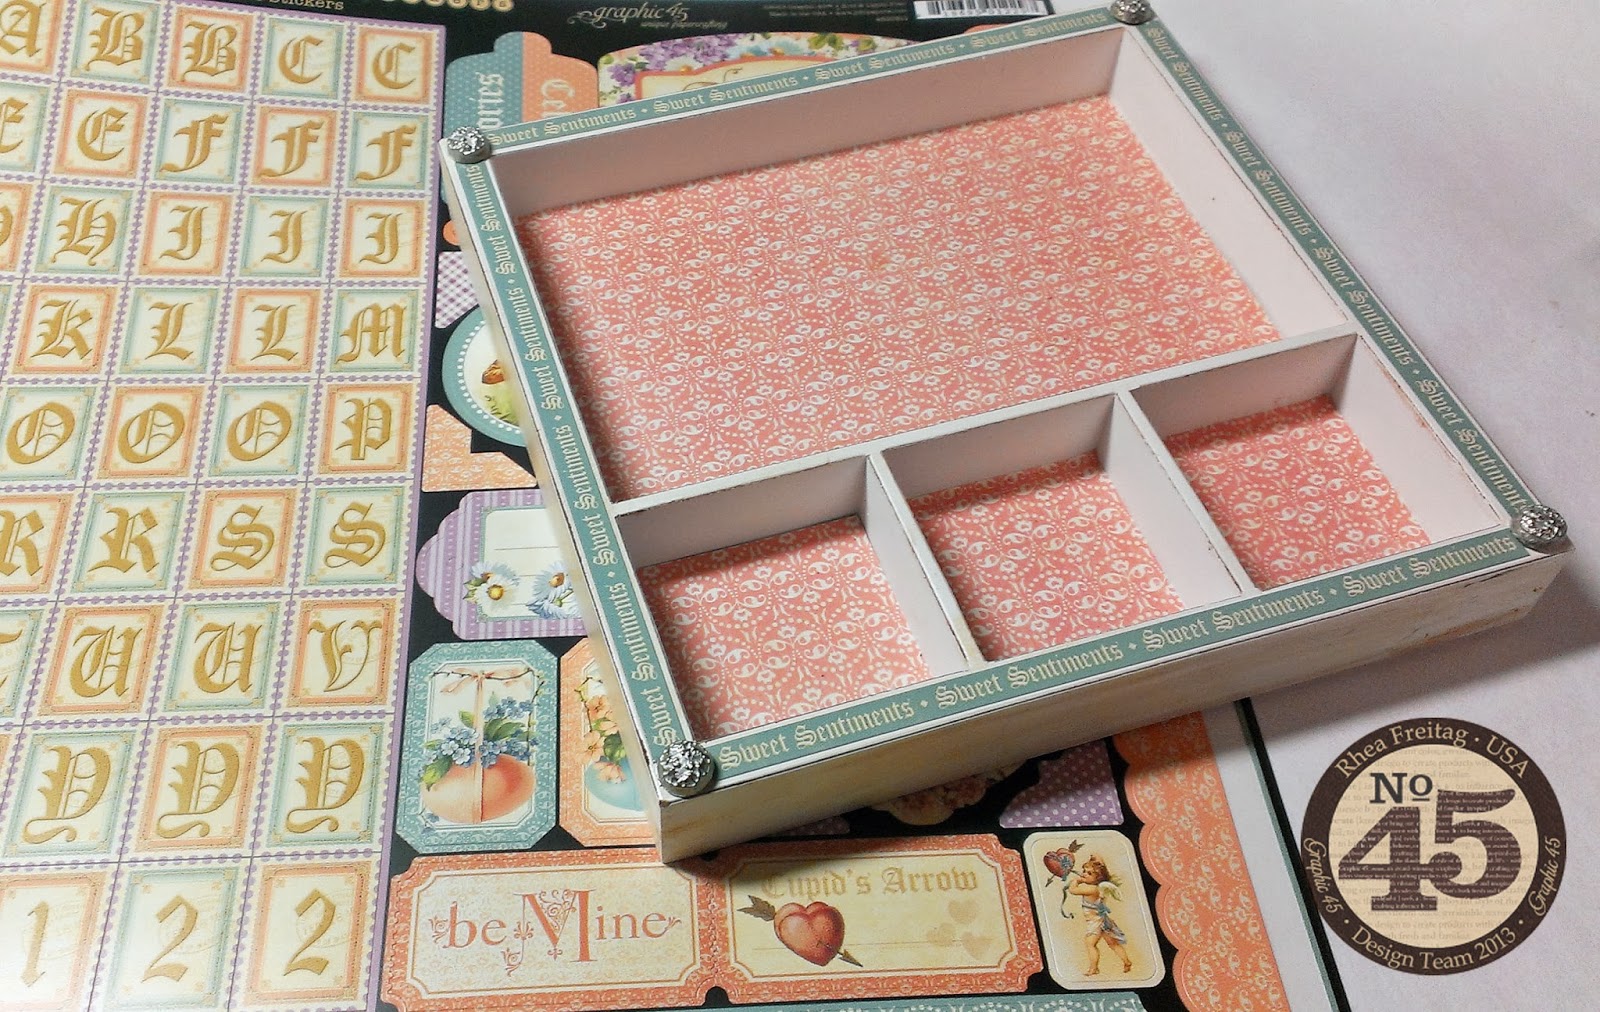


To add interest to the frame of the shadowbox, I used the sticker border and studded the corners with brads. 


It may be hard to see, but on the bottom squares, I popped up my images by using some foam I had on hand.  This added a bit of dimension and depth.


I started to layer in my embellishments with a heavy duty glue.  I tend to use E6000 For this task. 


A few of the new Shabby Chic Ornate Keys were added.  These were so hard to use up, but they were just perfect for the project.
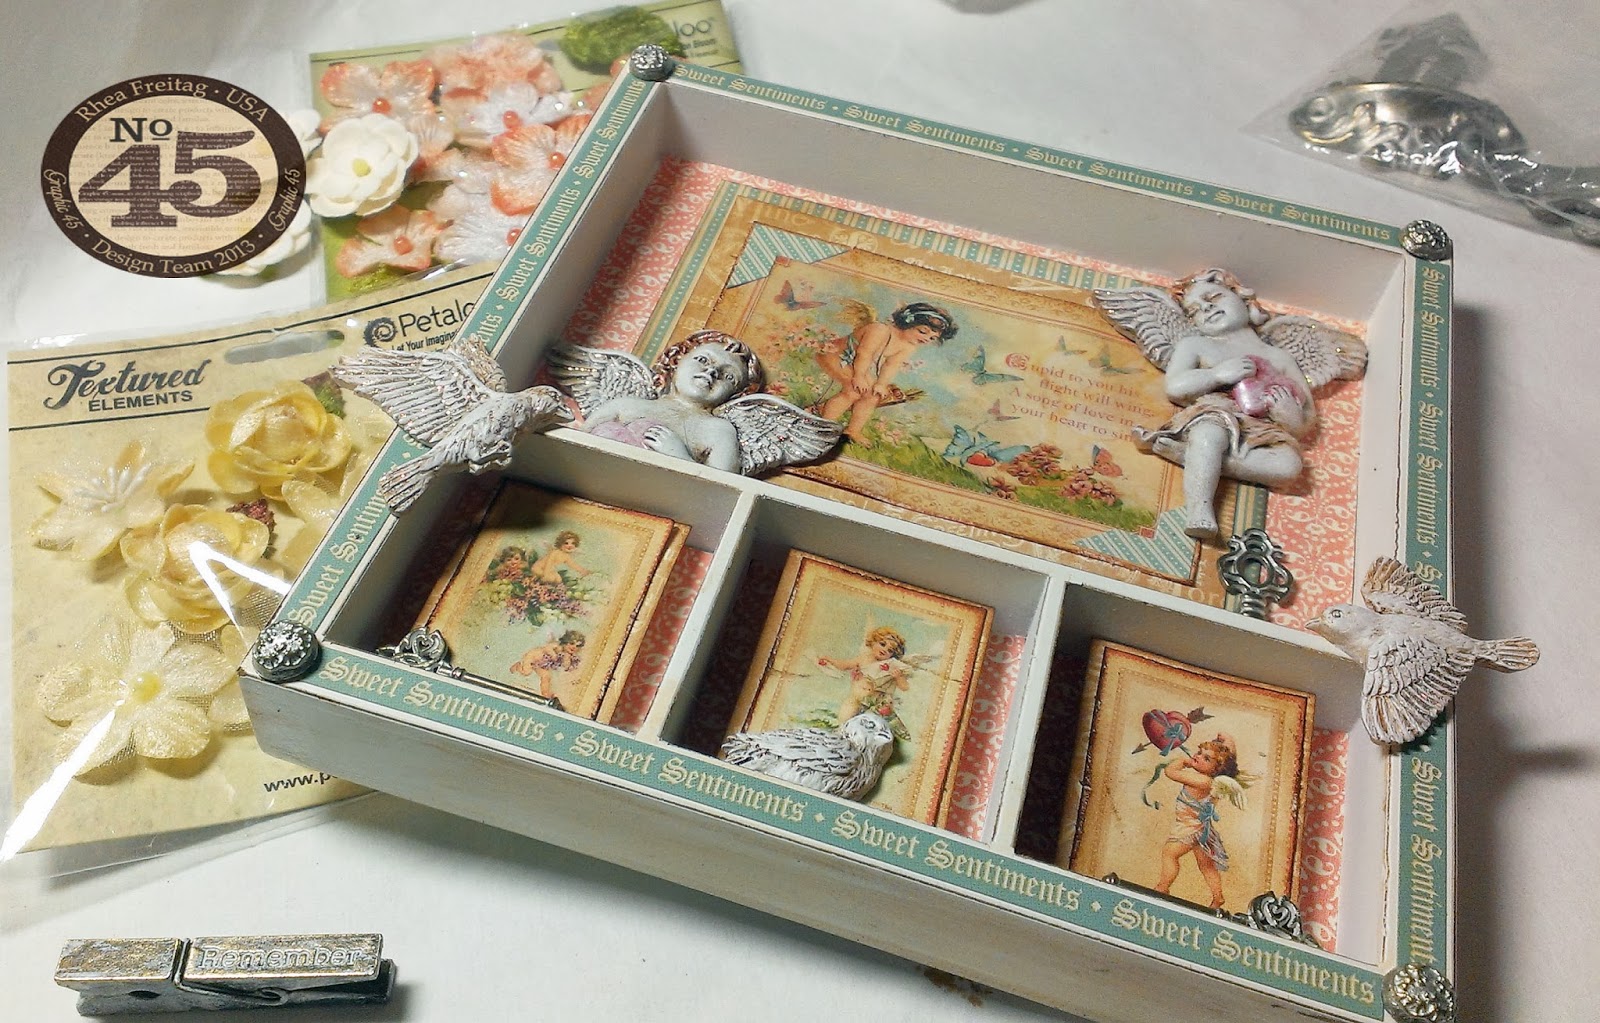


For the final touch, flower embellishments were added.  Again, I played around a bit before adhering to ensure the correct choice.  Once again, my flowers changed from my original shot.


Another great element I added at the end was a metal clothespin.  To make it look nice and shabby I pounced a bit of white acrylic paint on it, let it dry a bit, and then scratched some of the paint off. 


I hope you are now inspired to make your own little shadowbox! It is is super easy and fun.  

Cheers, 

Rhea

Tuesday, February 12, 2013

Romantic Altered Clock Case


The base for this project is one that has been lying around in my stash for quite some time.  It was given to me by my dad, who is an antique dealer.  Once in a while he will share goodies with me that he can't make money on.  I did not snap a photo before, but I will tell you it was just an empty wooden clock case with an old oak 80's finish. Of course it is now filled with all kinds of Alpha Stamps goodness!


I started by painting the whole thing in a few different dark brown colors.  I was impatient with the drying and layered on my Picket Fence Crackle Paint before the first layer was dry.  You can see some of the evidence of my hastiness at the bottom.  I embraced it though, and added some colors back in once the crackle was really dry (as in overnight dry.)  This looked really horrible and messy when I left it, but it turned out well in the end.  Actually since this week's challenge over at Simon Says Stamp and Show is to make something "messy" I think this piece fits the bill. 


The piece had a natural opening that I decided to back with a piece of resin paper I made long ago.  I had extra resin mixed up for an assemblage project and simply dumped the extra on the paper.  It gave it a nice transparent glossy look, so I added another layer of paper behind it for more texture.  Yet another previously altered element is the "Cherish" tag.  That was done with Sophisticated Finishes I believe...I added white paint and wiped it off to get the white to show up on the letter impressions.


I wanted to show off the depth a bit here.  You can also see lots of the materials I used in this project right here.  I just adore the key and the key hole, which were altered with gilders paste.  Inside the small window I added a thoughtful word compliments of the amazing selection of  Valentine Collage Sheets, which was were all the imagery came from.


The hearts were cut from really pretty paper and then topped with a transparent overlay that I cut from the same die.  Lots and lots of paper flowers were added for more detail and dimension.  I also love the old crackle finish of the paint.

I hope you enjoyed my latest installment.  It felt good to get something done creatively!

Cheers, 

Rhea