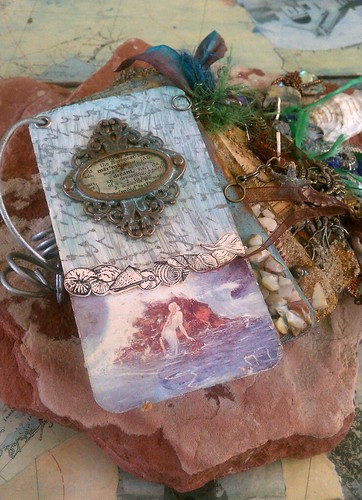
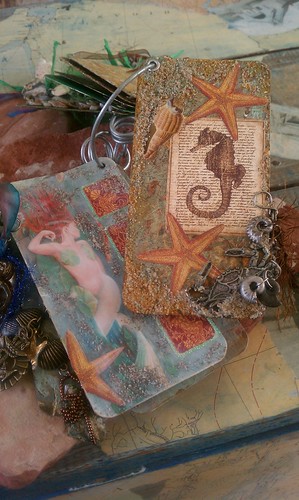
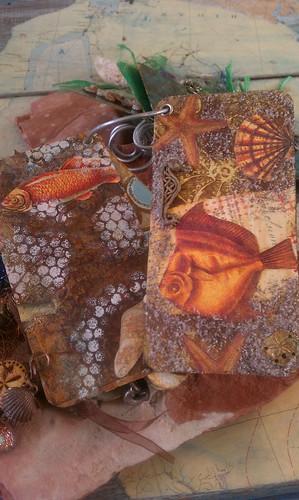
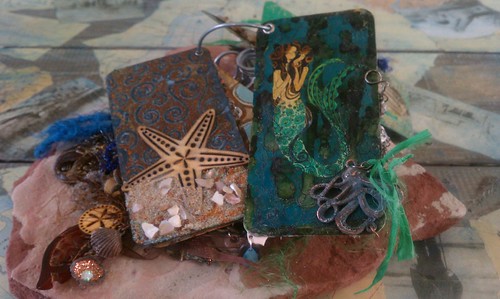
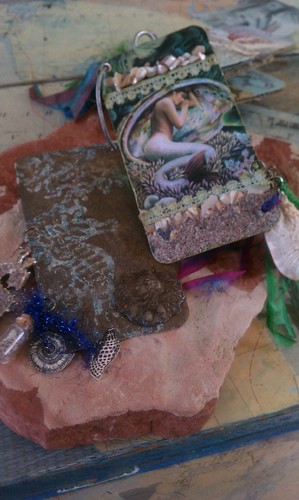
Start by distressing your shadowbox somehow. I chose to add several (3) coats of Picket Fence stain along with Guilders Paste rubbed along the edges and on the hardware. The inside of my box was painted with a pearl color acrylic paint and then spritzed with some light blue shimmery ink sprays (not pictured). I typically strive to do two or three techniques to give elements of my project depth.


Once I was satisfied with my base, I planned for my focal. I was immediately attracted to sea shore collage sheet from Alpha Stamps. The focal image of choice was glued on to another piece of card stock before fussy cutting to add a bit of strength.

I had the idea to cut away the shell image and dig into my stash for a real one. Then I raided my beads and found some vintage pearls, added in some tiny real seashells as well as some tiny glass spheres. E6000 was the glue of choice here as the stuff I was gluing was "chunky." I like to use that in this instance as it does set up fairly quickly. Matte medium and Glossy Accents are also good go to adhesives for the assemblage artist.

Set your focal aside to dry for a bit and plan for assembly, I love this stage. I wanted my shell focal piece to be in a bank of sand. To this end I used a bit of paper clay that I molded to form a slope. Remember, paper clay shrinks. You will not have a perfect imprint once your clay is dry, be advised. Once your form starts to dry a bit, I recommend taking it out of the box to dry quicker. I am inpatient, to speed up the drying of the clay even more, I baked it in the oven at 250 until hard. It took mine a good hour due to the thickness of the piece.

Now is the time to attend to collaging the background in your piece. This is another opportunity to add layers and interest. This time around I played with the seaweed fiber set and layered in some collage sheet elements from the sea shore collage sheet and K and Company's varnished postage stamp paper. I used matte medium to glue down my fiber bits. Then I gathered items to assemble into the project.

Keep in mind it is a good idea to include things that are of a different scale, this is how you achieve interest. Also items tend to look better placed in odd numbers. I used E6000 to start gluing in my ocean treasures. I was sure to audition each piece before adding glue to them. Shells, starfish, a bottle of garnet sand, sea glass and more tiny shells are all fun items to include. Most of these smaller items were glued down with matte medium. I find that this disappears the best and really does hold pretty well. Inside of my sandy bottle I included a secret note and a few tiny clam shells and tiny seahorses.

I made a handy sandy paste that dries rock solid and I think will have many crafty uses. Here is the recipe: one part Glossy Accents, one part matte medium and two parts sand. I simply mixed it in a small resealable container and I just keep adding to it when I start to run low. My measurements are rough and approximate, you can tell when the mixture starts to thicken too much, you want it to still have some viscosity.

Slather on your paste behind where your focal is going to land, filling in any edges from the paper clay shrinkage. I used a popsicle stick. Add glue for your focal and place it where you would like, for this large piece I used E6000. I added a bit of my sand formulation over the edges of the shell and over the rest of the paper clay bank. I think this helps it to blend, and it works as an extra adhesive. I also added more tiny real seashells at this point, making sure they had good contact and were wet with adhesive.

To finish off my box I added a decorative border of shells. I also glued down some brass shell corners and a brass shell scroll that were altered with Liver of Sulphur Gel, guilders paste and then a coat of picket fence stain. Yet another great example using the rule of three when distressing an element for a project.
I hope you learned a little something along the way. Assemblage art is such a fun way to tell a story, thanks for joining me as I tell mine.
Cheers,
Rhea