Showing posts with label holiday. Show all posts

Saturday, November 17, 2012

Christmas Envelope Book


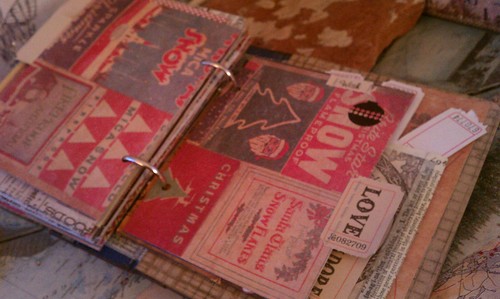
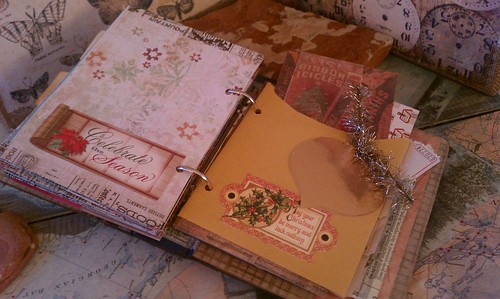
Not all that long ago I received a delightful parcel of Christmas crafty goodness from Alpha Stamps.  Inside I found lots of delicious Christmas paperephemera and trim which quickly took shape into this cute little envelope book.


I love the fancy latch, it works perfectly for this style of book.  A bit of patina coloring was added to the latch and the edges of the book with a little help from guilders paste. 


Each page of the book is made of a sturdy policy envelope.  I tucked some of my larger ephemera bits inside the book, but you could add tags, cards, personal notes etc.


I used lots of different trims throughout the book to add lots of depth and texture.  I got out the spray adhesive for the first time in a while.  I love the easy application, but I did find that it did not stick well in a few spots. 


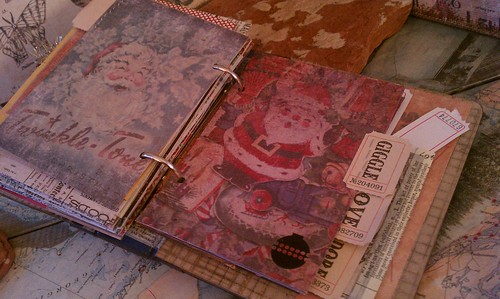
I mixed in holiday imagery from many places.  I used Christmas Dresden and Christmas Collage Sheets as well as the ephemera I linked to earlier. 


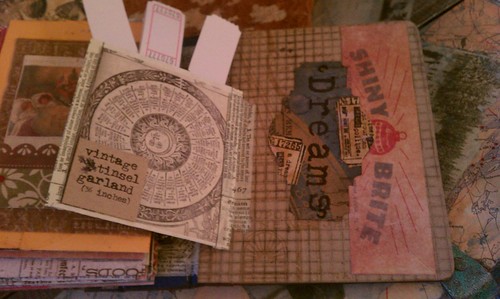
In the envelope above I layered the trims.  This is another great way to stretch or transform your stash, and you know I am always trying to find ways to do that.


I love the moon on this page.  I have been using him over and over again in lots of spots, I have always been fascinated by the moon and the stars.  And yes, that is exactly where my blog title comes from!

Welcome to the holiday season folks!

Cheers, 

Rhea 


Saturday, November 10, 2012

Christmas Assemblage


I am amazed that I caught the holiday crafty bug as early as I did this year.  I think designing for Alpha Stamps really helped that along, since we have to get all the delicious eye candy ready for the crafty community.  Anyway, today I am going to show off (gasp) a holiday piece I made to show off all kinds of new Christmas charms that Leslie got in the shop.

I started with one of Tim Holtz's configuration boxes.  I really love these things!  You can change up the pattern of the box to suit your needs.  I chose to leave out a bunch of the smaller compartments to create a spot for a larger scene up top.  This gave me the perfect spot to showcase my Dresden Santa, deer, Santa sack and one of the new woodland trees.  These are really cool as they come white and you can color them however you want too.


I had an idea straight away to make some sort of Santa sack and have the charms spilling out.  Now I am not much of a "fabric-ey" person, but a crafty pal coached me.  Thanks Brittney!  I simply took a bit of her scrap fabric and stuffed it with some of that white fluffy stuff and tied it up.  I then manipulated it to get it to lean in a way that worked for me and got to gluing.  


Now my wise pal Brittney advised me that this may happen, but my sloppy crafting ways made this inevitable...lots of glue showed up on the fabric.  I simply covered up my mess with little bits of vintage mica snow. This subsequently added a bit of shimmer and a lot of texture, which I love.  


Here is a close up of the bottom compartments.  I am always on the search for tiny things.  The drum was found on a Christmas pick at a big box craft store.  The deer focal was scored in a giveaway I won last year.  I am happy to have found a great spot to show him off.  


Here is a shot so you can see how the outside of the box looks.  I covered it in paper from Tim Holtz that was colored with red stain.  I also used some really cute decorative tape to edge out the box.  To add more distress and depth copper guilders paste was buffed all over the piece.

I hope you all are embracing the upcoming holidays in your crafty world as well!

Cheers, 

Rhea

Sunday, January 1, 2012

Junque Book: Video Tour

So I have found these little videos to be a fun way to interact with my readers.  Surprise, surprise because I hate to be on camera.  For some reason, I feel okay behind the scenes and I am going with it. 

I decided to post a video clip showing off the inside of my very chunky Christmas Junque Journal.   Sometimes it is hard to capture the true feel of a piece in a blog entry with just photos and words. This way, readers can hear the wonderful little jingle of the bells, learn about some of the secret bits of junk and hopefully get a little inspiration to save or repurpose something for your own art journal. 

You can read more about my first junque book journey here.  I liked that one so much I had to make my own, which is detailed here.   There were so many comments, inquiries and such overall positive feedback about this project that I also did a tutorial here.  Hopefully you have enjoyed sharing my journey, I know I have found joy in sharing it!


Thanks for stopping by today and always.  I appreciate my readers so very much.  Happy New Year to each and every one of you, may 2012 bring you your soul's desire!

Cheers,

Rhea

P.S. Nails done with Sally Hansen Salon Effects: Misbehaved.  LOVE this product! 

Saturday, December 17, 2011

My Christmas Configurations

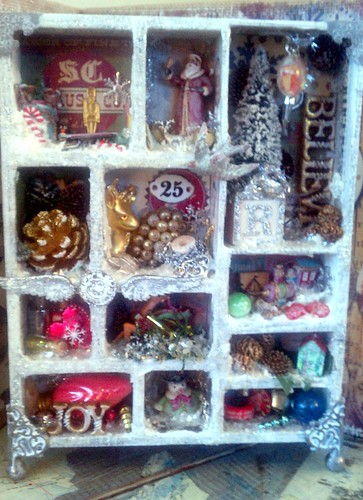
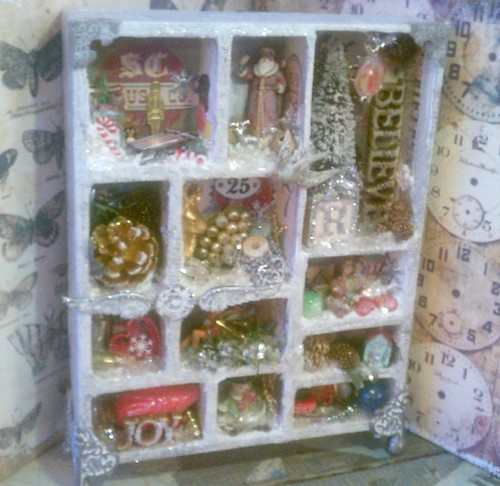
As my loyal readers may have expected, I have had a Christmas assemblage in the works.  I still can't quite figure out why I love to put these together, but I really, really do.  This piece has been getting put together in my mind for quite some time.  I started out by just gathering small items I knew would fit inside the boxes and putting them in little bowls on my craft table.  I also joined a Christmas ornament charm swap, with the intentions of using them to embellish my project.  This makes it extra special, as I have little pieces of others art tucked inside. 


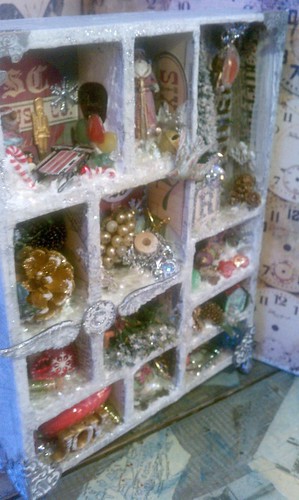
I am so grateful for Simon Says Stamp and Show, as it was their challenge this week of show some depth, that pushed me to actualize this piece.  I used several strategies to ensure that there is a lot of dimension and depth to this piece.  To that end, lots of texture was created with several different applications.  I used distress stain, acrylic paint, molding paste, fiber paste, rock candy crackle paint, vintage mica snow and stickels.  I was also sure to add several elements in each area and stage them at different dimensions.  Decorations were added to the sides and the tops of some boxes too, these details provide a lot of depth and interest.  My last secret to showing the depth here was in how I photographed the piece.


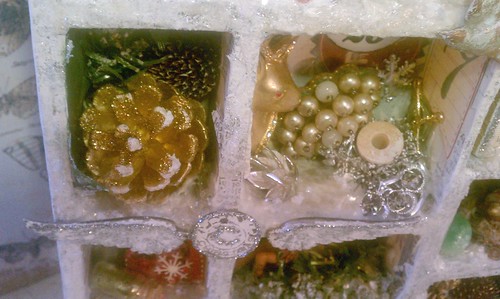
I love this little charm I made with the wings and the holiday muse token.  It reminds me of the spirit of Christmas because of the symbolism of the wings. I colored these metal pieces with picket fence distress stain and then sealed with matte medium.  Stickels were added for more depth and glimmer.


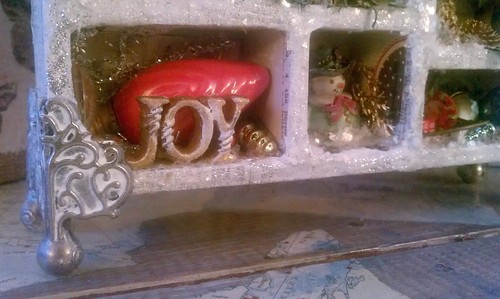
I used the white stain and acrylic paint on many of my items inside this assemblage.  This helped to create a wintry feel and keep the palette muted.  I love the shabby look of the feet from this distress technique.


I really love how I used the various art pastes to create little snow drifts.  I wish you could see the crackle a bit better, the texture on the edges is really delicious. 


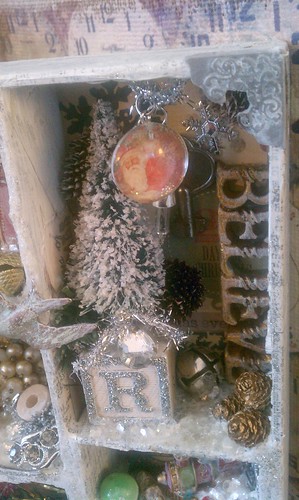
I altered the bottle brush tree quite a bit.  I used gesso, acrylic paint and stickels to make it look snow covered.  In this little area a dangling charm was added. I always like to have an element of movement in my pieces, if I can make it work.


The vintage block above was also altered.  I washed it with acrylic paint and then simply added stickels.  I think these would make charming Christmas ornaments.   This project took some patience overall, as there were many stages due to the drying times.  This picture above does show a bit of the glimmer from the vintage mica snow.  I imagine I will be finding flecks of this in my work area for some time.


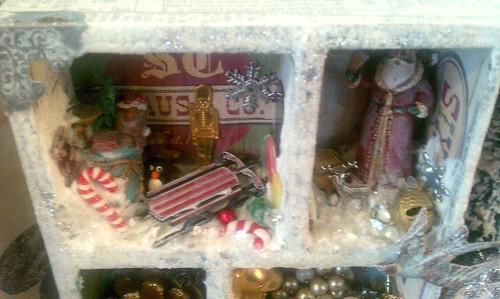
In this photo you can see that the base of the collage on the boxes is tissue tape. I love how the stain adds a whitewash look.  This toy compartment has lots of charms from my art charm group.  Thanks so much ladies, hope you like what I have done!!!


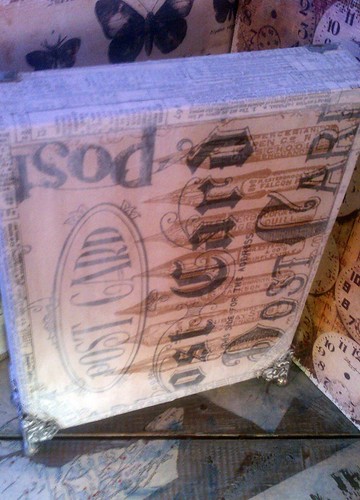
I always like to finish the backs of these boxes.  I chose my favorite piece of kraft paper from Tim's seasonal kraft stack and whitewashed it for consistency.


I hope you enjoyed peeking inside my little holiday assemblage.  I sure had fun creating it and sharing it with you.

Update:  Just after posting this project I found out that I won this giveaway from Red Lead.  Can you believe it!  How lucky am I!  Both thier store and their blog are full of inspiration, so stop on over and check out all the vintage and crafty goodness.  Thank you so much Red Lead, as you can see from above I will put the items to good use!

Merry Christmas to all,

Rhea

Sunday, December 4, 2011

My Christmas Junque Journal

Not too long ago I posted a Holiday Junque Journal that I made for a gift.  Well, I loved it so much I had to have one for myself.  Please note, this post is picture heavy.  I really wanted to try and capture the feeling of the book.  I created a tutorial on how to assemble this book here.  I have also now made a video tour of my completed book if you want to take a peek. 


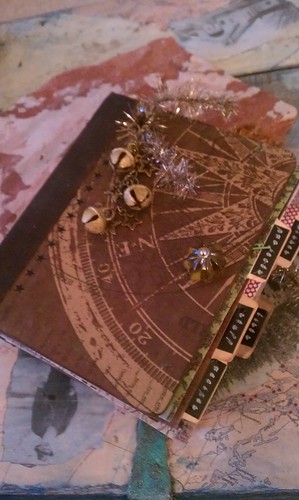
I actually started this book last week, with the intention to enter it into Simon Says Stamp and Show some tickets challenge.  I did not get enough done to feel comfortable posting.  I lucked out though as this week the challenge was to show some stars.  The compass rose on the paper is in starry form.  I love the symbolism of the compass; direction.  I added some star rub ons and a really great piece of journal jewelry that was star themed to drive the theme home.  I do love stars as you may have guessed. :)  The book has a wonderful sound to it because of the little bells too.  Just the perfect amount of movement and jingle. 


I actually colored the entire book blue to go with the star theme too.  I did not like how the stain looked on the binding, so I simply went over everything with a brown tones.  Now there are under currents of blue, which I love.  A happy mistake. 


There are tons of pockets inside to tuck in lists, receipts and holiday ephemera I find along the way.


The pockets were made by simply folding a rectangle of paper in half and taping around the edges with tissue tape.  My loyal followers know...I am totally addicted to tissue tape.
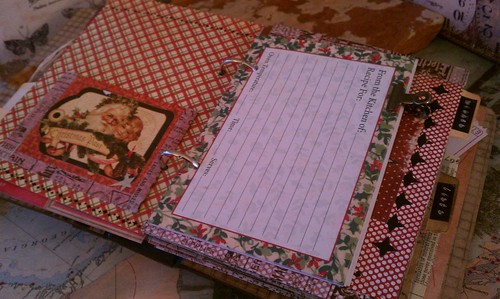


I scored a few packs of recipe cards at a big box store for a buck a pack. They make for great pages in my little book.


I used holiday rub ons throughout this project too.  I am like a child like fascination with them.


Perhaps it will help me to have a countdown calendar this year....


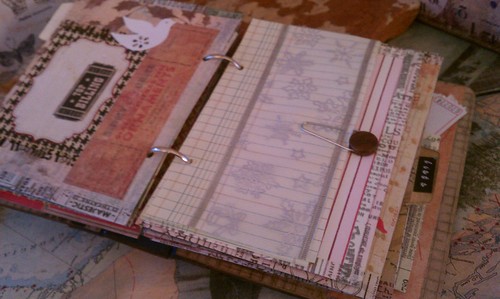
Like my last book, I also added a bit of old ledger book paper for lists.  On the first page here, I glued on a bit of snowflake ribbon.
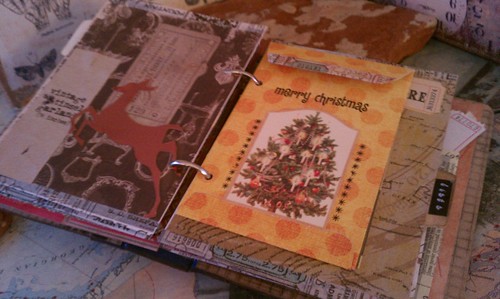


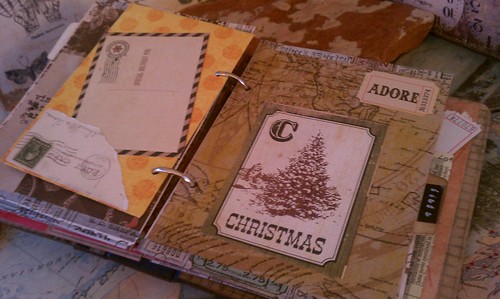
I really love the addition of envelopes throughout the book.  The polka dot one above was handmade by someone else, I embellished it. 


I adore the postal theme too, perhaps this is where my love of envies started. 
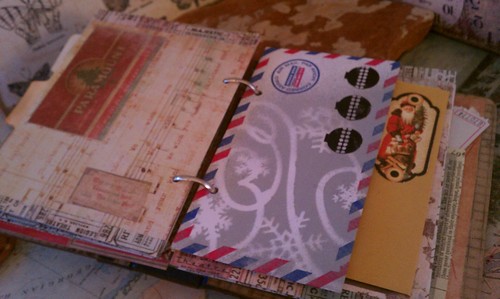


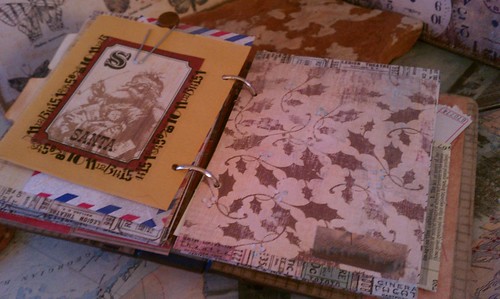
I used an opaque spray ink on this air mail envelope called tin type, love the flat color.


I use the envelops to tuck in bits of paper and ephemera for later work as well.  I really love some of the reproduction vintage stuff you can get these days.


In the last four sections I used Tim's adage tickets as the label, I thought this was a cute idea.  It was inspired by lasts week's ticket challenge as I had mentioned earlier.


Tim's seasonal paper stash came in quite handy too.


I used the tiny attacher to simply staple on the ticket.  Looks good and it is a sturdy way of connecting this feature as it will take some wear and tear.


The brown envie here was sent to me.  I folded it and cut it up to make a double pocket.  Recycling plus art!


This last pocket is hinged with tissue tape.  This is a very easy way to add a pocket into your projects!


The dream label was a mistake from my dream jar.  I added the tickets to the label, but did not like them for my jar.  Another up cycle for me. 

I look forward to continuing to work on this book.  This is really just a template for lots more play and fun.  I did manage to take a few pictures of me assembling the book.  Many of you commented and emailed requests to show you how to put this together when I posted last time.  The pics are not great due to the crumby lighting in the basement, but I do plan to post a tutorial soon.  My little gift to you for the holiday! 

That is all for now.  I think I am going off to a holiday bazaar to get some more Christmas spirit.

Cheers,

Rhea


Saturday, December 3, 2011

Ornamental

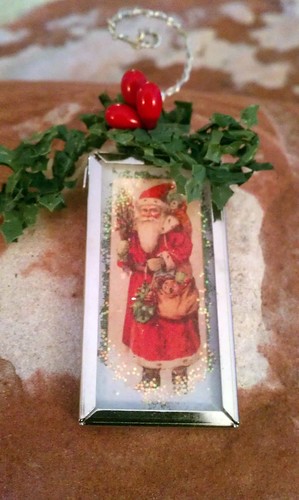
I just love to make Christmas Ornaments every year around the holidays.  This year has been no different.  I still have a few more in the works, but I thought I could at least post this installment. 


Like last time, I used white alcohol ink and a bit of stickels to embellish the glass.  The berries were torn from a holiday pick and the awesome green trim was purchased from Tim's etsy.


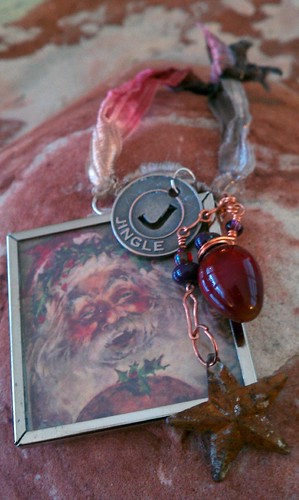
This one is a favorite of mine. I love the image of Santa.  I also adore the hand blown glass charm that was made by a fellow art charmer, Kia Dallons.  I added a rusty star and a holiday token from Tim.  This week they are asking us to show some stars over at Simon Says Stamp and Show.  I did not stop with one ornament, I added a starry touch to the one below too. 
   

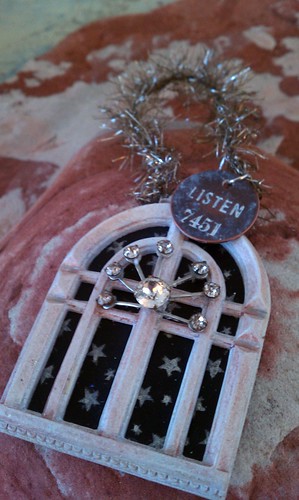
I used a star paper in the background, and made my own star burst by altering a bit of broken jewelry.  I used some vintage tinsel from Tim as well as one of his metal embellishments.  The window is from Prima and it was also inked up with a bit of Smooch. 


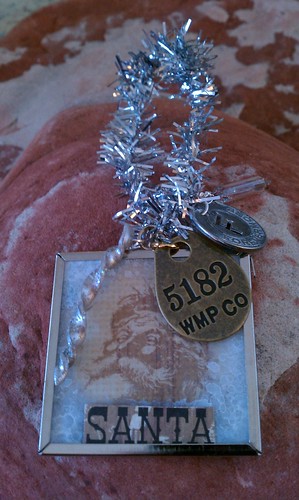
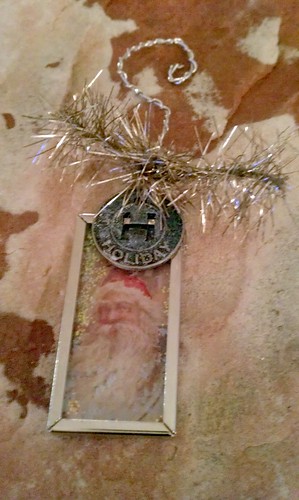
 Another ornament, using memory frames.  These make for the quickest projects!  The icicle is made from polymer clay, and was received in a swap for holiday art charms and it was made by Laurel Steven.  It has been great having a selection of holiday embellishments at my fingertips to use.


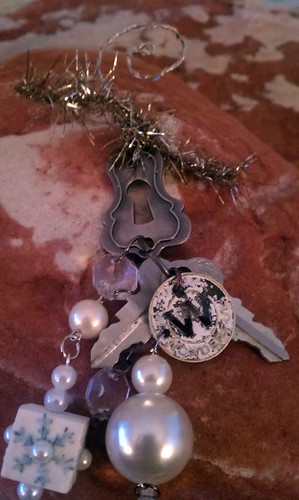
Here is another junque ornament, like my previous entry.  I decided to use one of Tim's keyholes in this one along with some other junque, an art charm, an altered token, some beads etc.  I hope the recipients of these little treasures enjoy and perhaps you find some Christmas ornament inspiration.

Cheers,

Rhea


Saturday, November 26, 2011

Altered Holiday Bits

I have manged to get a few things done today and thought I would celebrate with a post.  I have a looming deadline for some swaps, which always helps to push me along.  One of the projects I completed was a mystery element ornament swap.  Our lovely hostess, Deb, provided us with a material which we had to utilize in some way to create a Christmas ornament.


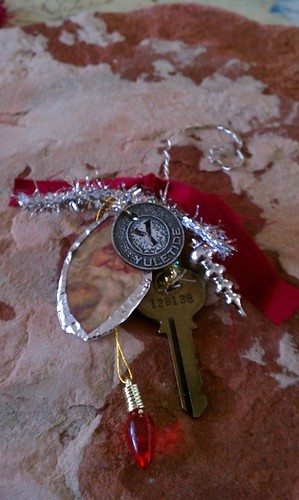
She gave us a round, plastic disc which ended up being my base in these holiday junque ornaments.  I die cut an oval and glued on a Santa image.  The edges were covered in memory tape and a hole was punched up top.  Then I started to embellish with lots of found objects and fibers.  I used small scale ornaments, lights and real replacement bulbs. A recent score of keys allowed me the freedom to add another element to these along with some holiday muse tokens by Tim Holtz.  I used white picket fence distress strain on the tokens to add another wintry element to some of the metal. 


I used Tim's texture hammer to pound the edges of the memory foil for texture.  Each part was placed at a different level to add interest.  The hangers were simply hand formed from heavy gauge wire once it was twisted together.  I love how they add a unique whimsical element to the ornaments.  I attached old replacement Christmas lights some of them as well. 


This is an altered 250 count matchbox.  I made this for a holiday swap, so the inside is filled with goodies for my partner.  Lots of fun supplies were used: tissue tape, kraft paper, broken jewelry, German scrap, shrink plastic, a Tim Holtz adage ticket, stickels and tinsel.  One of the items inside of the box is a smaller Christmas Ornament, pictured below.  I am going to enter this into Simon Says Stamp and Show's weekly challenge.  This week they are looking for tickets. 


Here I used snow cap alcohol ink and stickels on the glass before adding Santa with glossy accents.  The top is adorned with a bit of vintage tinsel from Tim's etsy shop this season.  Another muse token and unique wire hanger finishes off this tiny gift. 

I hope you found some inspiration in my recent holiday happenings.  Be sure to come back soon as there are many projects in the works!

Cheers,

Rhea