Saturday, February 15, 2014

Odd Birds for Alpha Stamps


I was thrilled to get the opportunity to try out these new chip board steampunk birds at Alpha Stamps.


I altered the chip board with black soot distress stain and then layered on black and silver gilders paste. It hardly looks like cardboard anymore!


On the background chipboard I used metallic distress stains and also added some random stamping and numeric rub ons by Tim Holtz.


A few of the openings were backed with bits from the Time Flies Collage Sheet.  I also added lots of metal embellishments from my stash to give the piece movement and interest.


Next up I have a few tags I made with new chipboard elements from Alpha Stamps.


I love how the embossing looks on both the cage and the next.  I think it would be cool to stamp in the powder when it was molten to add in texture, I will have to give that a try sometime.


I love the simple but elegant border from the Copper Dresden Sampler.  I also tiny strips of torn paper tape in the background with a number pattern on them.  I like how the paper tape is a little bit transparent, so it blends in with the paper.


Here you can see the nice texture from the embossing powder.


And here are my cute little tags together, I think I may gift them as Valentines!

Cheers,

Rhea

Friday, February 14, 2014

Sweet Sentiments Mini Shadowbox Tutorial


There is lots of eye candy to be had, so please enjoy.  Be sure to scroll down to the bottom to see how I made this step by step as my Valentine gift to you.  Cheers!


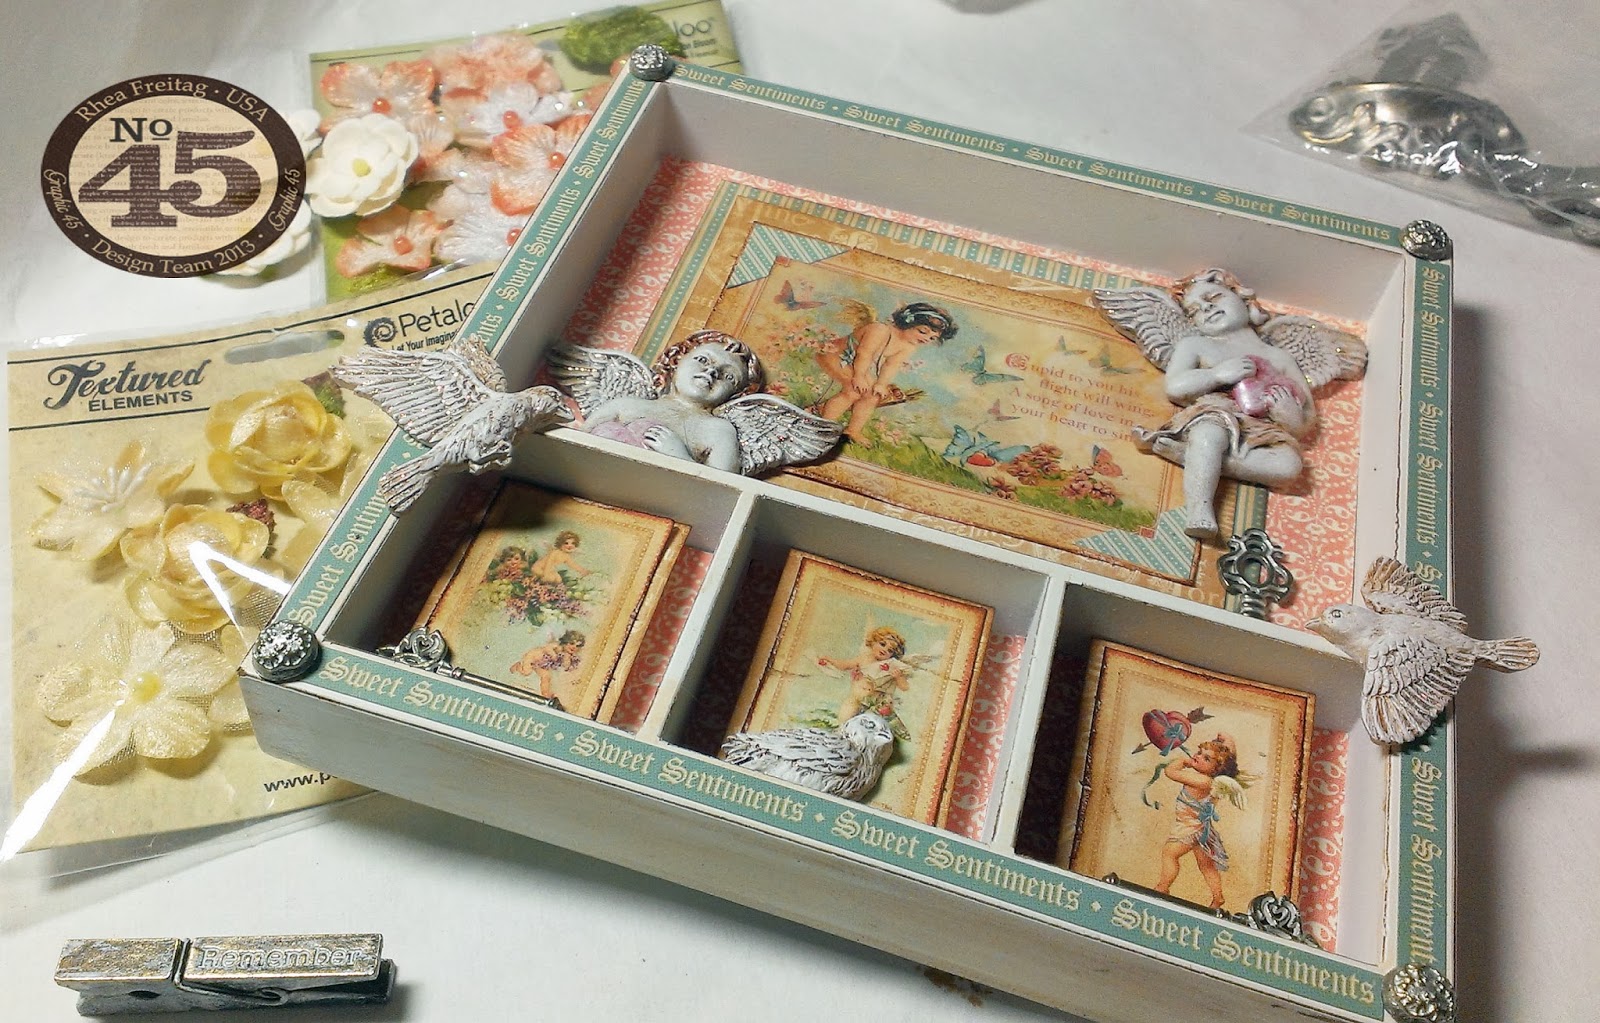
Sweet Sentiments Mini Shadowbox with tutorial
Sweet Sentiments 8x8 paper
Sweet Sentiments Cardstock Stickers
Shabby Chic Ornate Metal Brads
Shabby Chic Ornate Keys
Metal Clothespin
Petaloo Flowers
7 gypsies Solo Shadowbox Tray
Distress Ink in Tea Dye
E6000
Xyron Glue Stick
Resin Embellishments by Prima
Perfect Pearls
Burnt Umber paint

I was inspired to make this project from rooting through my little collection of “alterables.”  I have a stash of items I pick up on sale or at garage sales or estate sales.  When I don’t know what I want to make, I will simply start moving things around and inevitably something will call out to me. 


I started out by creating my background and using a glue stick to adhere my paper.


Next I got busy altering my elements.  I used basic distress techniques like roughing up and inking the edges.  I also embellished my resin birds with several layers of mixed media products.  I just kept layering until I was happy with the results.  These types of touches always make a project stand out.


Here you can see I was experimenting with my layout.  It did not end up exactly like this, which often happens, but I do like to plan out my major embellishments by auditioning.


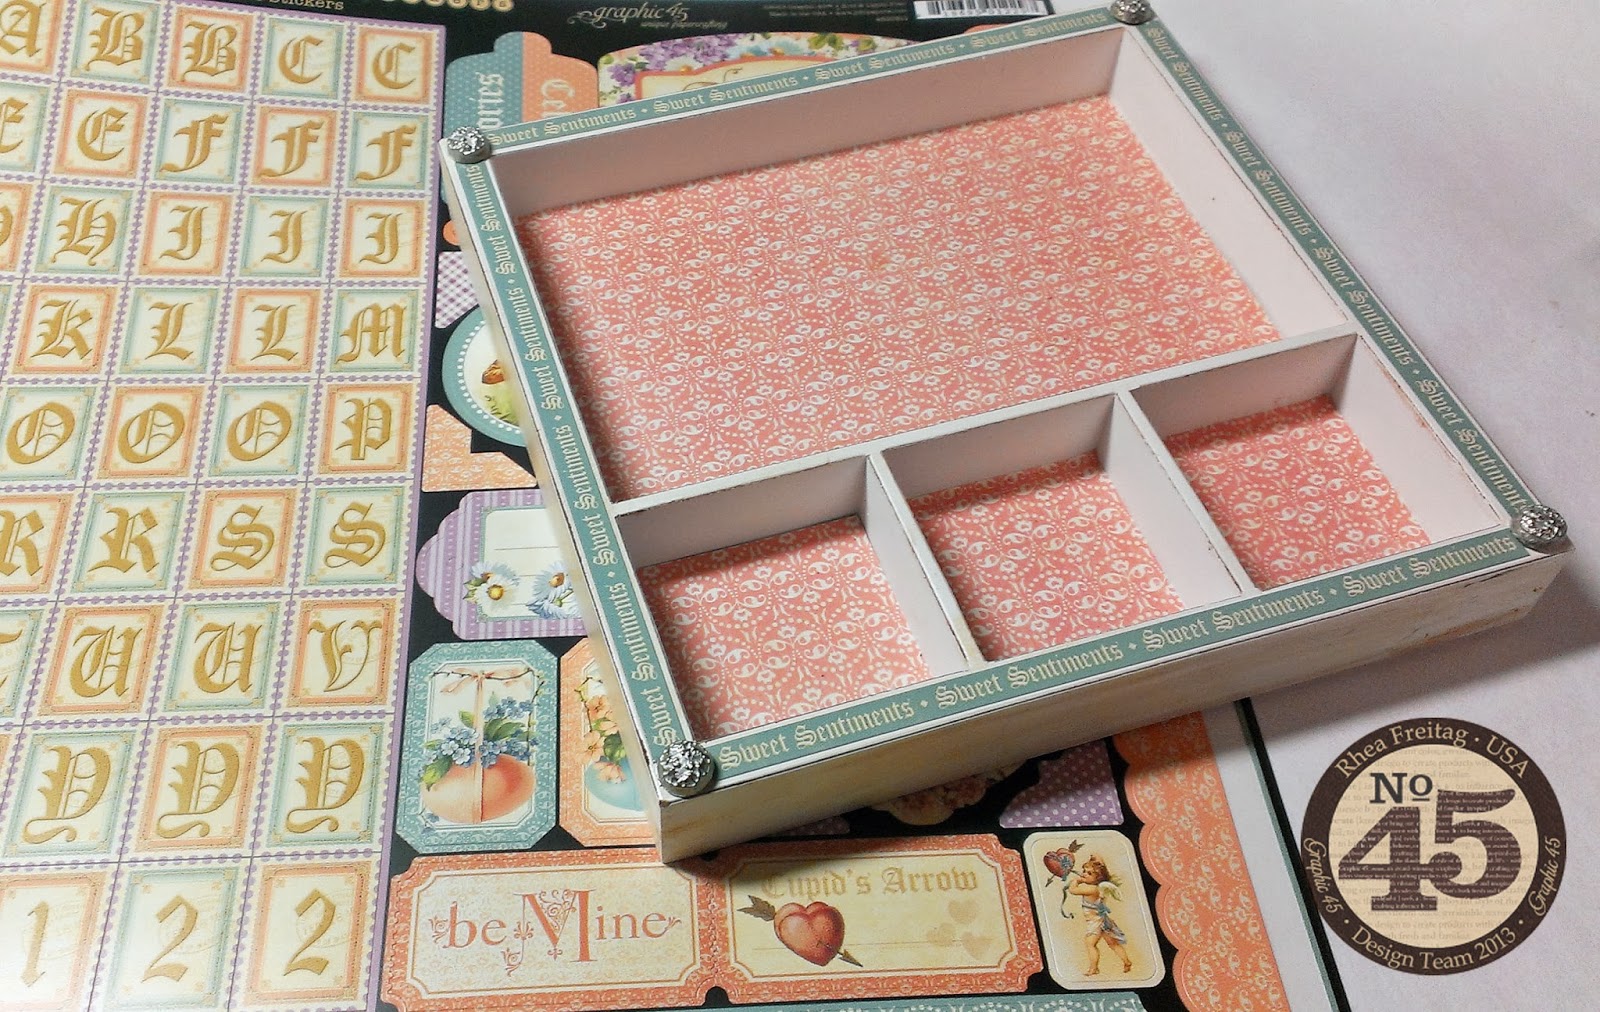
To add interest to the frame of the shadowbox, I used the sticker border and studded the corners with brads. 


It may be hard to see, but on the bottom squares, I popped up my images by using some foam I had on hand.  This added a bit of dimension and depth.


I started to layer in my embellishments with a heavy duty glue.  I tend to use E6000 For this task. 


A few of the new Shabby Chic Ornate Keys were added.  These were so hard to use up, but they were just perfect for the project.


For the final touch, flower embellishments were added.  Again, I played around a bit before adhering to ensure the correct choice.  Once again, my flowers changed from my original shot.


Another great element I added at the end was a metal clothespin.  To make it look nice and shabby I pounced a bit of white acrylic paint on it, let it dry a bit, and then scratched some of the paint off. 


I hope you are now inspired to make your own little shadowbox! It is is super easy and fun.  

Cheers, 

Rhea

Tuesday, February 11, 2014

Sweet Sentiments Valentine Wreath


This project started out with a wooden wreath base I picked up at a local garage sale. I am always on the hunt for things with flat surfaces which can be easily altered or adorned with paper.   With the heart motif, it was destined to be altered with Graphic 45's Sweet Sentiments just in time for Valentines Day.  


Sweet Sentiments Heart Wreath
Sweet Sentiments 12x12 paper
May Arts Ribbon
Petaloo Flowers
Distress Ink and Stain in Tea Dye
Adhesive
Wooden Heart Wreath Base
Gesso


To create a nice base I painted on a layer of gesso and once it was dry, I aged it with Distress Stain in Tea Dye.  The paper was added in layers that were stitched together on a sewing machine.  I am not a seamstress by any means, but I do like to add thread as a design element from time to time. 


In order to make the edges of my central image disappear, I fussy cut small elements and camoflagued the edge.  This little trick makes such a huge difference.


Another trick used in this project was to age my ribbons from May Arts.  The ribbon was pink and white to start out.  I thought it was a bit too stark, so I simply wet the ribbon and then added some distress stain.  I love how the aged look really pulls it all together! 


So the next time your shopping around a garage sale or estate sale, be sure to keep your mind open to finding fun things to alter. 

Cheers, 

Rhea


Saturday, February 8, 2014

Steampunk Valentine


I was inspired to make this card because of my new design team appointment with Xyron.  With the Valentine holiday right upon us, I decided to go with that theme.  Of course I had to put a bit of a steampunk twist on it, and here is what I came up with. I used 1/4 inch (6mm) Double Sided Tape and it worked like a dream, getting the edges perfectly.


My chosen paper was Steampunk Spells paper by Graphic 45, how cool that this Halloween paper can double for an edgy valentine.  I embossed some foil card stock I had on hand and altered it with Vintaj Patina, Liquid Pearls and a black acrylic paint wash.


Inside I added some of the Kraft Reflections paper along with some stickers and layered paper from the 6x6 patterns and solids, also from the Steampunk Spells line.


On the front I also added some stampings from Graphic 45 along with some of Tim Holtz's numeral rub ons. Metal corners I found in my stash help to ground and frame the card.


Another little secret, I actually used the back of the paper pack that is printed with the awesome gears and flowers, as a layer in this matte.  I just could not let that awesome imagery go to waste. Thanks for stopping by!  I truly hope you found at least tid bit of inspiration.

Cheers, 

Rhea

Wednesday, February 5, 2014

Mermaids Wanted


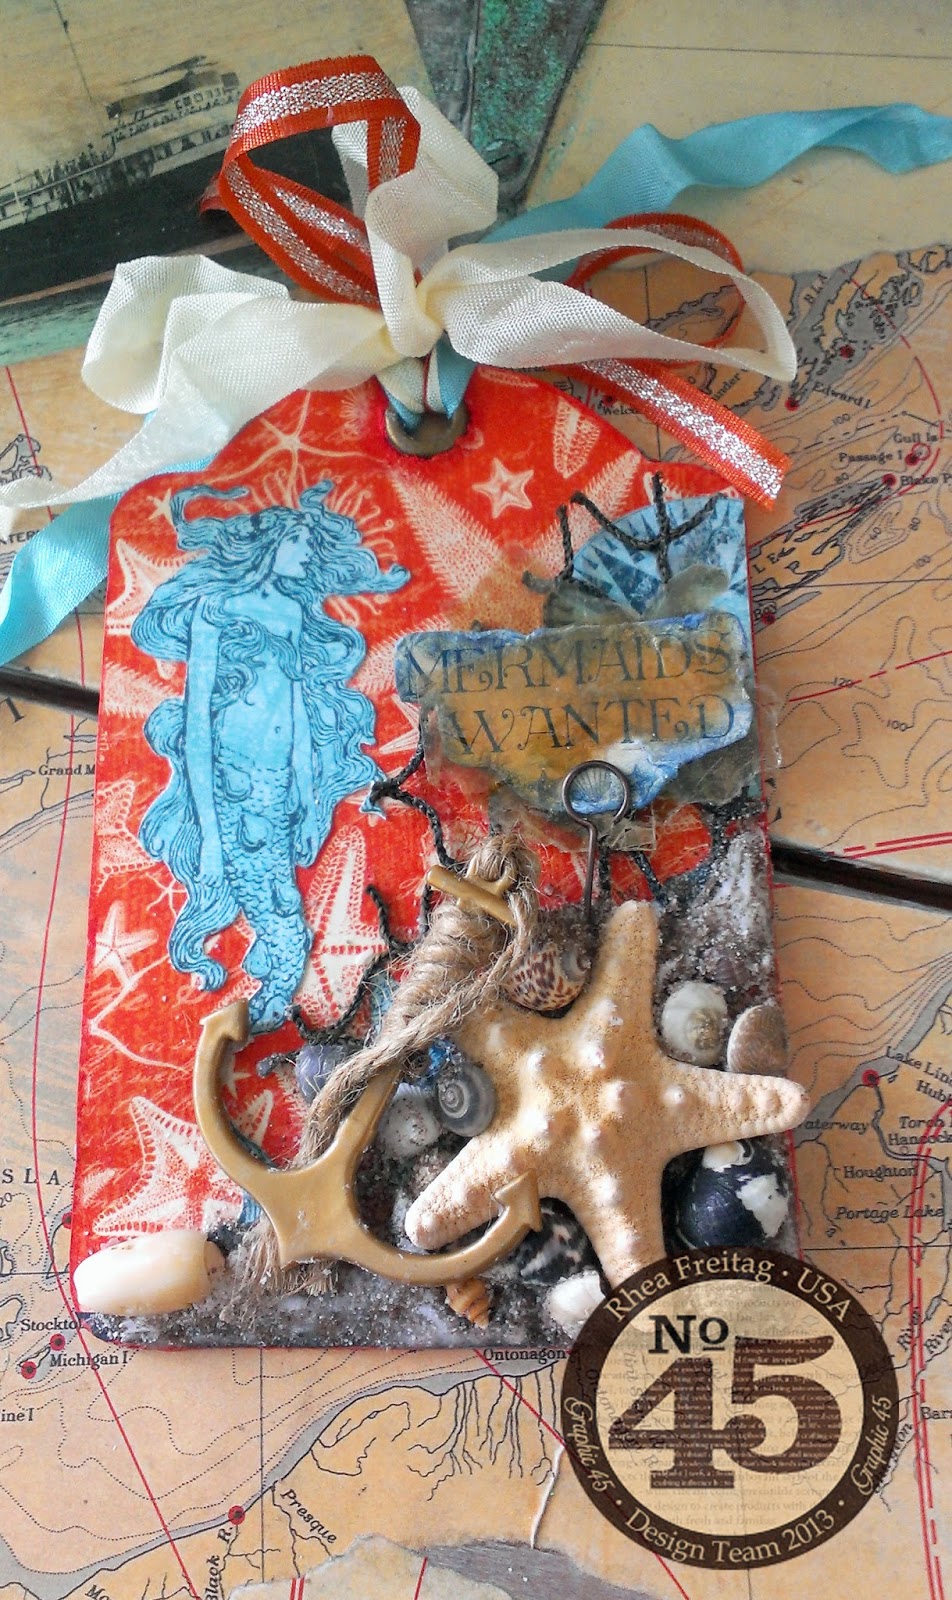
Since I absolutely adore mermaids I knew I had to make this image the focal of my first project with this lovely new paper, By the Sea for Graphic 45.  


I chose a contrasting background that would make the blue imagery of the “My Anchor” sheet pop.  Once I glued down the background and my layered images, I decided to get fun with some ocean themed stuff I had around the house.  I started by gluing down the starfish with matte medium.  At this time I also layered in some netting that went with the aquatic theme.  Then I got crazy with the shells, layering and layering.  


Finally I dusted it with sand, even adding some matte medium in areas to build up my drifts.  I love how the sand added texture.  


The “mermaid wanted” sign is sandwiched in between two sheets of mica to give it a reflective quality.  I finished off the piece with a plastic anchor that I think was intended for a fish tank.  I find lots of cool stuff at garage sales.   


I hope you are now inspired to add a bit of mixed media collage to your next project!  

Cheers!

Monday, February 3, 2014

Super Happy News with Xyron!


I am so jazzed to be able to share that I have secured a design team position with Xyron!!! I have always loved my little sticker maker, but recently Graphic 45 turned me on to more of their products due to their crafty partnership amd boy is there a lot to love!


I have included some images of a project that I made with Xyron a while back for a blog hop. It is one of my favorites.


Love how everything is glued all the way to the edges!


I cannot wait to see what this Design Team appointment will bring.  I am confident it will include great fellowship with amazing artistic women, along with stellar products sure to inspire.


Thanks for stopping by!  If your new to my blog, please follow or subscribe!

Cheers, 

Rhea

Saturday, February 1, 2014

Botanical Tea Easel Album


With all the excitement of my publication, I am late to post this project for Graphic 45 with their new Botanical Tea collection.  This is my personal favorite of the newest releases.  The imagery is perfect as always and I love the colors they chose.


I just love this vibrant blue bird image.  I also love all the lush botanical images.


As always, it was hard to use some of my precious things...like the metal staples doorknob, but I managed and the project is much better for it.


The bottom of the easel book is actually the side that now opens.  I cut the album along the seam and used the new washi tape to seal up the edges.  A fun latch gives the book more character.


Inside I made several two page layouts.  I simply let the papers speak to me as I went.


Lots of paper flowers by Petaloo were added along the way, as you can see they are a perfect compliment.


Some of the images were simply matted and some were fussy cut to add interesting but simple additions to each page.


Since I did not have any of the coordinating embellishments I created some of my own, like the tiny pink corners used to frame the fern.


I just cannot get over the beautiful muted tones of this palate.


More sweet floral patterns along side classic botanical prints.


A tip for the inside of the book:  before adding my papers I stained the inside of the coil with picket fence distress stain.  Adding this muted white really helped with the shabby chic look I was going for.


I got a bit carried away with matting images.  It is such a simple way to add detail.


Here you can see one of the shabby chic metal keyholes.  I really love the new finish.


Thanks for sticking with me to the end!  I hope you were inspired just a bit.  I know looking at these nice spring images was fun, especially in the midst of all this snow!

Cheers, 

Rhea