Showing posts with label Tim Holtz configurations box. Show all posts

Saturday, November 10, 2012

Christmas Assemblage


I am amazed that I caught the holiday crafty bug as early as I did this year.  I think designing for Alpha Stamps really helped that along, since we have to get all the delicious eye candy ready for the crafty community.  Anyway, today I am going to show off (gasp) a holiday piece I made to show off all kinds of new Christmas charms that Leslie got in the shop.

I started with one of Tim Holtz's configuration boxes.  I really love these things!  You can change up the pattern of the box to suit your needs.  I chose to leave out a bunch of the smaller compartments to create a spot for a larger scene up top.  This gave me the perfect spot to showcase my Dresden Santa, deer, Santa sack and one of the new woodland trees.  These are really cool as they come white and you can color them however you want too.


I had an idea straight away to make some sort of Santa sack and have the charms spilling out.  Now I am not much of a "fabric-ey" person, but a crafty pal coached me.  Thanks Brittney!  I simply took a bit of her scrap fabric and stuffed it with some of that white fluffy stuff and tied it up.  I then manipulated it to get it to lean in a way that worked for me and got to gluing.  


Now my wise pal Brittney advised me that this may happen, but my sloppy crafting ways made this inevitable...lots of glue showed up on the fabric.  I simply covered up my mess with little bits of vintage mica snow. This subsequently added a bit of shimmer and a lot of texture, which I love.  


Here is a close up of the bottom compartments.  I am always on the search for tiny things.  The drum was found on a Christmas pick at a big box craft store.  The deer focal was scored in a giveaway I won last year.  I am happy to have found a great spot to show him off.  


Here is a shot so you can see how the outside of the box looks.  I covered it in paper from Tim Holtz that was colored with red stain.  I also used some really cute decorative tape to edge out the box.  To add more distress and depth copper guilders paste was buffed all over the piece.

I hope you all are embracing the upcoming holidays in your crafty world as well!

Cheers, 

Rhea

Saturday, December 17, 2011

My Christmas Configurations

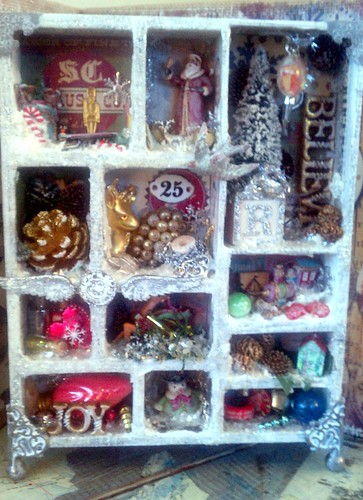
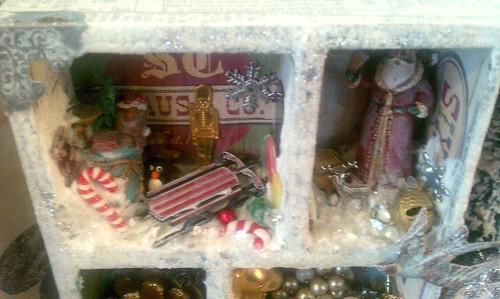
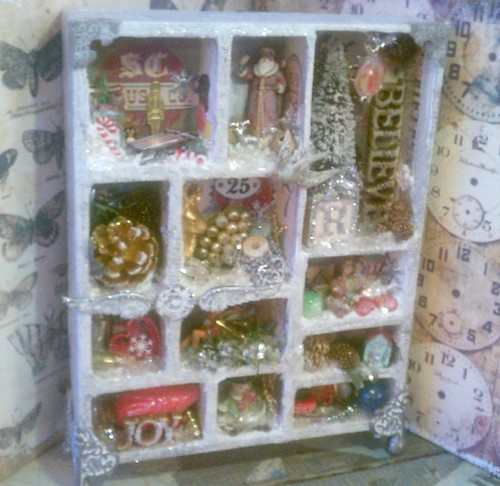
As my loyal readers may have expected, I have had a Christmas assemblage in the works.  I still can't quite figure out why I love to put these together, but I really, really do.  This piece has been getting put together in my mind for quite some time.  I started out by just gathering small items I knew would fit inside the boxes and putting them in little bowls on my craft table.  I also joined a Christmas ornament charm swap, with the intentions of using them to embellish my project.  This makes it extra special, as I have little pieces of others art tucked inside. 


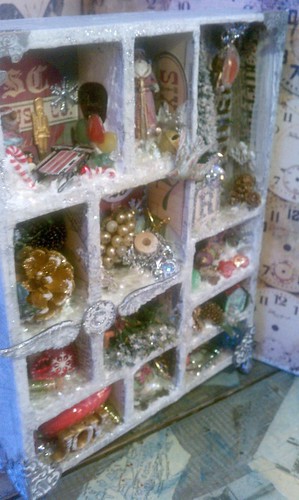
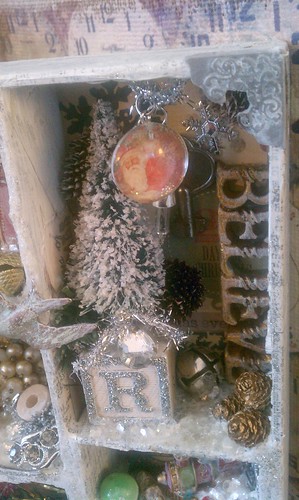
I am so grateful for Simon Says Stamp and Show, as it was their challenge this week of show some depth, that pushed me to actualize this piece.  I used several strategies to ensure that there is a lot of dimension and depth to this piece.  To that end, lots of texture was created with several different applications.  I used distress stain, acrylic paint, molding paste, fiber paste, rock candy crackle paint, vintage mica snow and stickels.  I was also sure to add several elements in each area and stage them at different dimensions.  Decorations were added to the sides and the tops of some boxes too, these details provide a lot of depth and interest.  My last secret to showing the depth here was in how I photographed the piece.


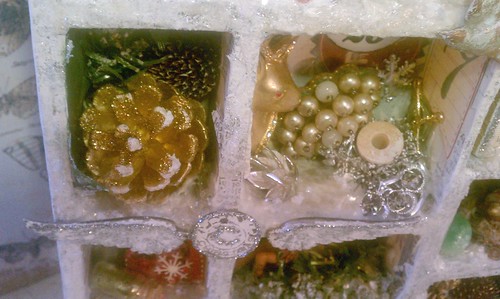
I love this little charm I made with the wings and the holiday muse token.  It reminds me of the spirit of Christmas because of the symbolism of the wings. I colored these metal pieces with picket fence distress stain and then sealed with matte medium.  Stickels were added for more depth and glimmer.


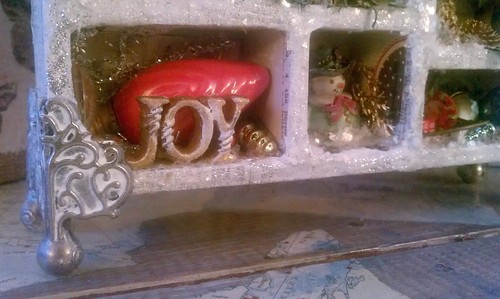
I used the white stain and acrylic paint on many of my items inside this assemblage.  This helped to create a wintry feel and keep the palette muted.  I love the shabby look of the feet from this distress technique.


I really love how I used the various art pastes to create little snow drifts.  I wish you could see the crackle a bit better, the texture on the edges is really delicious. 


I altered the bottle brush tree quite a bit.  I used gesso, acrylic paint and stickels to make it look snow covered.  In this little area a dangling charm was added. I always like to have an element of movement in my pieces, if I can make it work.


The vintage block above was also altered.  I washed it with acrylic paint and then simply added stickels.  I think these would make charming Christmas ornaments.   This project took some patience overall, as there were many stages due to the drying times.  This picture above does show a bit of the glimmer from the vintage mica snow.  I imagine I will be finding flecks of this in my work area for some time.


In this photo you can see that the base of the collage on the boxes is tissue tape. I love how the stain adds a whitewash look.  This toy compartment has lots of charms from my art charm group.  Thanks so much ladies, hope you like what I have done!!!


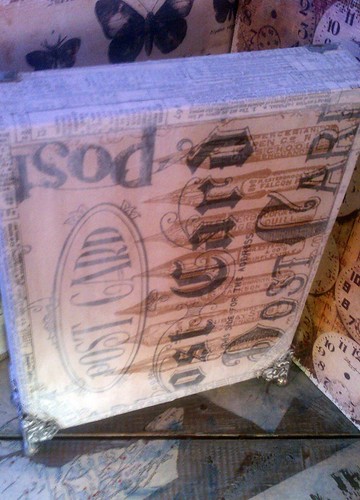
I always like to finish the backs of these boxes.  I chose my favorite piece of kraft paper from Tim's seasonal kraft stack and whitewashed it for consistency.


I hope you enjoyed peeking inside my little holiday assemblage.  I sure had fun creating it and sharing it with you.

Update:  Just after posting this project I found out that I won this giveaway from Red Lead.  Can you believe it!  How lucky am I!  Both thier store and their blog are full of inspiration, so stop on over and check out all the vintage and crafty goodness.  Thank you so much Red Lead, as you can see from above I will put the items to good use!

Merry Christmas to all,

Rhea

Saturday, September 3, 2011

Resin + Assemblage = Love!

This is another installment on my projects from the Create Retreat sponsored by Cloth, Paper, Scissors.  This class was called Resin Flooding Assemblage and it was taught by Belinda Spiwak.  Belinda was a very generous teacher and she created a calm easy going creative space for us to play in. 


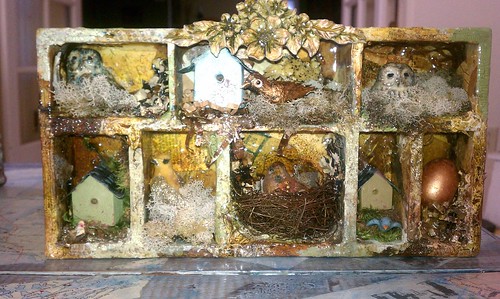
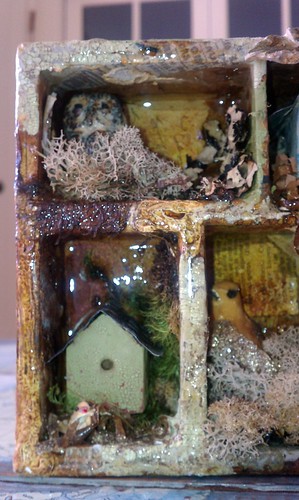
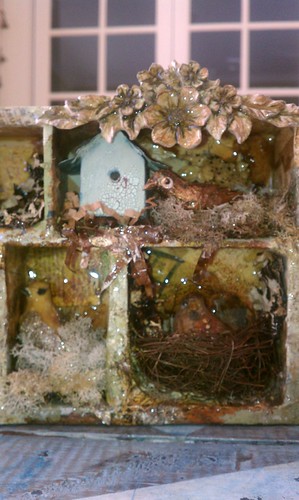
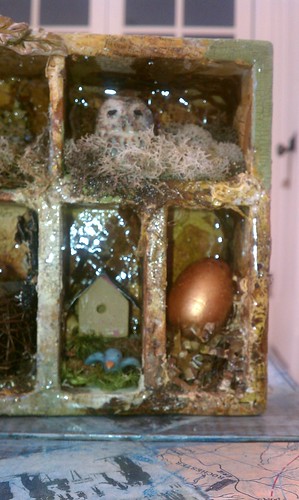
I managed to start two pieces in the class that I have now completed.  The first one was made with a bird theme.  I love how the moss and bark I added provided such rich texture.  It is really hard to see the yummy finish the resin created on these assemblages.  I did photograph with a flash to try and capture the amazing texture and sheen both pieces have.


I fell in love with Tim's crackle paints.  These added a nice old looking crackle where they were added.  I wish that I had "blobbed" it on a bit more as Belinda had advised in her instruction.  


I found this project very freeing.  I was able to be a bit messy and haphazard in my background collage and I loved this aspect of the creation process. 


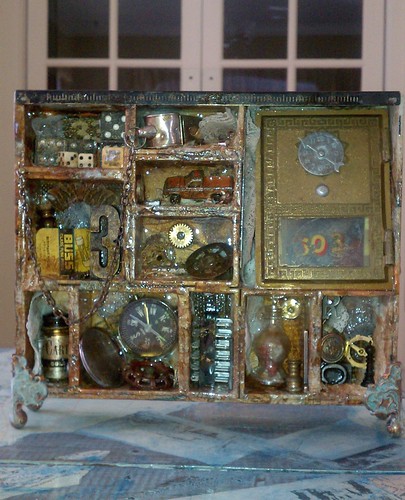
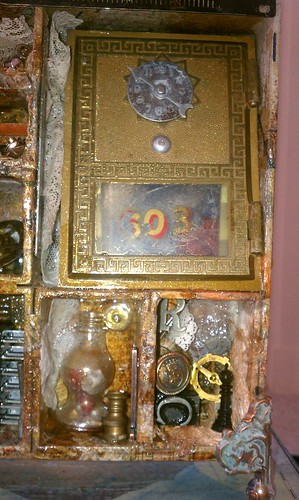
My second piece tapped into a bunch of vintage junque I had on hand.  I did get the large post office box plate from Belinda...as I said, a very generous instructor!  As many of you know, I love all things postal. 


I used my new rusting trick on Tim's feet and I love it.  Both of the boxes are Configurations from Tim's line of products as well.  I can't get enough of Mr. Holtz and his goodies.  I also discovered the joy of molding paste in this class.  While it is great to discover new products, it gets expensive! I left Create yearning for a bunch of new stuff. 


I often find it difficult sometimes to use my little treasures, but I just have to get over it.  After all, I still get to enjoy them, just in a bit of a different way. 


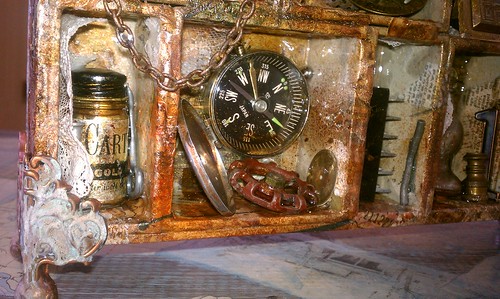
I finally used a piece of a typewriter I tore apart along the top of the piece.  The whistle has a long chain that I left free.  This was tricky to arrange while curing, but I love how it adds movement to the piece. 


There are so many goodies stuffed in these little compartments.  This piece is super heavy.  One thing I will not worry about is anything moving or falling off, the resin provides a super seal. I used Little Windows resin  in the bird piece and it was lovely, way easier to mix than the Easy Cast I used in the vintage one.   


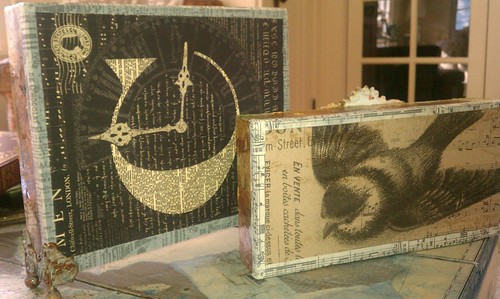
I had to finish the backs of these pieces because they were a mess.  We had to pour the resin at home due to curing time, I did not think to check the backs, so needless to say I had some issues.  Nothing a bit of pretty paper and tissue tape can't fix.  

This was such a fantastic class.  I look forward to using resin a lot more in my work now that I have been exposed to how easy it really is.  I hope you enjoyed sharing in my Create experience. I have one more project to share with you, coming soon!

Cheers,

Rhea

Sunday, March 20, 2011

Finally Finished

I have been working out this project, at least in my mind, since this past holiday season.  I received a Configurations box at that time, so I slowly started to collect small objects to fill my first assemblage piece.  This weekend I went to an amazing estate sale and hit the jackpot.  I could hardly wait to finally start putting things together when I got home with a wonderful bag of vintage goodness.   


My favorite area of the piece is the one with the roller skate.  This was a score from my recent shopping trip.  The photo was chosen because I dreamed of being a ballerina in my early childhood. 


Another extra special spot on my piece is the mailbox.  I actually purchased this off of ebay after seeing one from one in the art of one of my swapping pals.  I have a love of snail mail and all things postal, so this little area is a nod to that.  I even created some mini mail for my mailbox, which cannot be seen, but I know it is there. 


Another highlight for me from this collection is the metal mini dice.  I have no idea what they were supposed to be for, but I love them.  Other odd objects I used:  old car fuses, game pieces, hardware, scrabble tiles that I had previously altered, vintage toys, broken jewelry watch parts, keys, light bulbs, notions...the list goes on and on!  It is definitely something you need to look at for a moment to take it all in. 

Yes, I probably could have edited a bit, but that is a skill I just have not mastered yet.  Even if it is busy, I am happy with the result. There are many things in here that hold special meaning only to me and it was a joy to create.