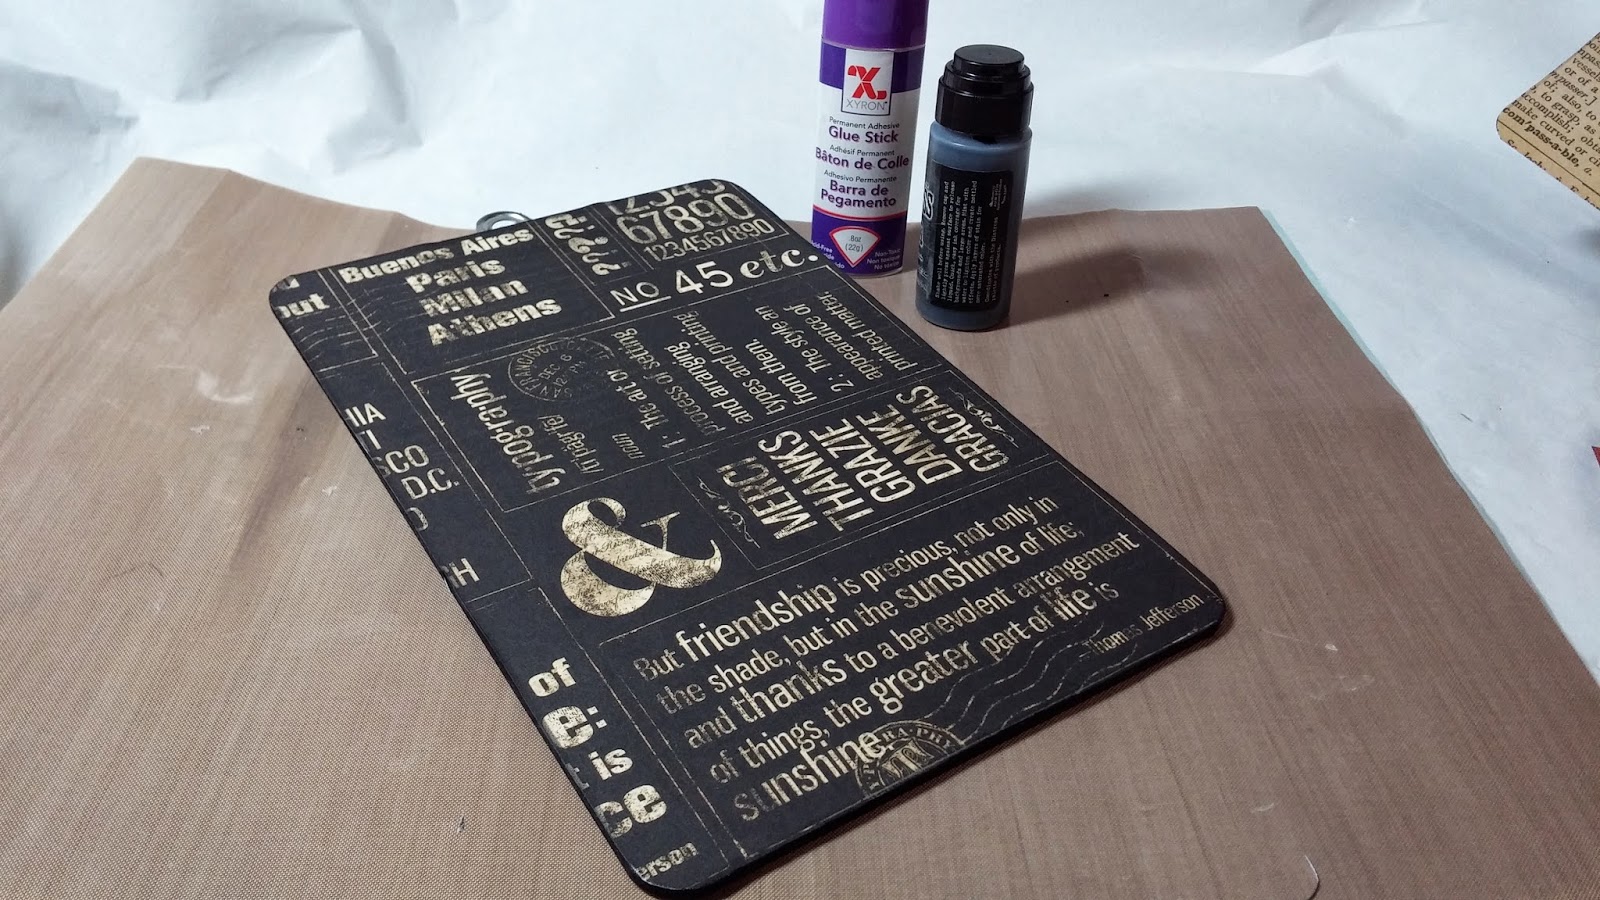
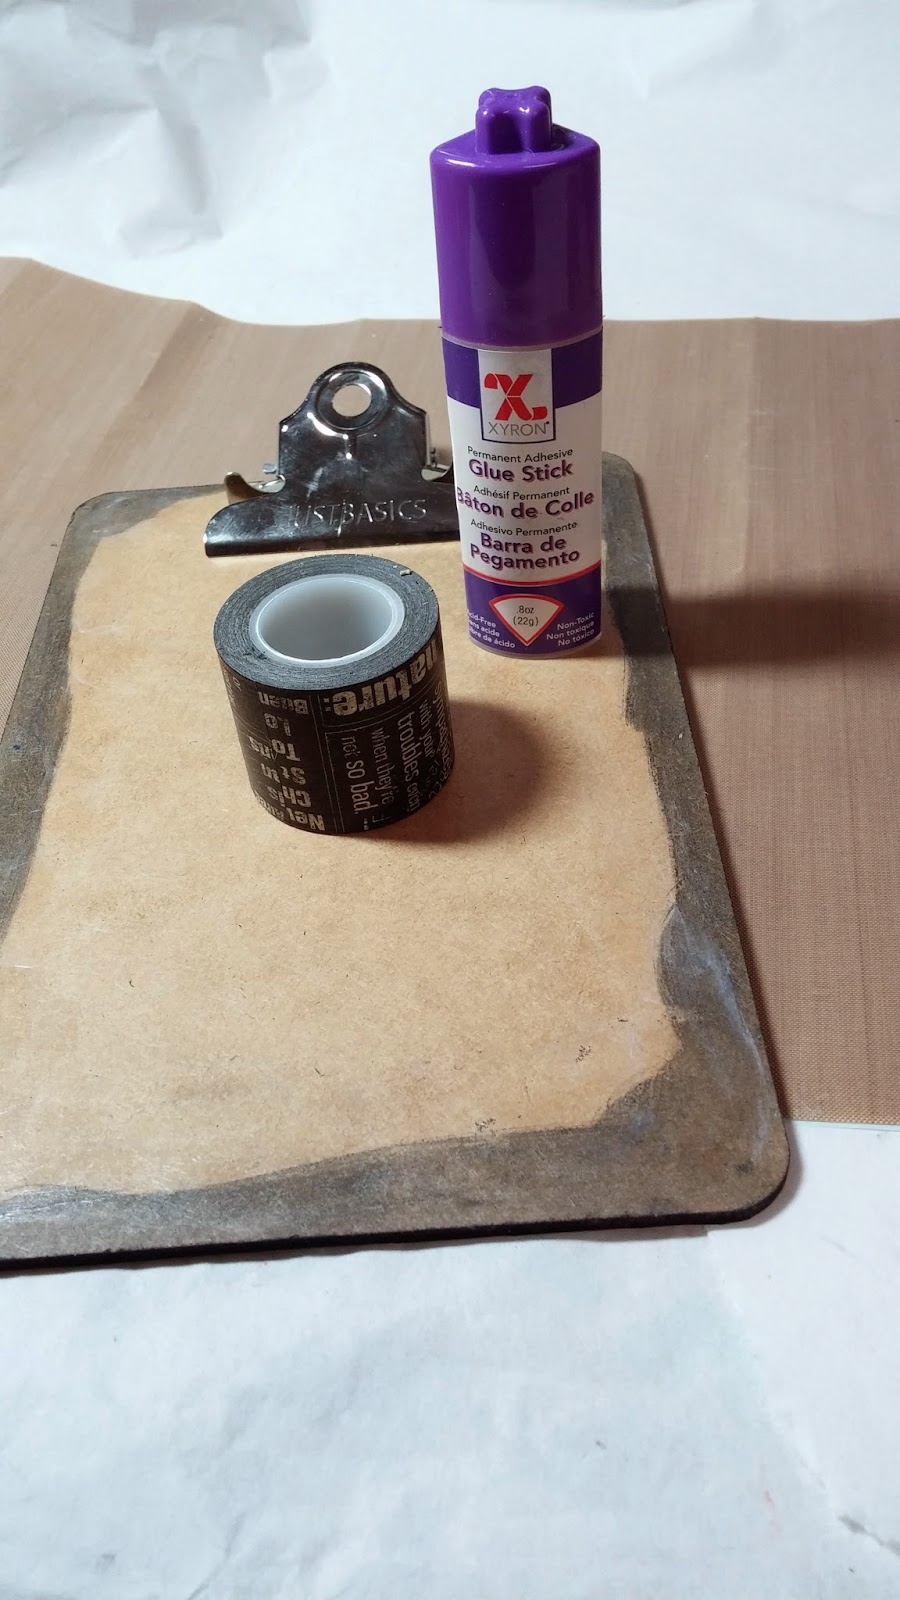
I decided to alter this tiny clipboard I had on hand with Typography by Graphic 45. It was quite easy and I used a clever solution to cover this tricky item as you will see in the tutorial below.

Supplies:
Washi Tape
Set
Distress Stain, Black Soot
Clip board blank
Xyron Glue
Stick For Corners
Xyron 1/2"
Double-Sided High Tack Tape
Petaloo Flowers
Embellishments and Charms

I used stain along the edges of the clip board so that there would
be cohesiveness with the intended color palate. Since I was planning to
cover the rest of the board, I only did what I needed too.

After tracing the backing for the board, I connected it with the
Xyron Glue Stick for Corners. Be sure to get all the edges, and
especially burnish where the brads are.

To keep things looking finished, I added more stain after adding
the paper. It is a tiny touch, but it really makes a difference.

On the front of the board the metal clip is in the way of easily
attaching paper. I decided to use the new washi tape and it worked
perfectly. I did add another layer of glue. Most washi tapes are
very low tack (not all that sticky) so this extra layer of glue will ensure my
edges stay down and my piece looks finished.

I added strips of tape extending past the edges.

Then I used small scissors to trim the edges. I could not
find my bone folder, so I used this Popsicle stick to burnish the edges.
This is important to really get everything stuck in place.

Now I planned for my focal and chose a few layers of mattes.
I used the high tack tape to adhere them.

Here you can see my base, all set for embellishing. Now I
had thought about keeping it simple and only adding a few bits at the top...but
knowing that I just cannot stop shopping my stash, it ended up covered in all
kinds of junk.

Now I had thought about keeping it simple and only adding a few
bits at the top...but knowing that I just cannot stop shopping my stash, it
ended up covered in all kinds of junk!

I thought this was the perfect spot for my big feather embellishment.

I love the use of gilders paste to make the letters stand out on these embellishments.

I hope you enjoyed today's post!
Cheers,
Rhea