Showing posts with label Xyron. Show all posts

Sunday, November 2, 2014

Come Away With Me Gift Bag and Card with Tutorial


Sometimes the simplest of tasks can prove to be a challenge!  This was especially true for me as I stepped out of the mixed media zone and into gift bags and cards for Graphic 45.  My mantra for this was simple, just keep it simple.  I have such a tendency to layer on so much stuff that would probably not hold up to the heavier use of a gift bag.  


Supplies:

Come Away With me 12x12
Come Away With me Patterns and Solids
Come Away With Me Stickers
Come Away With Me Journaling and Ephemera Cards
Twine
Distress Ink
Xyron Double Sided Tape
Paper Flowers
Recycled Cellophane Packaging


This project was created with a travel theme in mind.  I had planned on making a book or journal to go with this project, but did not have the time unfortunately.  Perhaps that project will still come to be!  I think that a junk book with these papers would be just lovely.


I pictured the recipient either moving away or heading out on a long voyage.  The Come Away With Me papers were a perfect choice for this idea.


Since I took the time to make a handmade card, I decided to showcase it a bit by making it part of the decoration on the paper bag.


A little bit of cellophane left over from craft supply packaging made for the perfect pocket for my note card.


Here you can see how it looks inside the pocket.  I just love finding useful ways to use my garbage/packaging in crafts!


I also created a snapguide on assembling this simple project.  Enjoy!


Friday, July 25, 2014

Xyron and Maya Road Blog Hop


What a great opportunity to get to play with lots of fun stuff from  Maya Road and Xyron this past month.  


I started the background of this great Vinatage Tin with Bohemian Bazaar paper by Graphic 45.  In order to fill in all the ripples on the heart tin, I used some stickels to cover where the paper did not meet the edge.


To add some layers I used the crochet trim from Maya Road in yellow.  It made for a nice frame for the sentiment to pop.  The fun shaped paperclip was also added for dimension.  The sentiment really stands out with bright framing and lift from the clip!


After I had finished my focal piece, I decided to make this into a magnet and  Xryon was the perfect answer!


This was my first time using the magnet tape and it is seriously great.  I was so surprised at the strength!


To cover up the tape on the back I ran a heart shaped peice of coordinating paper through my 5" Creative Station.


The tape was super easy to pull off the handy dispenser.  I was sure to trim it away from the edges so it would not be showing.  


I then added my sticky heart from the previous step and it makes a nice finished backing!


Here is is in action on my fridge!  This could also be a great embellishment for a card, or even made into an ornament with a bit of ribbon at the top.  

I hope you enjoyed today!

Cheers, 

Rhea

Sunday, June 8, 2014

By the Sea Beach House


Today I have a sweet little beach house made for Xyron,  With the use of my handy 5" Creative Station and my 1.5" Sticker Maker I was able to put this together in no time.


To start I edged the little house shape with tissue tape.  I love how it is a perfect fit!


I added a few layers of By the Sea paper from Graphic 45.  To add a bit of personal meaning, I wrote in a few of my dreams in between the layers of paper.  Giving special meaning to projects makes my inner artist smile.


For each layer of paper I used my Xyron sticker makers.  I love how the adhesive covers all the way to the edges and has no dry time!


Finally I finished off my fun house with some brass charms and bits from my stash.  Looking forward to a fun summer by the water, can you tell!?!

Cheers,

Rhea

Friday, May 23, 2014

Xyron and Paper House Blog Hop


I just love how designing for teams challenges me to use different products and styles of materials.  This project is a result of a Co-Hop with both Xyron and Paper House.  There are a ton more great projects to be seen over at Ain't She Crafty  as well as Paper House.  For my inspiration I was supplied with the Generations Paper Pad.  A few sheets of this lovely paper and my Xyron Mega Runner and I made this cute display in just over an hour!


I swear that using Xyron products makes my crafting so much quicker and efficient.


The texture on the Graphic 45 Staples Box was achieved simply with Distress Stain. I spritzed and flicked lots of water to get the stains to react.


When embellishing this box I decided to add the Tim Holtz curio knob.  I thought it made it look like a cabinet instead of a box.


To frame it out, more Tim Holtz materials I had on hand.  Also notice that I popped out each frame to add some interest.


I hope you enjoyed today's project.  Be sure to hop around for tons more inspiration from around the world. 

Cheers, 

Rhea

Saturday, May 3, 2014

DCWV Shadow Box


I recently made a fun little shadowbox with the new Brooklyn paper by DCWV and lots of my time saving Xyron products as well.  This project was helped along with my: Mega Runner, 5"Creative Station and my 1 1/2" Sticker Maker.  


I layered in lots of ephemera images from the paper line and from my stash.  I used some of the new Tim Holtz ephemera along with ripped up pieces of resinated tissue tape left over from another project.


I added some of my coveted Tim Holtz goodies to the mix to add bit of the story.  


I always love the look of air mail.  I made this cute tape embellishment and there is a Snapguide below!


Check out How to Make Vintage Air Mail Tape by Rhea Freitag on Snapguide.

Cheers,

Rhea

Sunday, April 20, 2014

Wooden ATC Book


I decided to whip up this little baby with my left over kit supplies from Alpha Stamps along with lots of my swag from Xyron.  I even made a Snapguide to show you how I put it together.  Here is a link to all my supplies.  


Inside there are lots of fun evelopes and pockets.


You can see that the stain gives the cover a nice uneven look.  I like that it makes each and every piece unique.


I cut up a bit of scrap paper from Graphic 45 to embellish my pages.  I found stuff to decorate this book in all kinds of unlikely places.


I am addicted to the little glassine envelopes.  I just love how you can see through them.


I like to use rub ons as opposed to rubber stamping.  I find that these are so much more reliable!


This envelope has the coolest pattern.  I tucked a bit of map inside which you can barely see.  The ATC cards are really perfect for this quick project.


I used a bit of the new Tim Holtz ephemera through this book as well.  It blends right into what I have going on.


More secrets tucked inside envelopes.


The rub ons work really nicely on the envelopes as well.


I hope you found a bit of inspiration in today's post!  Be sure to check out the Snapguide for the how to!

Cheers,

Rhea

Tuesday, April 8, 2014

Typography Clipboard Tutorial


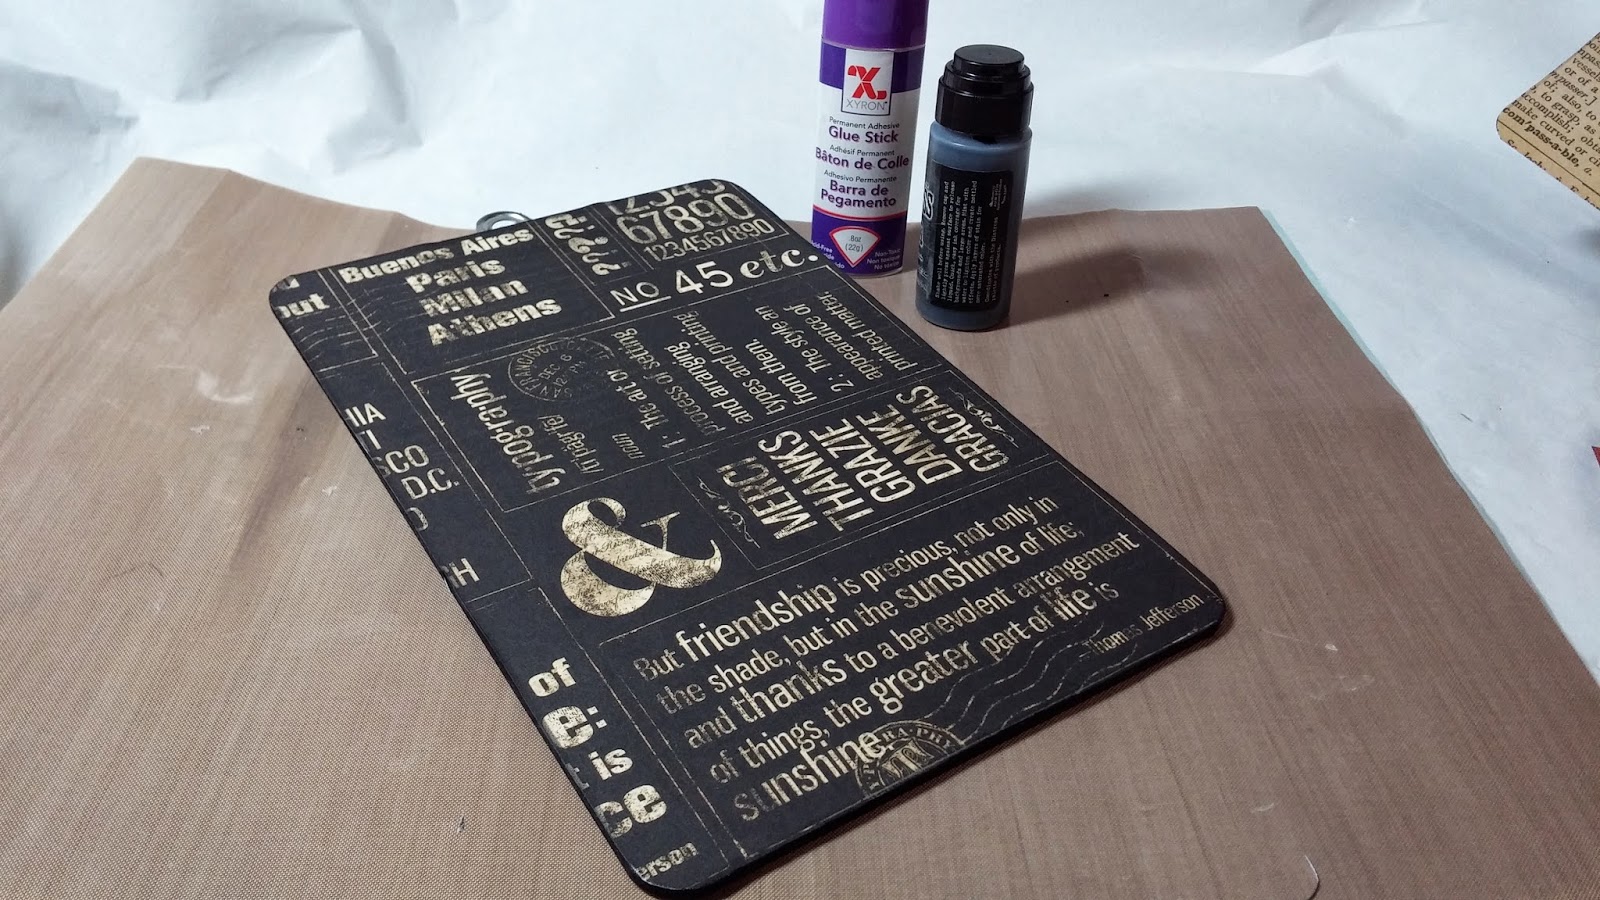
I decided to alter this tiny clipboard I had on hand with Typography by Graphic 45.  It was quite easy and I used a clever solution to cover this tricky item as you will see in the tutorial below.


Supplies:
Washi Tape Set
Distress Stain, Black Soot
Clip board blank
Xyron Glue Stick For Corners
Xyron 1/2" Double-Sided High Tack Tape
Petaloo Flowers
Embellishments and Charms


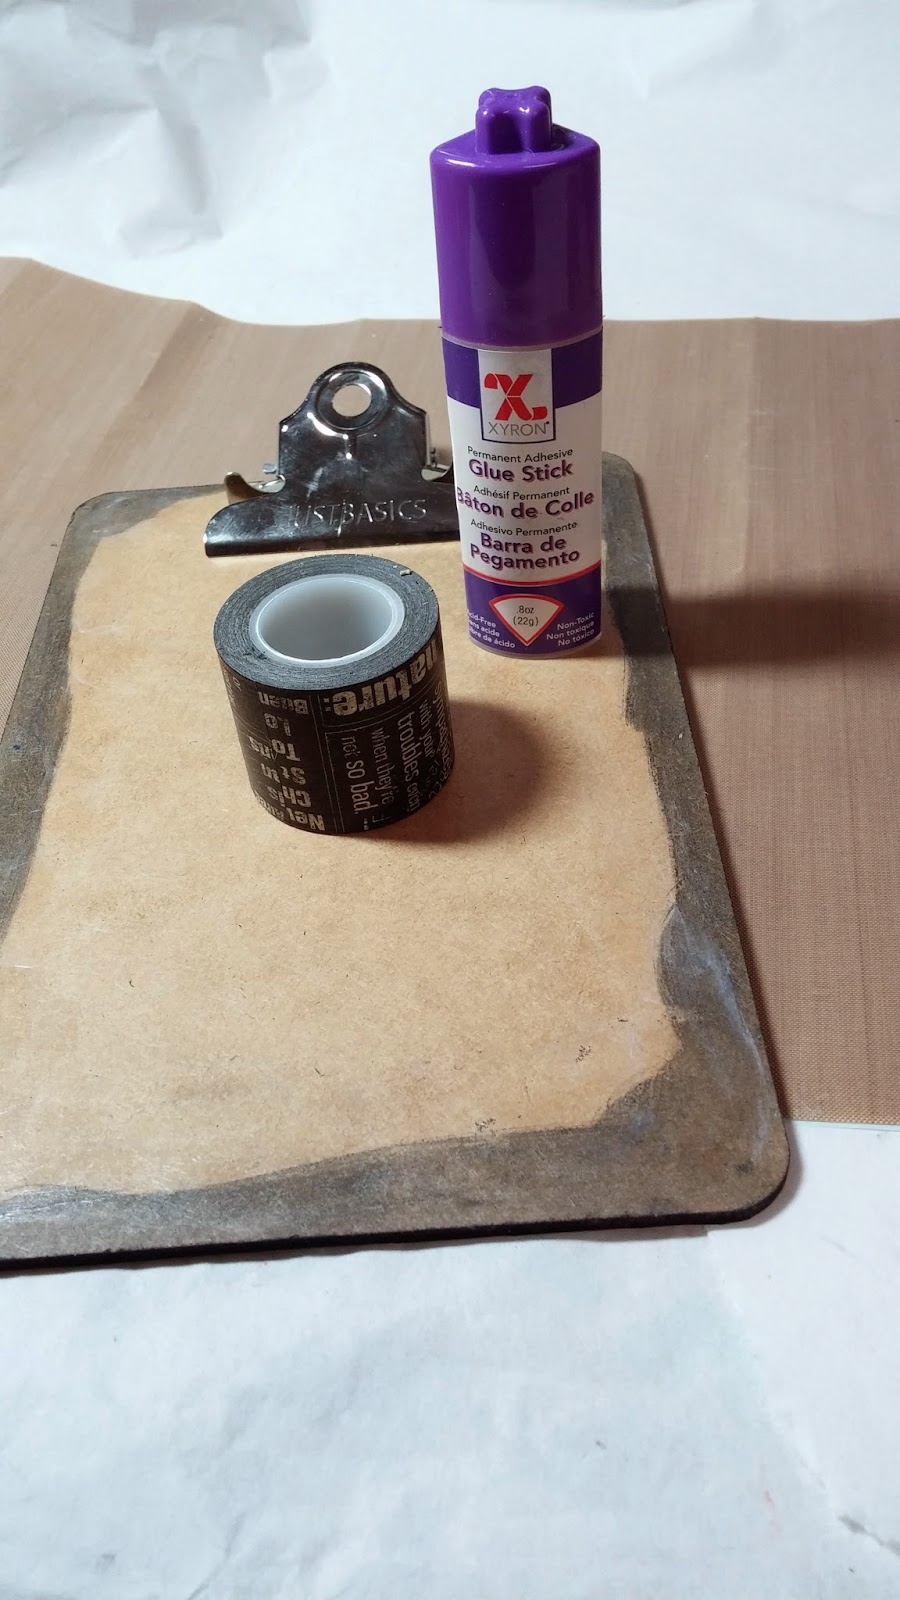
I used stain along the edges of the clip board so that there would be cohesiveness with the intended color palate.  Since I was planning to cover the rest of the board, I only did what I needed too.  


After tracing the backing for the board, I connected it with the Xyron Glue Stick for Corners.  Be sure to get all the edges, and especially burnish where the brads are. 


To keep things looking finished, I added more stain after adding the paper.  It is a tiny touch, but it really makes a difference. 


On the front of the board the metal clip is in the way of easily attaching paper.  I decided to use the new washi tape and it worked perfectly.  I did add another layer of glue.  Most washi tapes are very low tack (not all that sticky) so this extra layer of glue will ensure my edges stay down and my piece looks finished.  


I added strips of tape extending past the edges.  


Then I used small scissors to trim the edges.  I could not find my bone folder, so I used this Popsicle stick to burnish the edges.  This is important to really get everything stuck in place.  


Now I planned for my focal and chose a few layers of mattes.  I used the high tack tape to adhere them.  


Here you can see my base, all set for embellishing.  Now I had thought about keeping it simple and only adding a few bits at the top...but knowing that I just cannot stop shopping my stash, it ended up covered in all kinds of junk.  


Now I had thought about keeping it simple and only adding a few bits at the top...but knowing that I just cannot stop shopping my stash, it ended up covered in all kinds of junk!


I thought this was the perfect spot for my big feather embellishment.


I love the use of gilders paste to make the letters stand out on these embellishments.


I hope you enjoyed today's post!

Cheers, 

Rhea