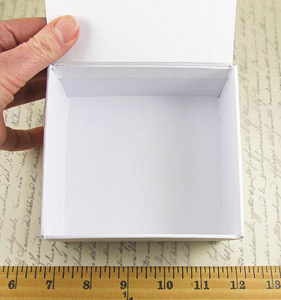
In this project I will show you how to take this humble little
box from
Alpha Stamps, and turn it into a grungy but elegant steampunk box. This was also the technique used in my
Altered Dress Form, posted a few weeks ago. I am happy to report that this dress form was chosen to go on tour with an expo show for the next year.
Here is a peek at the finished product. This box is 4x4 so it is perfect for small chunky books, altered coasters or just random junk.
Then I moved on to prepping my box. I applied one thick coat of black
gesso.
While these dried, I worked on embossing my aluminum tape from the hardware store. Now, I do happen to have a machine that I use along with embossing folders. If you do not have this resource get creative. I was able to sample some textures from around the house. A beaded place mat, a wire basket, a heat vent...get creative!
To add more dimension and texture, I painted my embossed tape with gesso and then wiped it off. This leaves a bit of color in some of the indentations of the foil. It also dulled down the metal quite a bit.
Now for the fun part, applying the tape. This is so easy, since the adhesive is already there. I layered three strips on the top, adding each of the outside layers before placing the one in the middle.
A bit of tissue tape on the edges gives it a finished look. To blend the tape in with the project, I wiped some black gesso on and then off of the tape to grunge it up. I also added a bit of spray glimmer to shine it up with another layer of texture.
Now it is time to add the hardware. I simply used a heavy duty glue for the feet. Make sure they are all level as it dries! A vintage clock gear is held on by the faucet handle, which was screwed onto the top of the box. Be sure to do this before embellishing the inside and the backing of the handle will be hidden.
Now I chose my wonderful Alpha Stamps imagery. The
round things collage sheet had many options, so I chose a few. A few
large spinners add my favorite element of movement to the project.
Simply glue inside with a bit of coordinating paper, and you are done.
Hard to believe this was a simple little gift box to start, eh? :)
I hope I have inspired you to step outside the box with your embossing.
Cheers,
Rhea