Showing posts with label travel. Show all posts

Saturday, April 25, 2015

American Vintage Assemblage


I was inspired to create this project as soon as I saw the new American Vintage paper line come out from 7 Gypsies.  I slowly began to gather found objects as well as my coveted 7 Gypsies metal elements that I knew would complement the theme in order to create this fun vintage letterblock tray.


It takes some patience to make a project with this many elements, the key is to be patient and do it in stages.  Sometimes walking away from the project to let glue dry will allow you to come back and see the whole things with fresh eyes. I find this tactic really helps me to fill in every inch of my art, which contributes to my own personal style.  After coming back to my work a niche will be calling out for extra junk and the search will then start for another element to add.


When I make these assemblage style trays, I try to attach things at many different layers of depth.  In this project I used some scrap cardboard to prop up some of my ephemera and make it stand out.


Another little secret I will share is to mist your project with a sheer Tattered Angels Glimmer Mist at the end to cover up any glue that may have escaped. This trick will not totally cover the glue, but it will distract from it at least a little bit.


I mixed in lots of great elements from the 7 Gypsies line along with my own found elements and treasures to pull this piece off.  I love how the old and the new blend seamlessly together. It is fun to root through your junk drawers and your craft stash to come up with fun personal things to add to your tray. Another great idea would be to plan to make one of these before a road trip and then purposefully seek out your own pressed pennies, ticket stubs and ephemera to capture a memory in a whole new way!


You may have noticed that the base of my tray has been altered a little bit as well.  I used a scrap of paper towel to buff on a layer of patina colored gilders paste to add a weathered look to the wood.


I hope that this post has inspired to go through your trinkets and create a letterblock tray that captures a special trip or memory!

***This post was also featured here!***

Cheers, 

Rhea

Saturday, March 21, 2015

7 Gypsies Serengeti Receipt Holder


Today I took some time to finally play with some of my new goodies from Canvas Corp.  I created this mixed media receipt holder with the Serengeti paper as the springboard for inspiration.


In order to add a layer of texture I used a few fun things. One is resin covered tissue that has been ripped and torn.  I also used some tissue tape.  The tissue tape was added over the edges to break up the hard lines of the receipt holder.    


Yet another fun element in this project are the patches.  I added them with vintage pins in the brass color.  


I am always trying to fill in every nook and cranny.  To that end, I also added some labels that I embellished with rub ons.  


I was able to sneak in a bit of twine by attaching it to a few of the global tags.  This adds more texture and a bit of movement.  


 Lots of the mini ephemera and vintage photos were used as well. 


This project was so super fun and it really came together quick.


As I created this I thought of an old friend of mine.  She is doing everthing she can right now to find a way to volunteer in Africa to save animals, specifiacally rhinos.  I wish her the best in achieving her mighty dream!


I hope you enjoyed today's post.  As always I treasure being able to share my goods with you all.  It inspires me so!

Cheers, 

Rhea


Sunday, November 2, 2014

Come Away With Me Gift Bag and Card with Tutorial


Sometimes the simplest of tasks can prove to be a challenge!  This was especially true for me as I stepped out of the mixed media zone and into gift bags and cards for Graphic 45.  My mantra for this was simple, just keep it simple.  I have such a tendency to layer on so much stuff that would probably not hold up to the heavier use of a gift bag.  


Supplies:

Come Away With me 12x12
Come Away With me Patterns and Solids
Come Away With Me Stickers
Come Away With Me Journaling and Ephemera Cards
Twine
Distress Ink
Xyron Double Sided Tape
Paper Flowers
Recycled Cellophane Packaging


This project was created with a travel theme in mind.  I had planned on making a book or journal to go with this project, but did not have the time unfortunately.  Perhaps that project will still come to be!  I think that a junk book with these papers would be just lovely.


I pictured the recipient either moving away or heading out on a long voyage.  The Come Away With Me papers were a perfect choice for this idea.


Since I took the time to make a handmade card, I decided to showcase it a bit by making it part of the decoration on the paper bag.


A little bit of cellophane left over from craft supply packaging made for the perfect pocket for my note card.


Here you can see how it looks inside the pocket.  I just love finding useful ways to use my garbage/packaging in crafts!


I also created a snapguide on assembling this simple project.  Enjoy!


Saturday, June 15, 2013

Well Traveled Shadowbox Book


When these shadowbox books by Tim Holtz came out I knew I would absolutely have to make one.  Lucky for me, Alpha Stamps decided to carry them, so I got to create one just for them!


I love the brass frame I used to encase some random numbers.  The word "journey" was laid out with cirque alpha stickers. 


Throughout the project I used a ton of Tim's Elements Tissue Tape.  This worked really well for framing my front page out, as well as covering the edges of each little compartment. 


I went with the Well Traveled theme once again since it would compliment my selection of trinkets for the inside.


Sadly, this was the last on of my typo bulbs, they were fun while they lasted!


In these little cubbies you will find a cool brass arrow, a teeny tiny compass, and a perfect clock face to accent the theme.  The wood doors are a nice touch too, I just wish I made them with the ability to open.  Instead, I popped them out a bit by adding some foam behind them to add some depth.


The bigger compass is one of my elements in this project, as I believe it represents direction and purpose.  It was altered a little with the help of silver gilders paste.


The dream placket below has been in my stash for a while.  Again, I used a bit of silver gilders paste to add some age and dimension to the piece.  The word was in a bright blue that did not go with my color palate so this addition really helped it to fit in.


In order to get the words to show up on the word band above, white gilders paste was used .  


I hope you found a bit of  inspiration in my shadowbox book!  It was really fun to do assemblage work again, as this really is my absolute favorite way to go when it comes to art. 

Cheers, 


Rhea

Saturday, May 25, 2013

Junk Book: Ribbon Binding Tutorial


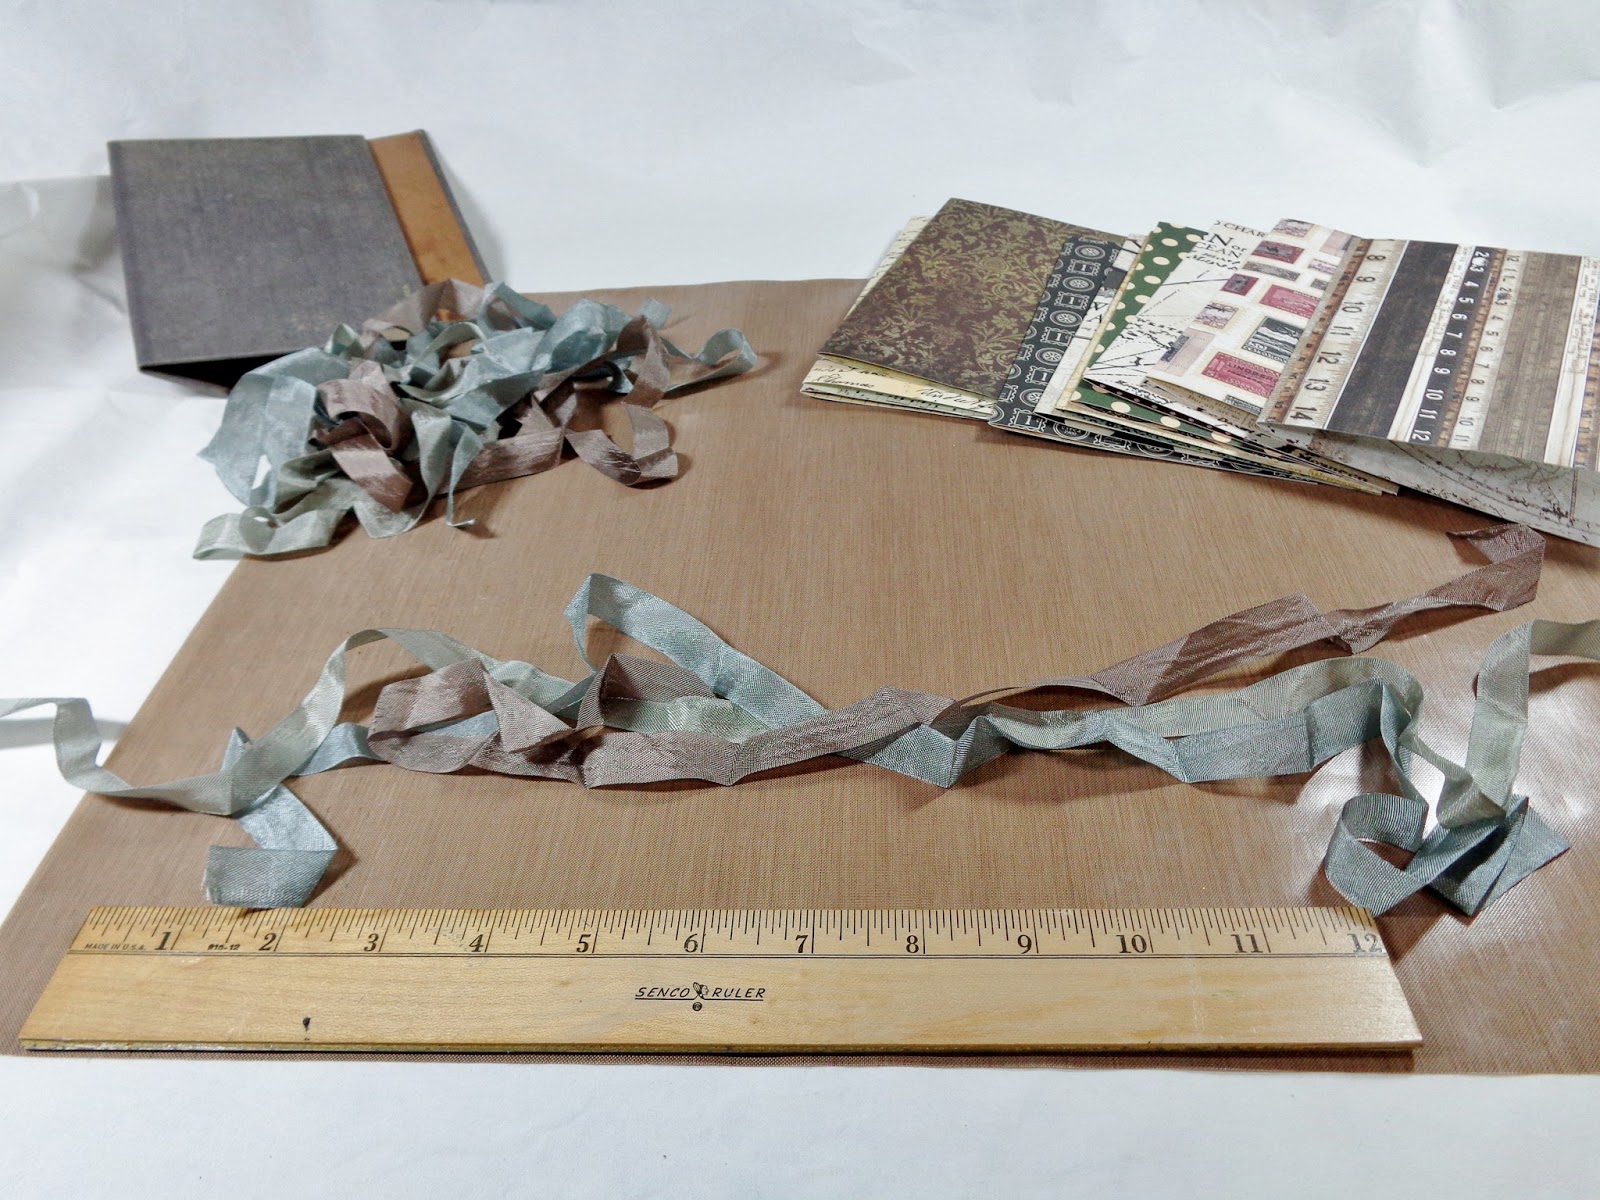
After many requests, here is a photo tutorial for how to assemble this simple junk book with a ribbon binding. With the right stuff on hand, I was able to put this together in  just a few hours.  Here is a link for all items used over at Alpha Stamps.  I have also included a video tour at the end, if you are inclined to listen to me blather on about this fun little book.


I started with a few supplies from Alpha Stamps:

Tim Holtz Worn Cover
Seam Binding
Charms
Sturdy Card stock Scrapbook Paper
pockets, tags, 
Dazzles, Tim Holtz Rub ons.
Tim Holtz mini cling stamps. (fell in love!)


To start off, I cut 10 pieces of quality scrapbook paper to measure 8 3/4 inches long by 6 1/2 inches tall.


I creased each of them in half with a bone folder to make my initial ten signatures.


I cut each piece of seam binding randomly to achieve a staggered look.  The strands of ribbon will need to be twice the height of your book plus extra for tying and hanging.  I would say each of my pieces are at least twenty inches.  I tend to work around measuring when I can.  You will need one strand for each signature, for this book, I had ten.


In order to mimic gilded pages, I added silver gilders paste to the edges  It works very nice on paper as well as metal and wood.  


Each signature is tied into the book with a bit of seam binding or ribbon.  I tie a double not and be sure that the ribbon is lying where I want it.


Charms are then added to some of the ribbon strands.  It is also a good idea to trim up the ends to make it appear balanced and finished.


And then you begin to embellish.  I just love the new fairy vials, I simply added a postal stamp inside this one to make a clever charm.  If you would like to take a closer look inside, and to find a few tips and tricks, I have included a video tour.


Cheers, 

Rhea