Showing posts with label assemblage. Show all posts

Sunday, August 30, 2015

Mechanical Row Houses


These fun little houses have lived in my mind for some time now, so I was pleased to finally take the time to make them.  I used small wooden house shaped blanks along with a ton of products from Prima and Finnabair to create these sweet mixed media treasures.


To start things out I primed my houses with black gesso.  I then added my roof lines with 3D Gloss gel and Black Sand Texture Paste, both such dreamy products.  The versatility of the gel is amazing, I was able to use it both with her glitter and mica flakes.


I love the texture of the roof tops.  The sand paste is especially fun for this application.  And yes, it took a really long time to dry!


I went a little nuts with the silver micro beads again too.


There are two more of these fun houses in process, but I just could not wait to show them off to you all!

Cheers,

Rhea


Sunday, August 23, 2015

More Finnabair Inspiration


Hello folks!  Sorry it has been a bit quiet on the blog this month!  It has been a wonderful summer filled with vacation days, long weekends, and a little bit of art respite for me.  Sometimes it is best to embrace the quiet times as when my mojo returns, it usually does so with fervor.


I am here today to show off some more work that incorporates a ton of Finnabair products and some of her techniques.  I have decided to also take a creative risk and try out for her design team. I long for deadlines, project constraints and a creative clan that designs and inspires a community of like minded people. When I am doing this, I am so happy!


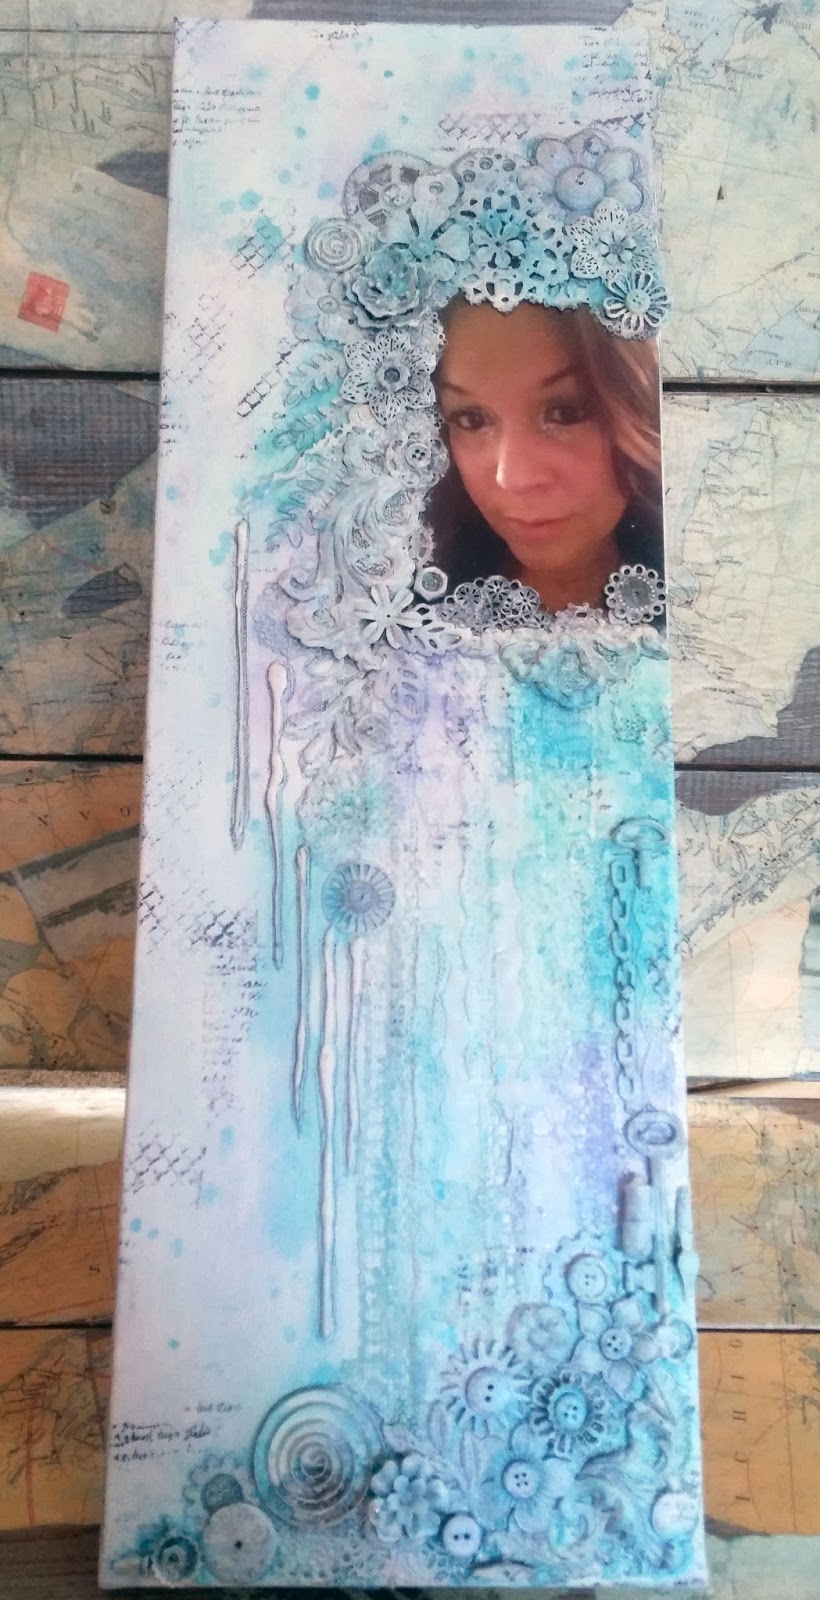
I created this canvas piece specifically for this entry.  It shows my hidden dream in the corner.  There are layers and layers of mediums on top of a burlap panel.  This provided for great texture in the background.  Some of the mediums used include Black Gesso, Clear Texture Paste, 3D Gloss Gel and silver micro beads. 


As you can see I used a ton of Finnabair's metal embellishments, along with the mediums.  Her pieces are perfectly made for layering to create interest.  I wanted to cover up the place where I tied on the hanger, so combined some of Finn's pieces to some coveted buttons.  I love when a treasure finds the perfect home.  


Now this book I made straight away after taking several of Finnabair's classes.  I was so inspired from her teachings as well as a recent trip to the Detroit Institute of Arts to see the Frida and Diego art exhibit, that I decided to make a book blending these ideas.  The book is actually for a round robin, so it will travel and many people will work in it.


I am happy to report that it is quite sturdy due to the use of the 3D Gloss Gel.  I also layered on lots of micro beads and mica further cementing down my dimensional elements.  This gives me some piece of mind as it makes it's way around my art circle.  


The texture that was created by the Black Gesso base is amazing.  I think it has to do with the book I used.  It was puffy and leathery and perfect for this project.  Before adding the layer of gesso, I primed the book with a layer of 3D Gloss stenciling to make a background.  Then I sanded the 3D Gloss circles which made them appear to have a shaded effect.  

It has been so refreshing coming back to my blog with new knowledge and inspiration!  Thank you so much for following along!  I appreciate your readership as always!

Cheers, 

Rhea


Saturday, July 18, 2015

Finnabair classes!


I was so excited when I discovered that a scrapbook shop called Scrappy Chic in Livonia, Michigan was going to be hosting Finnabair in July. I decided to have a little art binge and take all the classes and I am so glad I did.  So here I am fresh from two full days of fun, with four classes total and I am here to show off my work.


First up was "Daydreamer."  This was a collage on canvas using darker effects, which I absolutely loved.


As you can see Frida Kahlo was my focal.  I recently went and saw the Frida and Diego exhibit at the Detroit Institute of Arts, so I took lots of inspiration from there. I thought she was the perfect subject for the large headdressess that are signature Finnabair sytle.


The next course was called Over Emotional.  I liked having the chance to stretch myself a bit with an alternate color palate and style. While I don't think it is something I would repeat in terms of color, I am pleased with the outcome.


On of my favorite tricks used in lots of classes lately is adding some pencil at the end.  It is amazing how this small element can really change the level of detail on a piece. You can see some of my doodling at the bottom here.


So much rich and fun texture.  There is so much for the eye to take in on every one of these projects.


The start of day two was a Rich and Textured Layout class (gasp).  I don't think that there has ever been a layout on my blog, because this is just not my thing.  I decided to go with it anyway since I had traveled for the classes and I was glad I did.  There were still lots of techniques and products to try out.  The kits for the classes were beyond amazing, I am so pleased with what I still have left!


The image here came from my dad's stash.  Since he is an antique dealer he has a ton of junk.  I told him about my project and I got a slew of fun cabinet cards to play with! Score!


Last up was the ARTifact.  This was clearly my favorite, with no people to worry about as I am actually not much for featuring people in my work.  Anyhow, the focal here was a paintbrush, again provide by going through dad's junk.  Lots of fun industrial touches were added by the way of gears, nuts, bolts and even some great metal wings.


What an amazing two days of artful bliss!  Thanks so much to Scrappy Chic and of course to Finn for a beautiful presentation of classes. I am so glad I made the trip.


Cheers,

Rhea

Sunday, June 14, 2015

Art all weekend with Kristen Robinson


So I am totally blissed out on art!  I have just returned from a lovely art filled weekend at Smittendust, a beautiful art studio in Diamondale, Michigan.  Dusty, our hostess, had Kristen Robinson teaching classes all weekend long and I indulged in every one of them.  


Dusty made each class participant a name tag filled with relaxing lavender.  What a great token to remember this weekend!  Above you can also see a super sweet tiny house made by Kristen that I won in a raffle.


Day one was right up my alley with the first offering called A tale in my heart - plaster, wax and paperclay shadowbox.  We actually made two pieces as the class progressed.  Kristen is so generous in her teaching and her super duper class kits. 


I love all the interesting texture achieved my mixing all the techniques offered.  I am definately inspired to play with plaster and wax in the future for sure thanks to my exploration during this class.


Day two was Divine Bangles and the title was aptly named.  We did so many different things through the course of the day such as etching, soldering and adding patina.  We also fold formed and did some basic metal working techniques.  As you can see not everything is complete, I have a bunch more wire and some assembly to do soon and I am really looking forward to it.


Then on to day three with Grunged up and Glamorous - Upcycled Journal.  I had so much fun playing with these ideas and techniques.  


There are lots of transparent elements through the use of packaging, upcycled materials and glassine. I loved adding lots of stitching with a sewing machine too.  Thanks to my art gal Joanne for sharing and a few teaching moments on her machine too.


One of the stickers from our cute kit boxes wandered into my book.  It is a sweet reminder of the day and this little junk journal is the perfect home for it.


These pages are filled with all kinds of fun.  I used resin paper, strings, feathers, tatted butterflies...whatever I could find to create texture and interest.


I was able to utilize lots of resin elements I had on hand.  Finding the opportunity to incorporate previously made components is always a good thing.


Here is another peek at my fantastic book as a whole.  It is really something that needs to be seen in person, the pictures just do not capture how special it really is.


Thanks to all who actually made it to the end here!  It was such a great weekend and it really did deserve a nice long homage!  If you are ever offered the chance to take one of Kristen's classes, I highly recommend it.

Cheers,

Rhea


Thursday, June 4, 2015

Boots n Saddle Shadow Box


This project was made especially for Canvas Corp and the release of their Boots n Saddle paper line. 


I was thrilled with the challenge to find "junk" in a Western theme, a theme I would not typically gravitate towards.  The stuff I found surprised me.  I not only had quite a few fun bits in my stash, I readily found some charms at a big box store to suite this genre.


The steer is actually from a belt or a broken bit of jewelry.  Part of an odd lot from an estate sale I think.  There is one vintage Cracker Jack toy in there as well as a rope from a Clue game.  It is amazing what you can find when you start to think outside the box.


The rusty stars were from a recent exchange with my local Multi Media Mavens.  Jill gave these stars to me and they are the perfect addition to this project.  I added some color with a touch of German silver gilders paste (I got a new color!!!!) and mounted them in a way that leaves two of them free to move.


To create a title for the piece that goes with the paper line, I used my trusty Dymo label maker once again.  In order to alter the title, I used gilders paste, creating cohesiveness by using the paste consistenlty throughout the project.


Here is a nice shot of the texture I achieved by layering all kinds of products.  I used Tattered Angels high impact paints, Vintaj Patinas, Tim Holtz Rock Candy and also alcohol inks.  Lots of fun stuff to play with to get this super aged look.


Thank you so much for taking this trip out west with me!

Cheers,

Rhea


Saturday, May 30, 2015

World Traveler Shadowbox


This project was recently featured on the Canvas Corp blog and I am happy to be able to now personally show it off to my readers!


I used 7 gypsies Serengeti paper along with a Solo Shadowbox to make this traveling treasure.  I tried to stay with an African theme to create this worldly assemblage.


The outside of the box was covered in paper tape to give it texture and alter it a little bit.  I also used burlap to give a backdrop to the smaller insets. This adds a rustic element.


The treasures inside started with the 7 gypsies charms.  I added from my own stash and I also made a special trip to my local bead shop to find a few unique things to round out my theme.  Many of the objects have been altered with patina or gilders paste.


In this piece I added some text and imagery via rub ons.  I absolutely am loving the arrow trend that is happening right now and I have added a few here and there to help the eye travel.  You can also see that I used rub ons in some of the empty areas.


As always I absolutely loved creating this piece and I just adore being able to share with you!  Thank you for stopping by!

Cheers,

Rhea

Sunday, May 24, 2015

Steampunk Santos Doll


This project has been in the making for quite some time.  I started it when I recently made a large order from Retro Art Cafe, where I got the doll base.  


The caged portion of the doll is covered in turquoise Iced Enamels.  I love the shabby metal look it gives.  Since I did not seal it with resin as intended, it chipped a little, but I liked the effect. 


On the bottom of the doll I added lots of fun things. Strings and scraps from Sari ribbon, gears, hearts and even some old vacuum tubes.  A few customized bezels were also added for movement and additional meaning.


My project finally came together once I got some stuff from B'sue Boutiques.  I had been having trouble with the face of my doll, but with this lovely brass stamping my gal finally found her personality.  


I enhanced the face with Vintaj patinas, gilders paste and some stickels. I think it ended up working out quite well.  You can also see another custom bezel is tied on here with some more Sari ribbon, which was from B'sue as well.  I really loved it more than I would ever imagine, with it's bright vivid colors.


I liked the shape of the hearts as well as the colors I chose.  Here I layered on three similar elements to create interest and depth.  It is always good to repeat patterns.


The wings of my steampunk Santos doll are enhanced with Inka Gold, stenciling and lots of gilders paste.  I even edged some things out with graphite to be sure I had good definition. 

This was a super fun project for me that is really outside of my usual work, but I really enjoyed it.  I hope you did too!
Cheers, 

Rhea

Sunday, May 10, 2015

Hand Picked Flower Assemblage


This piece has been in the works for so long!  I found these elements several summers ago and I compiled them as a result of a lesson on flowers from an online class through Brave Girls Club. However, as things sometimes happen, I never really put the piece together.


I had taken a photo of the assemblage on the trunk I use as a backdrop.  The pieces were lying around neglected in a dish for a very long time.  I finally had the inspiration to use them when I found the background at a local big box store.  I used stains, gilders paste, gesso and paint to create a fun distressed background. 


The play on words with the title "hand picked" I thought was super cute.  I used a dymo label maker to make my saying and mounted it on a scrap of Masonite and a Tim Holtz frame.


The middle of the flower is a cool old rotary phone dial that I picked up at a garage sale in the Upper Peninsula.  I am happy to finally put this treasure to good use. 


This was a great departure from my usual use of paper, a true assemblage for sure!  Thanks so much as always for stopping by, I wish you much inspiration!

Cheers, 

Rhea