There is lots of eye candy to be had, so please enjoy. Be sure to scroll down to the bottom to see how I made this step by step as my Valentine gift to you. Cheers!


Sweet Sentiments
Mini Shadowbox with tutorial
Sweet Sentiments 8x8 paper
Sweet Sentiments Cardstock Stickers
Shabby Chic Ornate Metal Brads
Shabby Chic Ornate Keys
Metal Clothespin
Petaloo Flowers
7 gypsies Solo Shadowbox Tray
Distress Ink in Tea Dye
E6000
Xyron Glue Stick
Resin Embellishments by Prima
Perfect Pearls
Burnt Umber paint
I was inspired to make this project from rooting through my
little collection of “alterables.” I
have a stash of items I pick up on sale or at garage sales or estate sales. When I don’t know what I want to make, I will
simply start moving things around and inevitably something will call out to
me.

I started out by creating my background and using a glue
stick to adhere my paper.

Next I got busy altering my elements. I used basic distress techniques like
roughing up and inking the edges. I also
embellished my resin birds with several layers of mixed media products. I just kept layering until I was happy with
the results. These types of touches
always make a project stand out.

Here you can see I was experimenting with my layout. It did not end up exactly like this, which
often happens, but I do like to plan out my major embellishments by
auditioning.
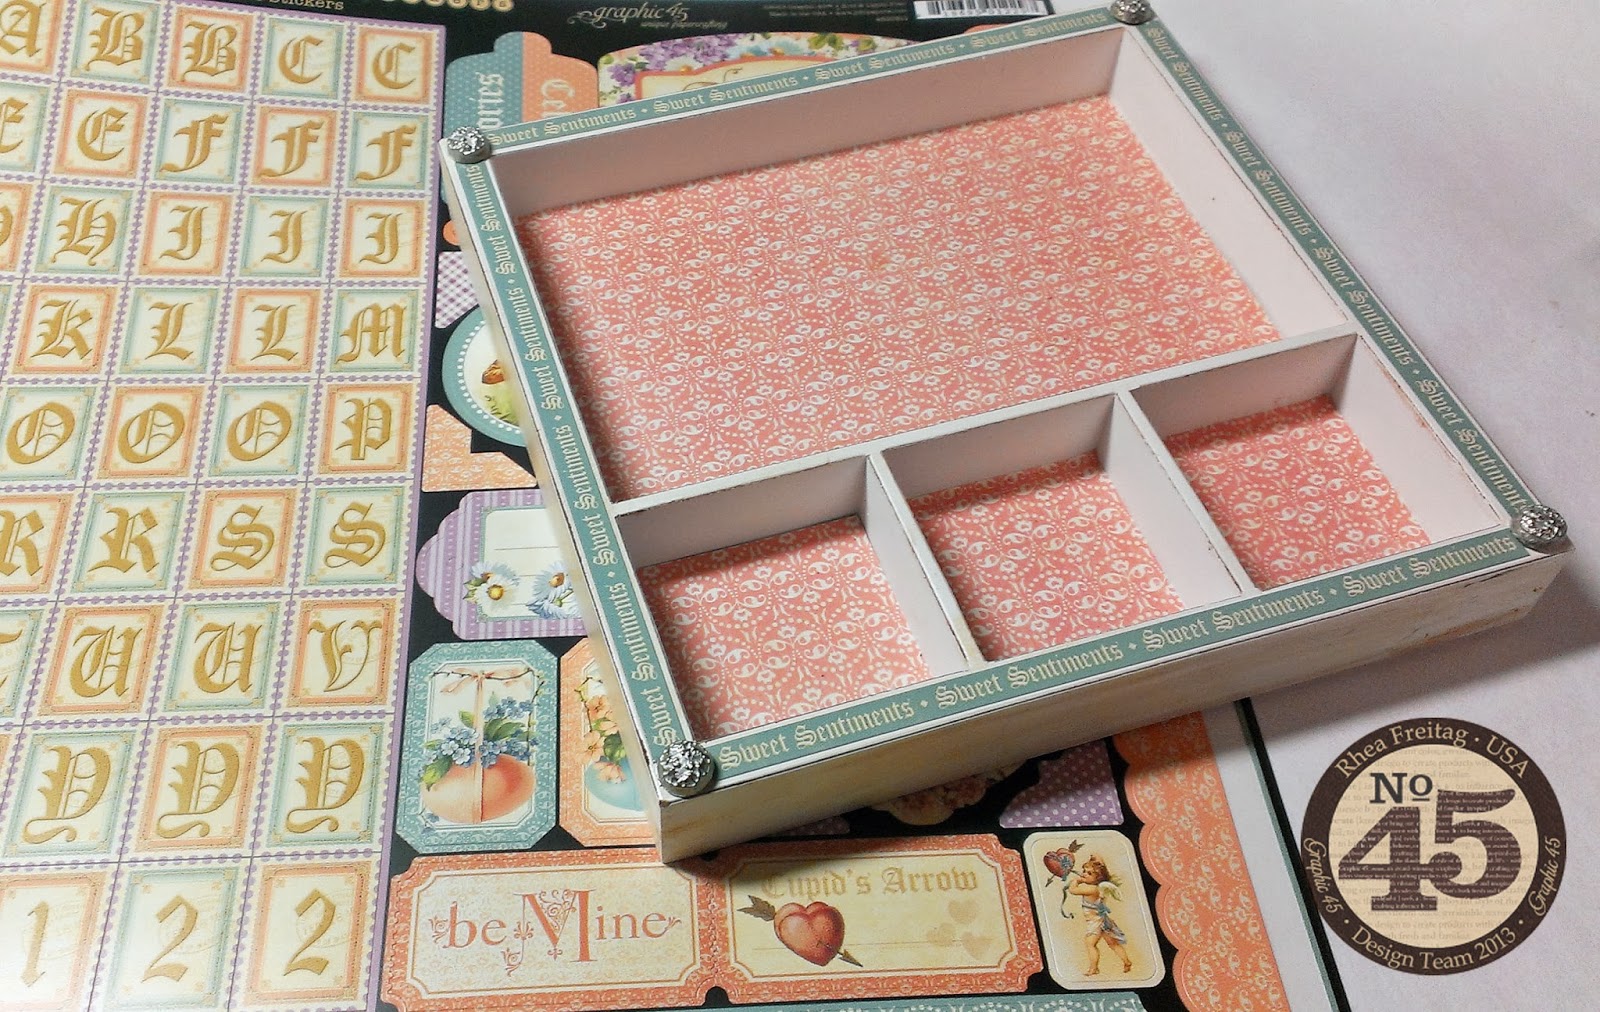
To add interest to the frame of the shadowbox, I used the
sticker border and studded the corners with brads.

It may be hard to see, but on the bottom squares, I popped
up my images by using some foam I had on hand.
This added a bit of dimension and depth.

I started to layer in my embellishments with a heavy duty
glue. I tend to use E6000 For this
task.
A few of the new Shabby Chic Ornate Keys were added. These were so hard to use up, but they were
just perfect for the project.
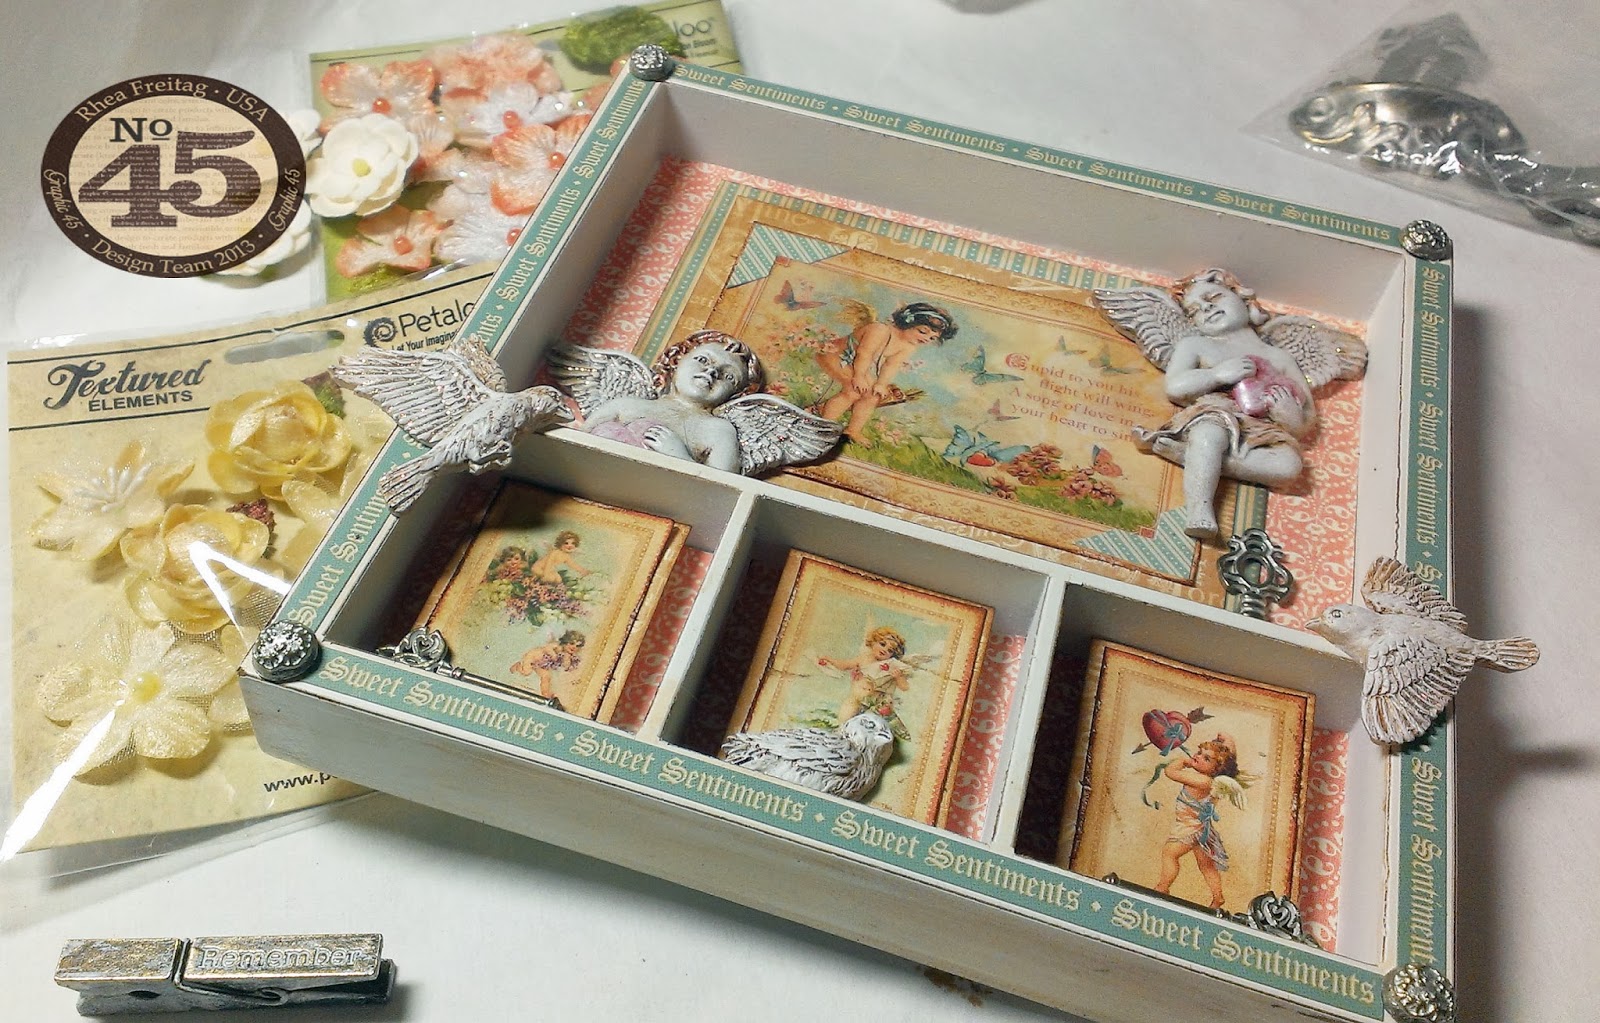
For the final touch, flower embellishments were added. Again, I played around a bit before adhering
to ensure the correct choice. Once
again, my flowers changed from my original shot.

Another great element I added at the end was a metal
clothespin. To make it look nice and
shabby I pounced a bit of white acrylic paint on it, let it dry a bit, and then
scratched some of the paint off.
I hope you are now inspired to make your own little
shadowbox! It is is super easy and fun.
Cheers,
Rhea


